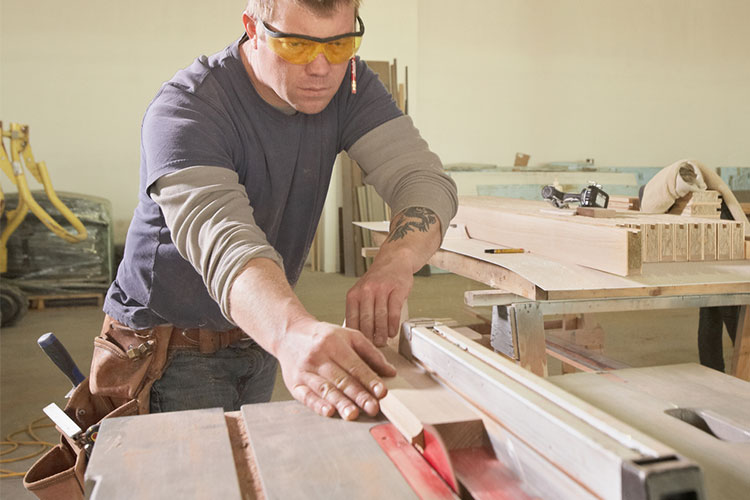
Every woodworker knows how valuable an addition table saws are to the workshop. Basically, every woodworking activity revolves around it. There are just so many functions it accomplishes that you’ll be glad you didn’t flinch upon the thought of purchasing one. Table saws prove with each use that they are worth every dime.
As a hobbyist or a DIYer, you must feel excited about getting your new table saw. Now, all you need is to find some table saw projects. But look! You’re stumped. You’re wondering, ‘what can you do with a table saw?’ Don’t worry, it happens to the best of us. Luckily for you, this article compiles some easy but exciting projects you could engage in master using table saws.
“What Can I Do with a Table Saw?” A Good Question!
What do you use a table saw for? This question has plagued many budding hobbyists and aspiring DIYers. For most, not having the answer to this question is the major reason why they haven’t gotten a table saw. Well, if you must know, the table saw is practically the most productive woodworking machine there is. And I’ll give you the reasons why.
Table saws make practically every kind of cut woodworking requires- rip, cross-cut, miter, dado, rabbet, square…you name it. It can even cut curves and shape Woodstock edges. Plus, they can work on any type of wood- hardwood, softwood or sheet. And they do it much faster than and more accurate than hand saws.
With a table saw, it doesn’t matter how large the Woodstock is or how dense the material. Blending motor power with the right blade will make cutting stock into required sizes and shapes seem so trivial. So, if you still wonder what to use a table saw for, I’m pretty sure you have your answer.
Some Awesome Table Saw Projects You May Try!
People tend to ask, ‘what can you do with a table saw?’ Surprisingly, you can do a lot! Woodworking is so versatile; there are so many items you can create. And the fun part is you don’t even need to be a professional. Once you’ve gotten the hang of operating the table saw, you’ll be surprised at how much stuff you can create. And in very little time too!
To make it easier, we have generated a list of basic projects that usually seemed hectic with general tools. Try them out with your table saw, and I bet you’ll see how exciting crafting with it can be.
1. Build a Basic Sawhorse
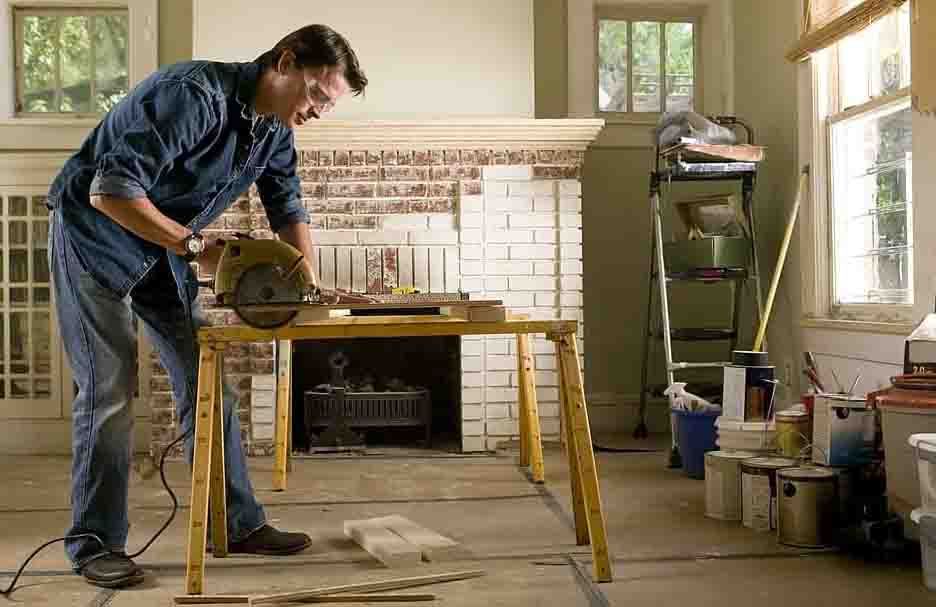
Saw horses are a welcome relief in the workshop. They are great for setting up emergency workspaces. Plus, they’re also mobile. A good sawhorse can serve a wide range of functions for woodworkers- seat, table, worktable, step stool etc.
You will need the following tools; carpenter’s square, drill and of course, the table saw. A good sawhorse must have a solid stance, mobile-friendly weight and be workstation-friendly. This depends on the materials and techniques used to make them. The following are suitable for making one that meets those criteria;
- 2×8” dimensional lumber, 2 feet long (Top)
- 1×6” pieces of lumber, 2 feet long x 4 pieces (Legs)
- 2×4 wood pieces x 2 (Braces)
- Polyurethane Glue/Polyurethane Constriction adhesive
- 3” deck screws x 26
The first thing to do is to make a jig cut to 15-degree on one end out of 2×4 scrap wood. This makes it easier when measuring 15-degree angle, which we will do at least 8 times. To use, simply lay on wood piece requiring 15-degree cut and mark out.
Next, take the wood for the top rail and measure 6 inches in from the end. Mark across the top. Then, mark 15 degrees from the bottom outside corner of the top rail end. Draw a line on top rail from top to bottom. Then, connect the end of the top rail line with the angle previously marked. Cut the angle with a table saw. Repeat process for the other 3 corners.
Mark spots for screws and counterbores the holes halfway through the top rail. Take the wood for the legs and make a 15-degree bevel cut on the end of each wood piece. Bevel the top and bottom of the legs. Next, mark the center of the leg bottom and measure the length of the non-tapered part of the top. Connect the two ends and taper by cutting along the line.
Make a 15-degree cut on one end of the bracing piece and line it up with the top rail. Mark the length, mark 15-degree and cut out to get your brace. Apply glue to the contact surfaces, attach and screw in. Next, align the legs and glue the contact surfaces. Then, run 2 screws from the leg into the top rail and 3 into the brace.
And voila! You have one solid, work-friendly sawhorse! You can have as many of these babies as you want. Feel free to apply paint or wood finish if you wish, though this would help extend its longevity.
2. Make a Door Table
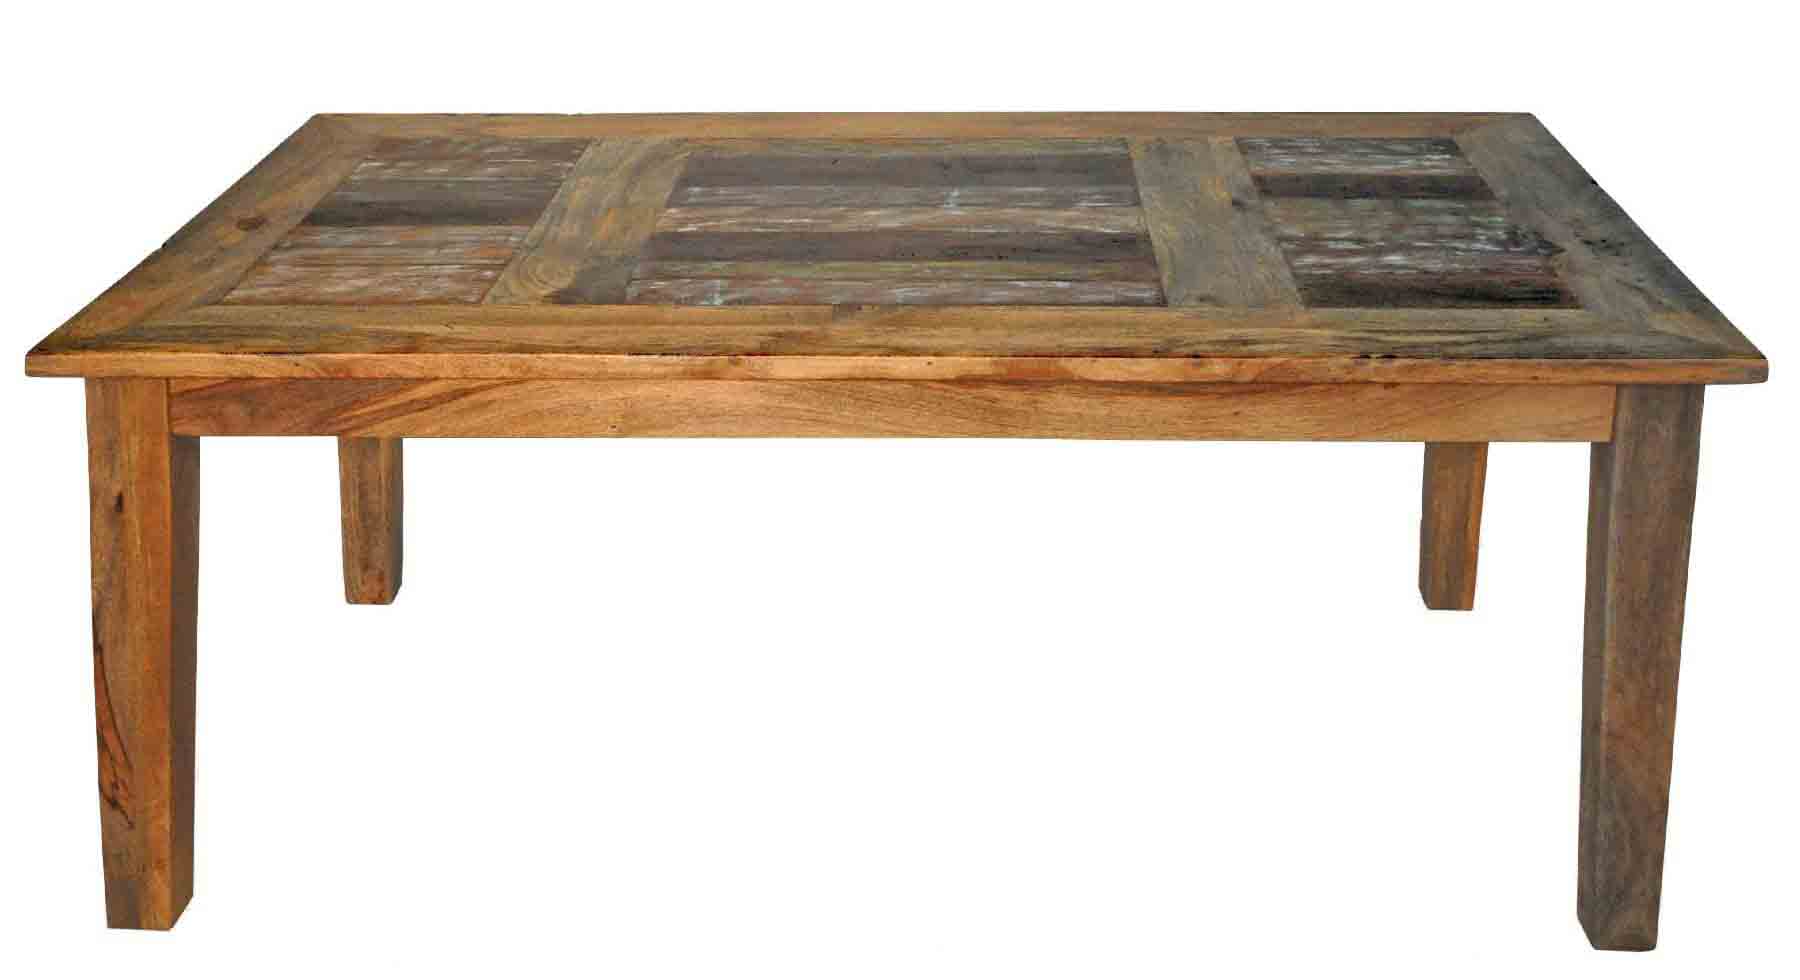
Why throw away an old hollow core interior door when you can convert it into a pool table? With a few materials and the table saw, this project can be completed within minutes! An extra piece of furniture can come in handy around the house or the workshop. And what’s cooler than making one by yourself?
It’s so easy, you can make one using just a table saw, brad nailer and orbital sander. You will also need the following materials;
- A hollow core interior door, preferably smooth
- A 10″ length 2×4 construction lumber, preferably straight and clean
- An 8″ length 2×4 construction lumber
- Deck screws
- Wood glue
- Wood Filler
- Paint (optional)
First, rip the 10’ length lumber into two pieces of 1×4’s and the 8’ length lumber into two 2×2’s. Miter one end of the 1×4 and measure it against the edges of the table, then mark and cut. Assemble pieces on the door to form the edges. Hold in place with wood glue and brad nailer.
Cut two pieces of 2×2’s and fit inside the table underside to form cross braces. Cut the legs out and fit next to the table edge and cross brace. Glue in place and brad nail, then screw into the edges the cross brace. Cover the hole from the bottom with plywood and fill from topside with wood pieces.
Fill and holes with wood filler and sand to satisfaction. If you prefer to paint, now is the time to do that. What you end up with is one broad sized, a lightweight table that makes you feel like a pro.
3. Make a Folding Wooden Stepladder
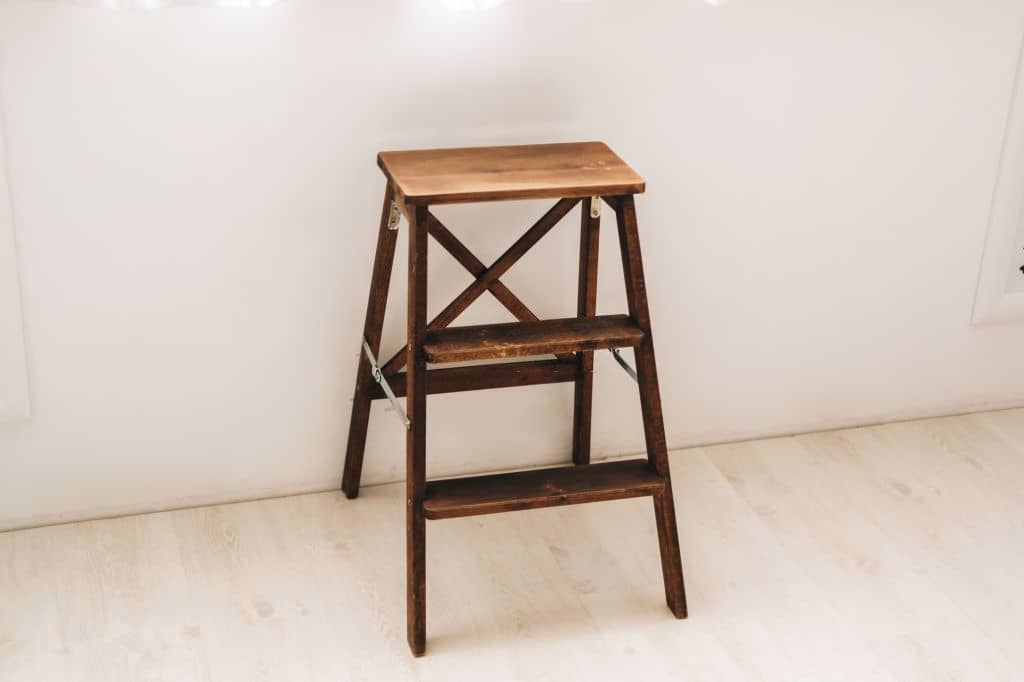
Imagine being able to make your very own step ladder from scratch instead of hitting a hardware store. I bet it’s a pretty cool picture. Now, follow this set of tips on how to actually do it! Any die-hard DIYer would love to be able to brag about making a folding step-ladder that one time. Plus, it adds to your table saw mastery skills.
All you need to create this interesting piece is a table saw, drill press, drill, sandpaper, square and of course, PPE! The last part is very necessary.
Next, you gather your materials. To accomplish this surprisingly easy task, you will need;
- Eight dome-headed M8 carriage bolts, each 55m long
- Eight M8 washers
- Eight M8 lock washers
Cut the leg pieces to size and make 60-degree angle cuts on each end. Rip the boards in half and cut ripped pieces to length, putting an angle on the supports at the top. Make a dado joint in the top slats to fit into the supports. Make a rounding template from scrap wood and use to round the ends of the step and side supports.
Measure the positions for three steps on the step supports. Cut dado joints in the step support and fix steps into joints. Fit the stretchers between the back supports with blind dowel joints. Then, dry-fit the pieces to confirm they work perfectly. You might need to have a folding mechanism template made out of scrap wood to guide you.
When confirmed, drill in the bolt holes. Make sure the ones in the back stretchers are much closer to the wood edges. Once done, sand the pieces and edges thoroughly, then glue up the pieces of the back support, steps, and top slats. Make sure the top slats are evenly spaced when gluing. Now, test fit the pieces to make a complete stepladder.
Adjust the pieces where necessary and upon final satisfaction, disassemble solid pieces and apply finishing to taste. Once they’re totally dry, reassemble the stepladder, making sure the washers and lock washers are fixed while bolting. And, your folding stepladder is complete!
4. Build a Scrap Table
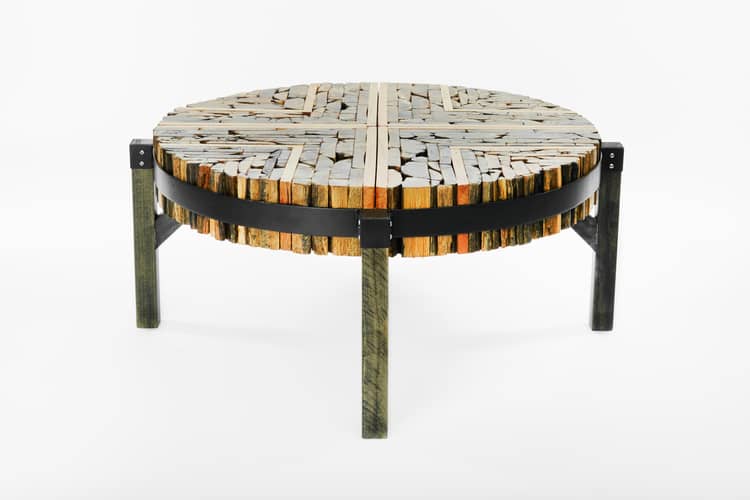
Many times, we have tons of unused wood lying around and throwing them out tends to be the obvious choice. But there is another option- one that would appeal to the craftsman in you. You could fashion an entire table using nothing but scraps of wood around. This process mostly employs laminating the wood but besides that, it’s pretty simple.
To make the scrap table, you need the following tools- a belt sander, magnetic power drill or impact driver, mallet, hand plane, drill bits, and a table saw.
Also, you need the following materials;
- Salvaged scrap wood
- Five threaded rods
- Nuts
- Washers
- Screws
- Wood glue
- Polyurethane
- Sandpaper
Of course, this isn’t as simple as a project as you’d expect but t it’s a pretty interesting one.
First thing is to build two trestles. To do this, you must first lay out the trestles. This is by placing two wood pieces- one big and one not as big- at right angles to each other. Measure from the baseline your preferred size to get the table top. Pull a straight line parallel to the baseline across the measurement.
Now, measure and cut out eight wood pieces, then draw a line connecting the four opposite edges on each one. The result is a long, sharp triangle outline. Cut out and lay the fat end of the legs on the two-foot mark on the table top layout line. Pull the end of legs so it is in line with the end of the table top. Mark lines on the legs and cut.
In each bottom end of the table top, cut a taper from around 2” down to where the legs overlay. Next, glue and screw the legs opposite each other on the trestles with at least four screws. Rip lots of wood and sand both sides thoroughly. Then, apply wood glue, place on the trestle and screw it in. Continue stacking up wood, making sure to let the pieces vary.
Drill five holes; one through each set of legs, one in the center of the pileup and one at each end. Once the halves are at about the same height, stand the table halves up for bracing. Fix the threaded rods into your drill and run them through the five drill holes. Smear the meeting ends of the halves with glue and tighten with washers and nuts.
Drill a smaller hole about 3 inches from the leg bottoms. Put a 1/2 threaded rod through the hole, with washers on the outside and between the legs. Pinch the nuts together, using the inner nuts to push them out.
Plane down the surface with a hand plane and put cap pieces to the drilled holes on the long sides. This would accept the nit and washer on the threaded rods, which will be screwed and glued. Trim off edges with saw, sand down, and fill out any grooves or imperfection. Vinyl or wood putty will do. Finish with polyurethane and your table is ready for use!
5. Build a Cutting Table
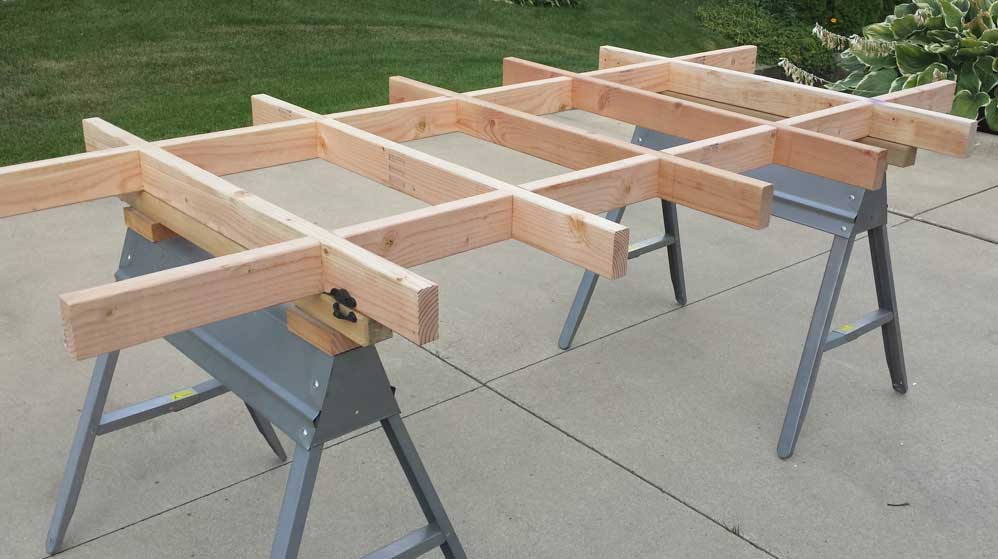
In cases where you feel your workbench slows down your project, you can go ahead to build something better. A cutting table can be of great use where a workbench falls short. And you can build it to any height you want.
Making a cutting table is quite simple. It only requires a cabinet table saw, an electric sander, hammer, and drill. And the materials aren’t so demanding. You can make a simple piece with;
- Plywood board.
- Six leg pieces of 2×4 wood
- Wood trim
- Painter’s tape
- Screws
- Finishing nails
- Wood putty
- Wood finish
Cut plywood board to preferred size, then mark out the spots for the legs. Make sure the leg pieces are measured to preferred height. Sand surfaces thoroughly, attach legs to the marked out spots with glue and screw firmly into place. Using six pieces for legs will give the table more stability in the middle.
Cut wood trim to the same measurement as a plywood table top. Align the corners properly, then glue the trim to the plywood board. Hold in place with painter’s tape and secure trim edges with finishing nails. Leave painter’s tape on so glue can dry firmly. Fill seams gaps over seams and at miter corners with wood putty. After drying, sand the table surface and puttied edges, apply finish and you’re done!
6. Make an Under-Window Bookcase
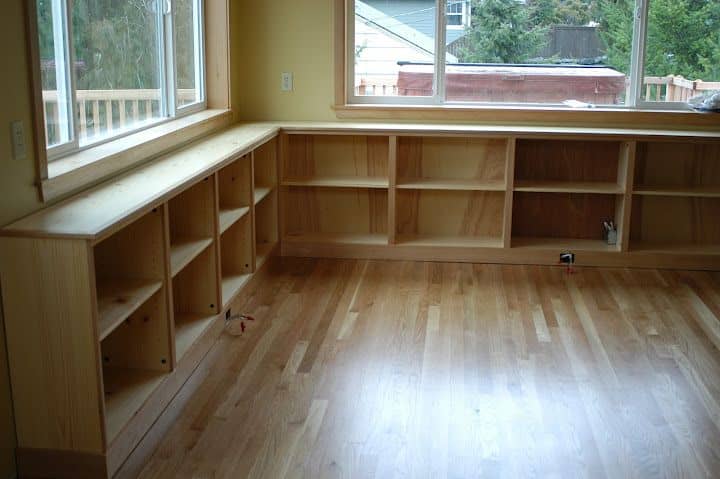
Need extra space for your tons of books? Why not hone your DIY skills with a table saw and some other carpentry tools by making one yourself? Bookcases are practically cabinets without doors and they come in handy if you’re an avid reader. Sealing, Staining, and Filling, etc. techniques are very effective to help you get the best output from DIY wood projects. Tools needed for this project are a table saw, power drill, miter saw, jigsaw, claw hammer, carpenter’s square, compass, and pencil. Your table saw must have a stacked dado blade set though.
You will also need the following materials;
- Two 4×8 sheets of finish-sanded oak plywood
- Two 2×4 sheets of ¼ inch plywood
- Two ¾ quarter-round oak molding, 8 ft. long
- One oak screen molding, 8 ft. long
- One 1×4 oak wood, 8 ft. long
- Woodworker’s glue
- 1” wood screws
- 4d finish nails
- Stainable wood filler
- Sandpaper
First, cut two pieces of ¾ plywood 28¼” high and 12” wide and set aside for the shelf standards. Then, cut the top and bottom shelve pieces to 12” x 47” and 11¾” x 47” for the middle shelves piece. Next, cut one piece for the top at 12” by 48”.
Set up the stacked dado blade set to ¼” thickness and 3/8” depth. With the fence at 11¾”, cut a rabbet on the shelf standards. Do this along one of the 28¼” edges. Do the same for the two and bottom shelf pieces, along one of the 47” edges. Reset the stacked dado set to 23/32 thickness and depth of 1/4 “.
Lay the shelf standards on the table, with the rabbets facing upwards and lined up. Make a 4¼” mark and another 16¼” mark up from the bottom of each standard. Make a cut line perpendicular to the rabbets at each mark with the square. Cut at the marked lines with a table saw, guiding with a miter gauge. Then, make a rabbet at the top of each standard by lining the top edge with the dado set.
Next, place a bit of glue in the center dado of the right standard and insert the center shelf properly. Turnover and drive three finish nails through the standard to hold the shelf. Follow the same procedure for the top and bottom shelves. The assembly with the left standard with glue and finish nails.
Cut the ¼” plywood board to 47¼” x 24” for the back. Turn the assemblage face down, check the unit for square and readjust if needed. When satisfied, place the plywood into the four rabbets, confirm square and hold firmly with finish nails only. Stand the unit and fix the top piece by screwing upwards from inside the shelf through pilot holes.
Next, cut a piece of 1×4” to 50” length. Mark 4” in from board end and mark 1½” in on each mark. Then, connect marks with a straightedge. Scribe a 1½” radius arc to connect the first two marks and the straight edge mark. Cut along the straight line and arcs and sand the cuts. Center the board on the cabinet front base and mark cabinet edge on the board.
Make a square cut on the side and a 45-degree miter cut to the front. Fit each side of the case and attach with finish nails. Miter a piece of quarter-round molding with the same method as above. Cut shorter pieces, miter cut front and square-cut back from each side. Attach the pieces with finish nails.
Then, cut a cove molding for the front and side, the same way as quarter-round molding. Fit up underneath quarter-round molding and attach with finish nails. Do the same for cove molding for the bottom of the unit. Cut one length of screen mold and cover the front of each standard, attaching with finish nails. Cut the same for the center shelf, butt up to the other two pieces and attach with finish nails.
Set all nails with a nail set afterward. Sand, putty where necessary and stain or paint with wood finish. Now, you can load in your books as you wish.
7. Prepare a Bread Tray for the Kitchen
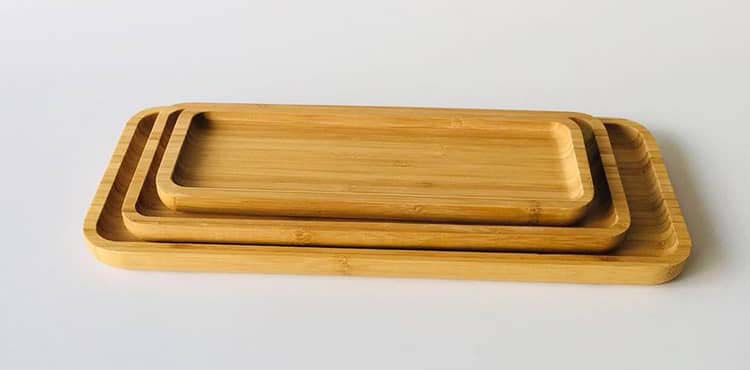
This little project is handy for those who love to cut their own bread in the kitchen. Though they can be purchased at the market, you can also test your woodworking skills by building one for yourself. All you need is a table saw with dado capacity and a hammer drill to build one of these.
You also need;
- 9 pieces of 1×4 wood, finely sanded cut to preferred tray dimension
- A piece of plywood board, cut to length
- Finish nails
- Glue
- Wood finish
Align 4 of the wood 1×4 wood pieces to make the outline of the tray. Then line the remaining 6 pieces to sit perfectly spaced on the tray alignment. Mark the end pieces and cut out dados. Next, fit the 4 tray pieces and set aside. Then, take one of the 1×4 wood pieces and divide from the end into two equal halves to make a brace for the tray.
Attach plywood to tray frame with glue and nail or drill in. then, place the cutter pieces into the dados to form the top tray. Place the braces at appropriate positions and glue in place. Take out when dry and attach firmly with finish nails. Then, apply food-friendly wood finish and you have a bread tray with detachable top and a collecting bottom!
8. Build a Cabinet Door
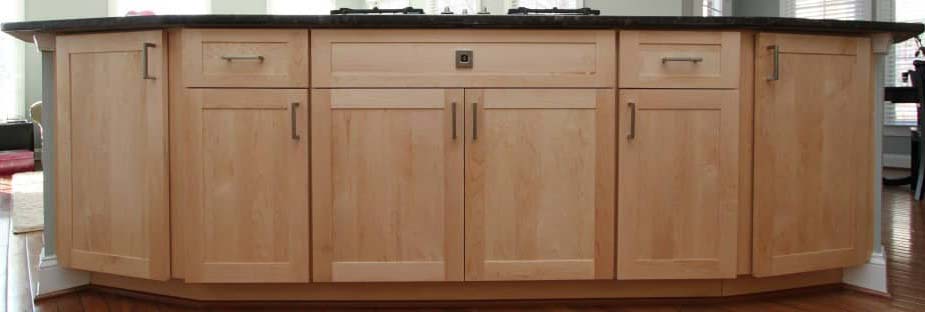
This is one of the easiest woodwork projects you can ever get your hands on. It comes really useful when you’ve decided your kitchen cabinets need some upgrading. Once you’ve mastered the art of measuring wood pieces, you’ll find this task pretty simple. And you only need your table saw to achieve this one. You’ll also need the following materials;
- 1×4 hardwood boards for the frame
- ¼” plywood
- Wood glue
Miter perfectly squared wood pieces for the stiles and rails, then mark the parts to collect the panel. Next, cut the marked grooves, making sure the width matches the plywood thickness. You might need one or two passes to achieve this. Next, cut tenon joints on frame pieces. Then cut the plywood panel to the width and length perfect for fitting in the frame.
Set one part of the frame to make a perfect right angle. Apply glue to the groove of one of the frame pieces and fix the panel in. Apply glue to the tenon joint and groove of the second frame and fix into the other end of the panel. Make sure the tenon joints meet and lock precisely. Clamp the joints together and let them dry. When satisfied, fix your hinges and fit your newly made cabinet door to your shelf.
Safety Considerations
Table saw projects are a lot of fun. However, one needs to avoid getting carried away when using this powered tool. Table saws are responsible for many workshop accidents worldwide, some even fatal. So, in order to run safe practice sessions when using table saws, you might want to observe some rules.
- Always use recommended PPE and other safety gear (safety glasses, goggles, face shields, dust masks etc.) when using.
- Do not operate a table saw wearing gloves.
- Take off long sleeved clothing or dangling accessories before use.
- Cut smaller stock with a push stick. Never use your hand.
- Wear non-slip footwear to the table saw workshop.
- Do not position the body in line with blade and avoid leaning over material as you cut
- Only set blade height to a maximum of 6mm than stock to avoid major cuts in case of accidents.
- Use stop block when crosscutting short length
- Position your stance firmly on the ground to avoid slipping and falling on the blade.
- Always pay attention to the work in progress.
- Never reach behind or over or approach rotating blade.
- Always disconnect power before changing or adjusting the blade manually.
- Keep table surfaces clean and free from particles.
- Make sure the rip fence is aligned parallel to the blade to avoid kickbacks.
- Never run a table saw when you’re tired.
- Only cut seasoned and flat wood.
- Do not let go of stock until it has fully passed the blade.
- Ensure all necessary safety components are functional before use.
- Only use blades best suited for the task.
- If board might be too long, use a roller off feed tables for support.
- Do not make free cuts with the table saw. Always guide cuts with a fence or miter gauge.
- Execute all cuts gently and cautiously. Do not rush work.
- Do not use miter gauge and fence at the same time unless they are on the same side.
- Ensure stock does not have nails or screws embedded before cutting. These may projectile, causing serious injuries.
- Always replace worn out blades to avoid kickbacks.
There are countless table saw projects out there for the taking. And they come in different skill levels. These are just a handful picked out to get you started. Practice them and enjoy the feeling of accomplishment that comes with it. Also, watch as your woodworking skills develop with each use. Make frequent use of your table saw and before you know it, you’ll be working like a professional!

