The drill press is a multipurpose commercial and DIY woodworking tools used in carrying out drilling. It is a tool that can be used by a woodworker as well as a metal worker. With a very compact design, the drill press is a machine that is easy to use and maintain. Maximizing the drill press to the fullest has been a major problem of wood and metal workers over the years. In a bit to widen the knowledge of users on drill usage, we have decided to provide you with this discussion on how to use drill press.
How to Use a Drill Press?
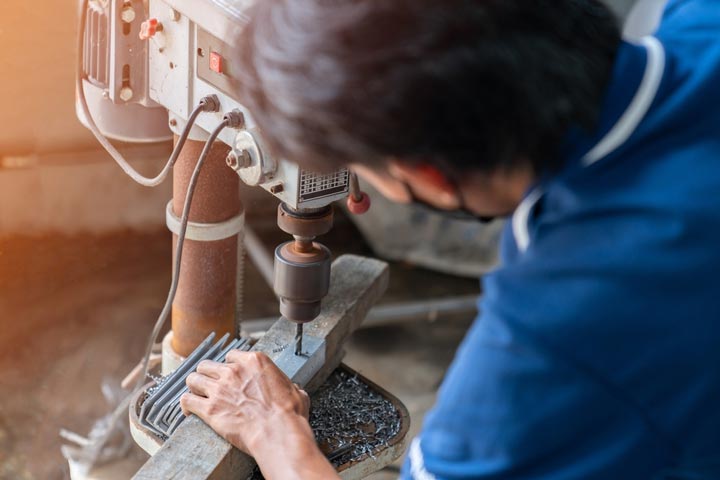
Knowing how to use a drill press is not so much of a difficult task especially for woodworkers considering how often they get to use of it and for how many purposes. However, beginners might find this very difficult at first which makes them refer to the drill press how to use manual. To use a drill press, you have to know the machine. How to operate a drill press is understood by knowing the machine first. You also have to take safety precautions while making use of a drill. Proper set up also makes the machine easy to use.
1. Knowing the Machine
The woodworking drill press is not so much of a complex machine with different parts. Its parts are simple and easy to understand, regardless of the variations, makes and models. For the sake of this discussion, we shall be looking at a few.
- Drill press table
- Power on and off switch
- Power cable and auxiliary cords
- Spindle
- Drill bits
- Chucks
- Chuck Jaws
- Cranks and the clamping lever
2. Taking Safety Precautions
The drill press just like every other woodworking and metal working tools requires safety precautions while working with and around it. Drill press safety precautions to adhere to while working with the drill press includes:
- Wear face masks, protective glasses, and gloves: Your face is a very delicate part of your body which needs to be protected especially when working with a drill press. In other to prevent dust or other particles from going into your eyes, you have to cover them with protective glasses. Your hands also have to be covered in gloves so as to have them shielded.
- The machine should be kept away from anyone who doesn’t understand its operation. While the drill press might be easily understood by a woodworker, it might pose a lot of challenges for another person. In other to prevent any harm from happening to such person in a bit to understand how it works, it’s better to keep it away. Children should be kept far away from the drill press as it can hurt them.
- You should also ensure that enough workspace is created to allow for your comfort and prevent any sort of meddling with the machine. Let your drill press have as much space as you will for comfortability and security.
3. Setting up the Machin
With the parts of the machine already known on one hand, and drill press safety precautions on another, you can go on to set up your machine. In setting up the drill press machine make sure –
- The workplace is ready and in place for the task ahead. You can do this by taking away anyone and item not needed for the work to be done.
- Inspect the machine to be sure every part of it is well fastened and in place. Check that the screws are tight and the knobs fitted. Any loose screw or knob spotted should be fastened immediately.
- Check all the cables and auxiliary cords and be sure they are properly connected in the way they should be. Also, check for wire cuts and breakages up to the power supply cable. If any of these is noted, please replace them before switching on power to the drill press.
- With everything in place, power the drill press making use of the power on/off switch and let it run for some time before using it. This way you can take note of any inconsistency in its operation and rectify it before using it.
4. How to Operate a Drill Press?
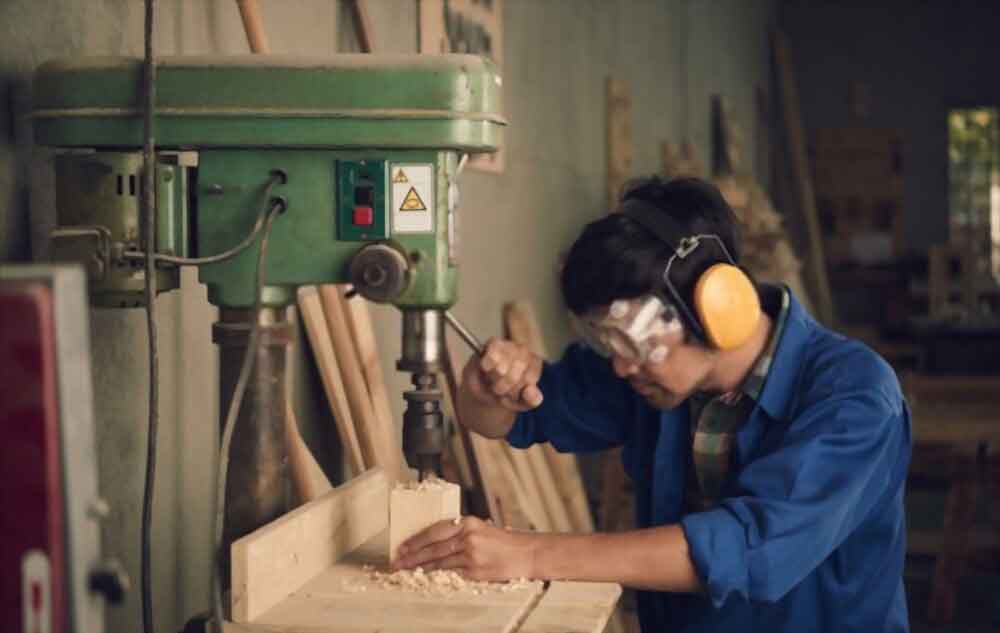
In order to know how to operate a drill, you should first find out’how it works’ When you know this, coupled with how to set it up, you are halfway into the work already. With everything set, you have to operate the drill press to get the work done.
A) Adjusting/Setting the Speed
In other to set the speed, you have to change the position of the drive belt from one pulley to another. The spinning rate of the drill press is determined by the size of the pulley. So smaller pulleys are most likely to spin faster than bigger pulleys. However, the size of the wood also matters in determining the speed. Hardwoods just like metals require less speed than softwood will require as there are differences between hardwood and softwood. Know this so as to avoid damage to your drill press.
B) Working on the Chuck
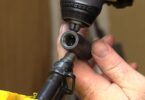
Working on the chuck of the drill press helps you to fit it. In other to do this, you have to open the chick and have them but in it. When this happens, use your hands to snug the chuck before tightening back its three jaws in place. When this is finished, remove the chuck so it doesn’t affect the drill when in use. Experts are of the opinion that it is best to drill small pilot holes first before going on to drill large holes.
C) Adjusting/Placing the Table
As you work with the drill press, depending on the work that is to be done, you will need to adjust the height of the table and align it from time to time. This is made possible in some models by a crank while you will need to adjust the clamping lever in some others. When you know the requirements of the job to be done, it is up to you to align the table height to it.
D) Learning How to Control the Spindle
In order to know how to control the spindle, it is necessary you know how to gauge the depth. This is needed most when drilling a stopped hole of a fixed depth. To gauge the depth, you have to first lower the bit and to be sure it is at the desired height. When this is done, you need to add a pair of knurled nuts to the stopping point that you desire. While one of these two nuts will stop the spindle, the other keeps it in place.
E) Keeping the Work Piece Secure
Fasten the workpiece and be sure it is properly fixed to the table before you commence drilling. Clamp the workpiece to the table properly to avoid it from falling off or shifting from its place while the drill bit spins. It is dangerous to you, the machine and the workpiece to operate without having it secured and held in place.
F) Starting the ‘Drilling’ Operation
Once you have completed the drill press set up and the machine is in its place, you can go on to start the drilling operation. While working, keep the drill spinning at the speed that is required of it as bits are presented to the workpiece. After holes have been drilled successfully, pressure on the lever can be reduced.
G) Aligning the Machine for More Serious Projects
To handle more serious projects, the machine as to be well aligned. This would include that you have to realign the height of the table, adjust the speed and watch the spindle. The speed that will be required for more serious projects might be more if it is a softer wood or less if it is a metal.
5. How Do You Add Versatility to Your Machine?
It is also possible for you as a user to add versatility to your drill press machine by adding additional tool and attachments. These attachments like a circle cutter and sander make the drill press to be able to carry out the task it originally cannot.
1. Use a Circle Cutter
You can make use of a circle cutter with the drill press by attaching it to the table. With your workpiece already clamped, you have the circle cutter make the cuts and you drill the piece carefully.
2. Use Sanding Attachments
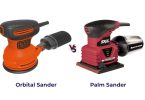
Attaching a sanding flap to the drill press can help you sand irregular shapes easily and effectively. Also, with the aid of a drum sander, you can also sand regular shapes while still making use of a drill press as a drilling machine.
6. How to Take Your Drilling Operations to the Next Level?
It is absolutely possible for you as a woodworker or metal worker to take your drill press to the next level. What you know about how to use drill press determines the many projects you can carry out with the use of a drill press. Drilling precision holes, cutting mortise, dead center precision holes in dowels and evenly spaced holes can all be possible with a drill press.
1. Drilling Precision Holes
Drilling multiple precision holes on a wood piece or metal piece is possible with a drill press. The more modern type of drill presses have made it easy to not just drill precision holes, but multiple precision holes.
2. Cutting a Mortise
Have you been wondering what other things you can do with your drill press asides from drilling holes? Yes, the drill press can and has been used by many woodworkers to cut mortise and they have been able to produce excellent results.
3. Drilling the Dead-Center Precision Holes in Dowels
With the drill press machine, it is also possible for you to be able to drill dead center precision holes in dowels. The interesting thing is that the drill press makes this very easy and produces accurate holes.
4. Drilling Holes That Are Evenly Spaced
With the magnetic drill press machine, you are also able to drill not just multiple holes, but evenly spaced holes one after the other. Only a few users know this and for those who can, woodworking feels a lot easier.
It is not enough to know how to use drill press, it is very important that you use it in the right way and for the right purpose. Keeping to the safety precautions provided for in the drill press how to use the manual guide is also very necessary for a good working outcome. With all the information needed about drill press usage already provided for in this discussion, you can go on to begin making the most of your drill press.


