Before we go further, it is necessary to note that you have to keep your saw chain sharp and beautiful. A blunt chain saw increases the chances of “kickback.” This is when the chain saw bounces up after the string is caught on the wood. This is one of the significant causes of chain saw injuries. Not only do you risk injuries with a blunt blade, but you also increase the amount of fuel that you are using.
When Do You Need to Sharpen a Chain?
This is a prevalent question. Like every other machine that exists, there usually is an expiry date. Milk expires, so do sharp edges. When you begin to notice “kickbacks,” i.e., situations where the chainsaw bounces back—they have been known to damage people’s skins.
When the battery chainsaw takes more time than you would like for it to get through a piece of wood—“Houston! We have a problem,” It can be quite time consuming and you might as well use a machete—people do that by the way.
How to Sharpen a Chainsaw Chain? – Fast & Effective Option

We have gone through “why,” and now it is time to go through the more active “how.” There are so many ways to get the chainsaw sharpened.
Two original methods are sharpening the chainsaw with the bare hands; using the rounded chainsaw file or the electrical chainsaw grinder. You can even use the third method, that is, square filing. This is only used for square chains.
We will be going through, step by step the best ways to have the chainsaw sharpened.
Setting the File
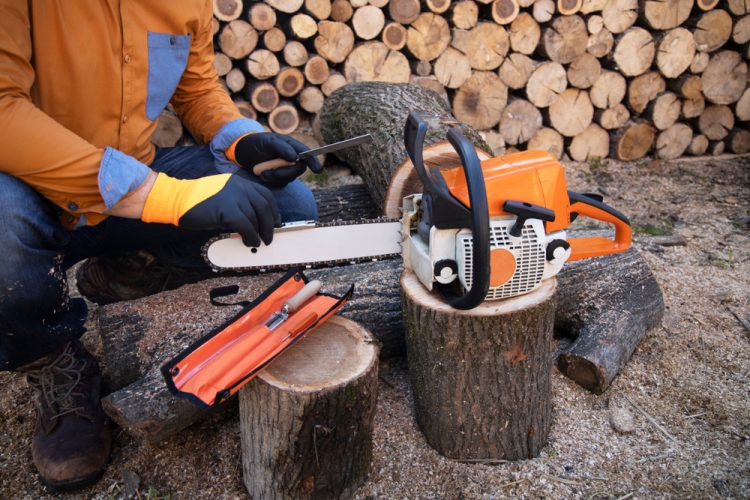
1. The first thing to do is to lock the chainsaw to the work’s surface. Find a tabletop lock or even a vise and fasten the chainsaw into your workplace. This will keep the chainsaw in a hold while you are sharpening it. It is good to secure it so that the entire process will be consistent and straightforward.
- People who do not have clamps or vises to fasten the chainsaw you can always remove them entirely and secure it in the vise as an alternative. It definitely will require more adjustments; it is, however, comfortable as an alternative.
- Can be found to be easier to set the chainsaw upside down on the work surface. But hey! There is no one way to get the job done. Find the method you prefer.
- You can still get the job done without a vise and a clamp. Just carefully keep the chainsaw in a steady position throughout the process.
2. Use a tension adjusting the screw in tightening the chain: locate the pressure adjusting screw on the chainsaw, they are usually placed perpendicular to the direction of the string. Use your screwdriver to tighten the chain–tightening the screw. Ensure that the chain is tense, but should still be able to rotate using minimal effort. This makes sure that the chain doesn’t move about while you are sharpening it.
3. Mark the lead tooth: use a color t mark it—brightly colored one so that it can be tracked easily. This is to keep track of where you started and so that you do not sharpen a section multiple times. In most cases, chainsaws have a method of marking to start grinding, but the markings can be easy to miss, which makes it tough to work. For those of us who do not want to mark their chain, you can always find an area that sets itself apart from the other parts
4. Chainsaws have different teeth sizes: look for the file with the same diameter as your chainsaw, they are usually found in the manual or even online. No matter what you do, ensure safety before using a chainsaw.
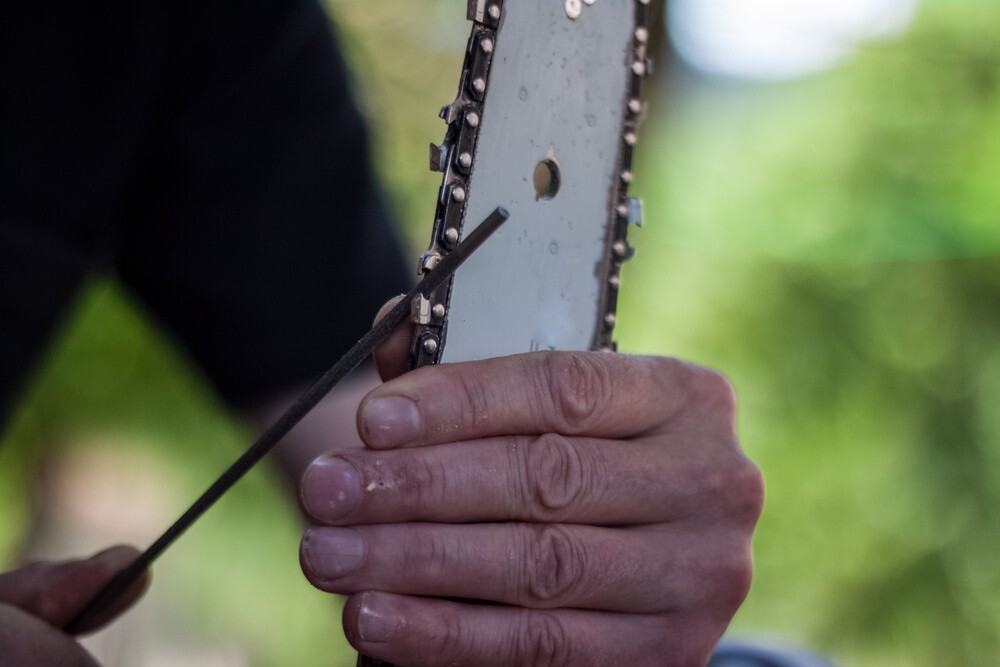
5. Set the file in that notch leading the cutter: this is called the angled tooth: mark that and make sure that approximately 20% of the filers diameter hovers the top of the chainsaws tooth. The chainsaws come with two cutters that face opposite directions. Focus on one before you go to the other
6. With a file holder, hold the file at an angle that the cutter is initially ground: you can find this in the manual or even online (the angle) some chainsaws come with lines that engraved above each cutter helping to guide the file at an angle that is appropriate. Use the etching to guide you
Sharpening the Cutters
1. Shift the file through the surface of your cutter and hold the line in such a way that it stays level and is flat on the chain. Use a smooth motion to push the file across the cutter without adding too much pressure. Do this till you are sure that the file is grinding on the cutter. Take the file out and repeat in the same angle where it previously was.
2. You have to file the cutter at least three times and as much as ten times to make sure that it is sharp. Count how many times you do each for consistency and make sure that you use the same amount you counted for one for the others. If you are not sure if your cutter is sharp, then you can feel for a mild burr through the cutter. When you notice metal grindings or shaving on the file, you can also get that out with a single tap and continue to sharpen the cutter.
3. You have to ensure that the second tooth is sharpened at the starting spot. Once the starting tooth is sharpened, rotate the chai to bring a new tooth closer.
4. Set the chainsaw 180 degrees to reveal the opposite cutters.
5. Use the same technique to get every one of the teeth sharpened. try to use the same amount of pressure and the same amount of times for each of the cutters to ensure that it is consistently sharp
Filing the Rakers
- Fix a depth gauge above the chain to ensure the rakers are kept in the right height
- Find any part of the raker that is above the depth gauge. Observe or feel for it and if you find any file them down
- With a flat-mill-bastard, make sure that the raker is level. Try not to file the depth gauge
- Make sure that every raker are in the dame high as the initial one
- Get the chain loose then release the chainsaw
- Refill the chainsaw’s oil reservoir
Having the chainsaw sharpened is one of the best ways to have it maintained and cut wood without any chainsaw cutting issues. And can we talk less about the expenses that will be saved? From health bills to miscellaneous you should be getting the value for your money.


