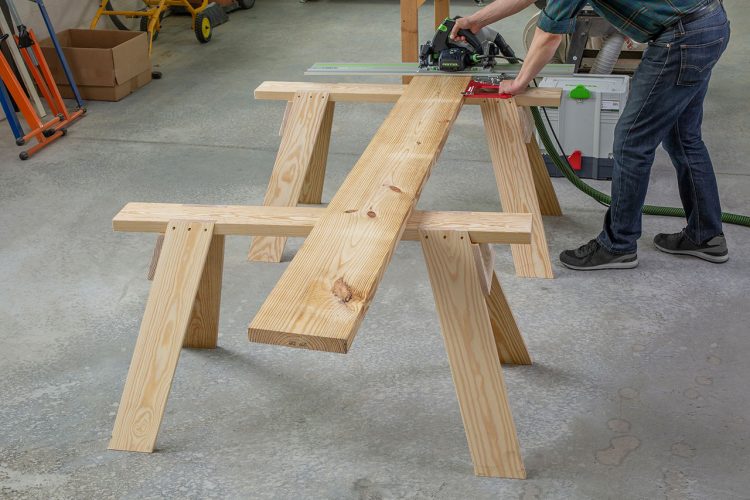
Certainly, a sawing horse can’t be missing in the workshop of any carpenter. They can work as a support for wooden boards, doors or any other flat and heavy surface. You can also use them for cutting logs or turn them into a convenient picnic table placing a piece of plywood on the top.
You don’t need to spend too much money to have your own pair of sawing horses. In fact, with all the required materials and tools at hand, you can build them for a lesser amount of money than you imagine. We’ll explain how to make a sawing horse that will last a lifetime in less than an hour in case you are not able to buy the quality sawhorse for one reason or another.
How to Make a Sawing Horse – Step by Step
1. Gather all necessary tools and materials
Before getting started with this DIY project, make sure you have the required tools and materials. Here’s the list with all the items you’ll need:
- 5 pcs 8-foot long 2X4 boards
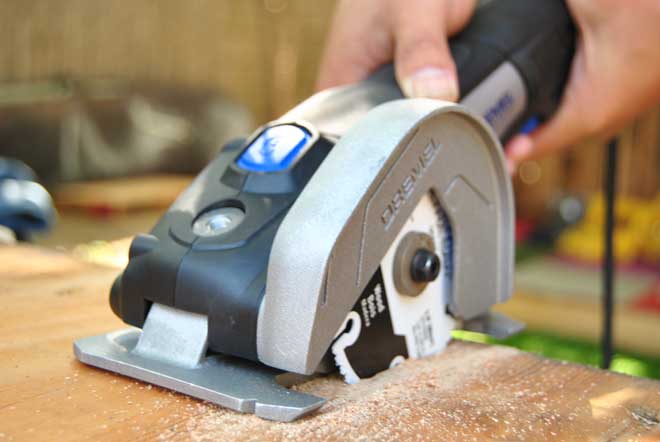
- Circular saw or mitter saw
- Measuring tape
- Angle square
- Pencil
- Drill and drill bits
- 3-inch deck screws
2. Mark the Boards
First of all, mark the 2X4 boards to get:
- 10 pcs 30-inch long (legs and center of the I-Beams)
- 4 pcs 32-inch long (lips of the I-Beams)
You can get 3 pieces of 30 and 32 inches per each 8-foot (96-inch) board. To make the marks use an angle square and a pencil. To speed up the process, put the boards next to each other to mark them all at the same time.
3. Cut the boards
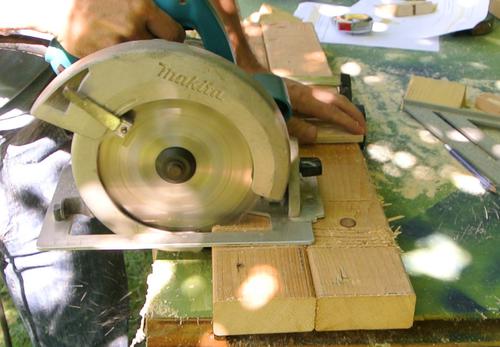
Following the marked line, cut the boards to the required length using a circular saw or mitter saw. Make sure the boards are supported on a stable surface so they don’t move.
To prevent accidents, wear protective glasses, face mask and work gloves during the cutting process.
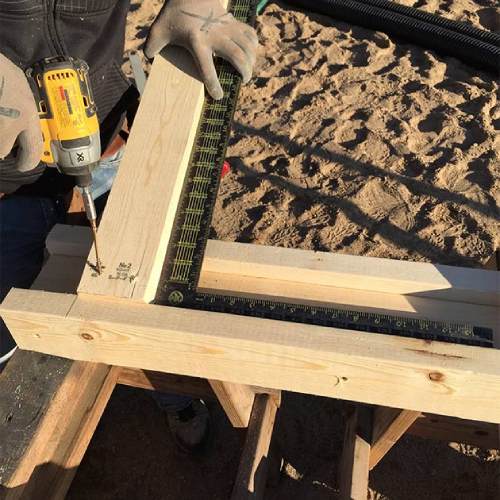
4. Mark the I-Beam
Take a 32-inch board and mark the midpoint on the 4-inch side. Then, make left and right marks 1-inch apart from the midpoint. Do the same at both ends of the table. Then, repeat the same procedure with the second 32-inch board.
5. Make the I-Beam
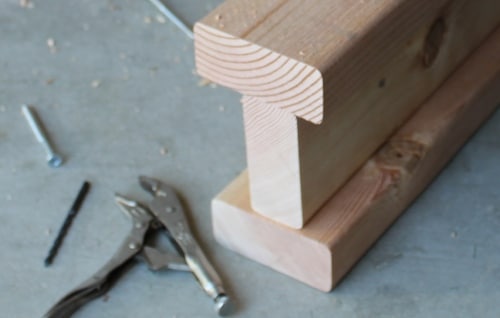
To build the I-Beams, place a 30-inch long board sideways on one of the marked boards. Make sure the borders of the 30-inch piece stay inside the marks. Using the drill, join together the two wooden pieces with 3 deck screws (1 on the center and 2 on the extremes).
Finally, install other marked 32-inch board to form the I Beam. Then follow the same procedure to build the second I-Beam.
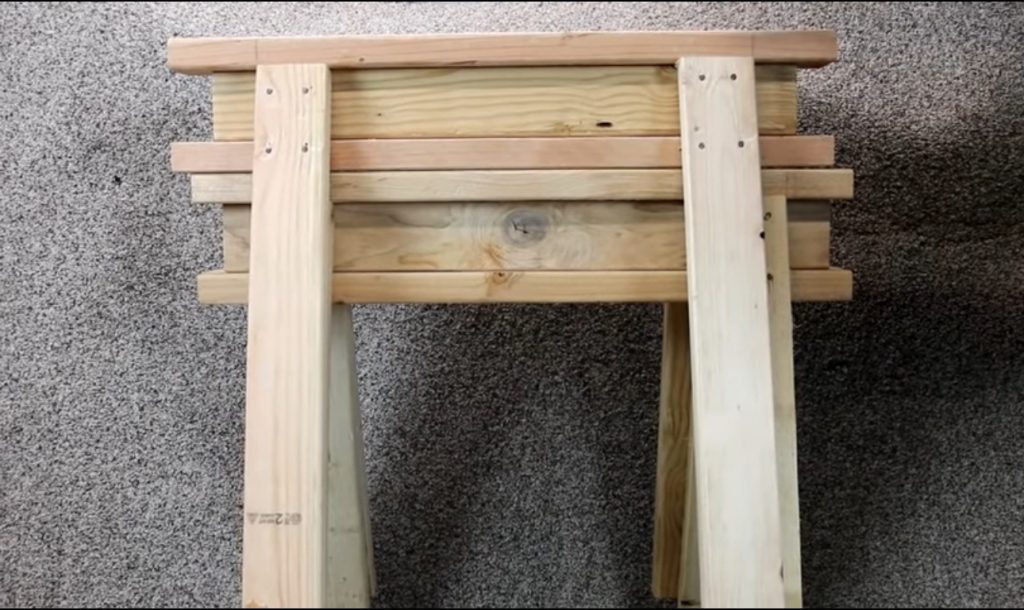
6. Mark the Leg Locations

Draw a straight line separated 4 inches from the edges of the I-Beams. To do this, you can use one of the leftover wooden pieces. Each line marks the location of the outer edges of each leg.
7. Install the Legs
Set a 30-inch board next to a line. The upper edge of the leg should be below the upper lip of the I-Beam. Then, use the drill to set the first screw on the top edge of the leg. After that, use an angle square to place the leg on the right position. Finally, set other 3 screws after folding the leg.Repeat the procedure to install the other 3 legs of the sawing horse.
8. Store in a safe place
After finishing the assembly of both sawing horses, keep them in a safe place. Sawhorses are stackable, so you can store them in tight spaces without problems.
9. Sawing horse Mods
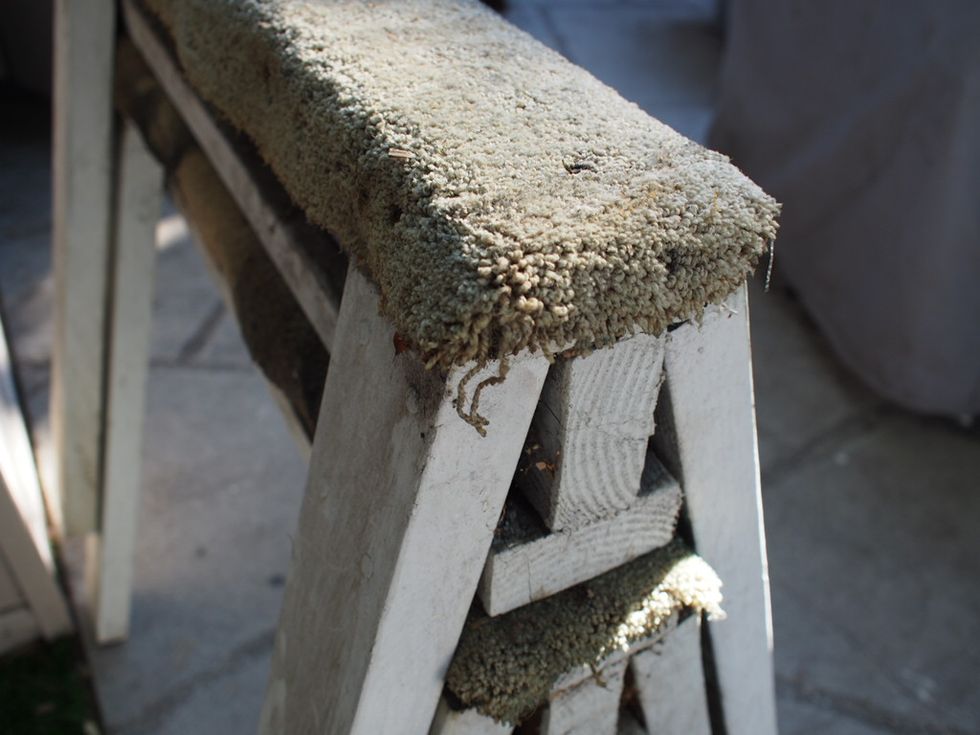
Stick a couple of carpet pieces above the upper lip of the I-Beam to not scratch the supported elements. You can also apply two coats of paint on wood to improve the aesthetics of your sawing horse.
Tips for How to Make a Sawing Horse
- Before getting started, make sure to choose a durable and resistant wood type. For this purpose you can use lodgepole pine, southern yellow pine, spruce or white pine.
- When choosing the wood type, always opt for the strongest and lightest option. The lighter the wood, the easier it will be to carry your sawing horse.
- If you’re going to use a circular saw, make sure the penetration of the blade is greater than the thickness of the boards. That way, you can cut everything in a single pass.
- If the sawing horse will be used outdoors, it’s convenient that the wood receives a pretreatment to resist the attack of insects. It’s also convenient to apply oil paint or varnish for extra protection.
- To provide higher stability, you may install wooden braces to connect the I-Beam and the legs. A triangular piece of plywood works perfectly well as a brace.
- The screws you use for this project must be long, at least 3 inches in length. Deck and Parker screws are a good choice in this case, because they have a pointed tip that allows you to advance through the wood while drilling.
- Screws must be made of stainless steel to provide maximum resistance to high impacts and external agents. Install as many screws as you need to stabilize the structure.
- If you frequently use your sawing horse to cut wood, you may accidentally cut the upper lips. Therefore, it’s convenient to reserve a pair of extra 32-inch 2X4 wooden boards to replace the upper lips of both I-Beams.
Conclusion
Certainly, wooden saw horses are essential in the life of any carpenter. These stands are very versatile that you can use for many different purposes. To make them more durable, you must use the best wood. Applying additional coatings can extend the life of your sawing horse considerably.
The stability of your sawing horse depends largely on its design. The more rigid elements you include in your design, the more stable it will be. However, you should be careful not to add too much weight to the structure to make it portable.
Now that you know how to make a sawing horse, it’s time to start thinking on your own design and get down to work. If you follow these basic tips, nothing can go wrong.
FAQs
Q. What is the optimum angle for the legs?
A. The legs of the sawing horse must be inclined between 65-75 degrees to provide maximum stability.
Q. How do you reinforce a sawing horse?
A. First of all, you must choose a type of wood resistant to high impacts and external agents. You must also set enough fasteners so the structure doesn’t break apart with high loads. The legs should have a suitable inclination to providing maximum stability.
It’s advisable to cut the bottom of the legs to have a flat support. The higher the support surface, the more stable the structure will be.
Q. How many 2X4 boards are necessary to build a sawhorse?
A. You need at least five 8-foot 2X4 boards to build a pair of stable saw horses. From each 8-foot board you can get 3 equal 32-inch pieces or 3 equal 30-inch pieces plus a leftover 6-inch piece. You can cut these leftovers as two equal triangles and also use them as braces.
Q. What is the standard height of a sawhorse?
A. Normally, a standard sawing horse should be between 30-32 inches tall. However, you can also find A-shaped sawbucks between 20-24 inches high, so the user can kneel over the tables during the cutting process.
You can choose the best height for your set of sawhorses depending on your height. Choose a height where you can work comfortably, without having to raise your arms too much to use your cutting tools.


