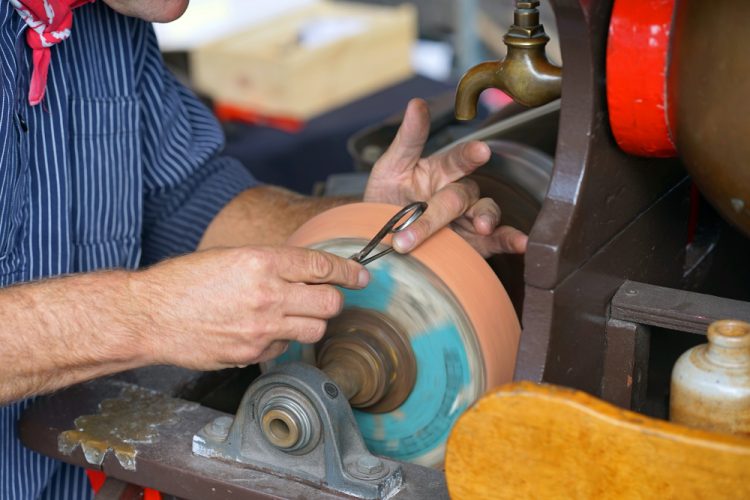
Getting a nicely shaped tool can be the major challenge you will encounter as a novice who is still learning the fundamentals of woodturning. Although most times, this aspect is usually overlooked, but this phase that is considered as less significant can be frustrating if carried out with no proper guidance. In this article, we will learn some simple steps anyone could adopt to get a head start.
Do you know that as simple as using the right sharpened lathe tool, you could have fewer cracks, fewer broken pens, with an all-round pen perfection? Using the right lathe will produce an exclusive result that appears better, fit, and suitable enough. So it’s a better opinion to carry out in-depth research before buying a lathe; doing this will give more value for the money and time you invested.
So, how to sharpen wood lathe tools? Below we shared some steps you could adopt to sharpen any lathe tool, irrespective of what you are currently working on, either a different project or pen turning.
How to Sharpen Wood Lathe Tools Without Hiring a Pro!
What You Will Need
Before starting the entire sharpening process, it’s essential to spot out all the tools that you could use to help you get a better result. To get a flawless result when sharpening any lathe tool, you will need the following:
Grinder
This is one of the most significant tools used to sharpening lathe tools. The use of 6 -8 inches grinder can provide a suitable fit that will help sharpen or reshape your tools more efficiently within the shortest time frame. To get a perfect and suitable result when using a grinder, it’s advisable to get it installed on a bench, board, or suitable workspace.
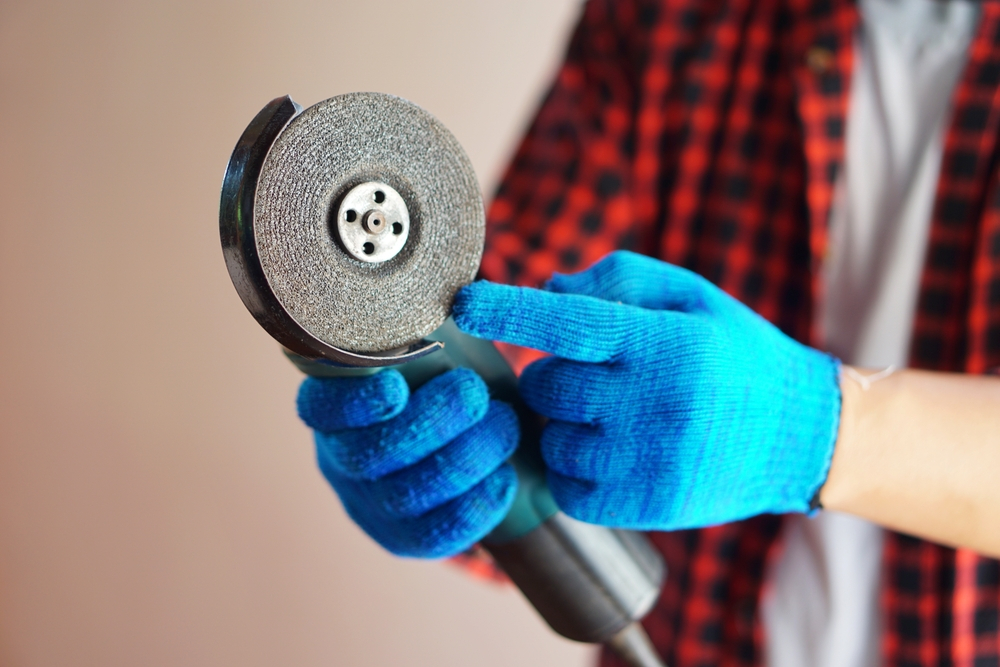
A bench with a suitable speed of 3,450rpm, made from a durable iron that could serve both industrial and domestic purposes, is well recommended; and the use of DEWALT DW756 can be a perfect match for the above-listed feature.
Eye Protection
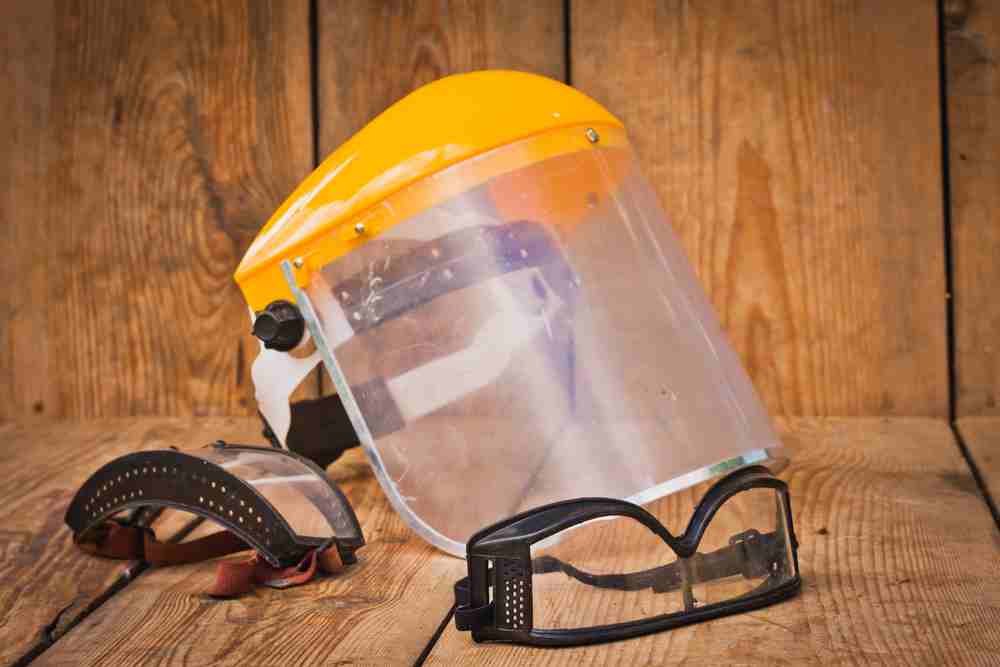
While carrying out the process of sharpening, it’s recommended you use eye goggles; using this will protect the eyes and prevent metal filings from gaining access to it.
Rubber Gloves
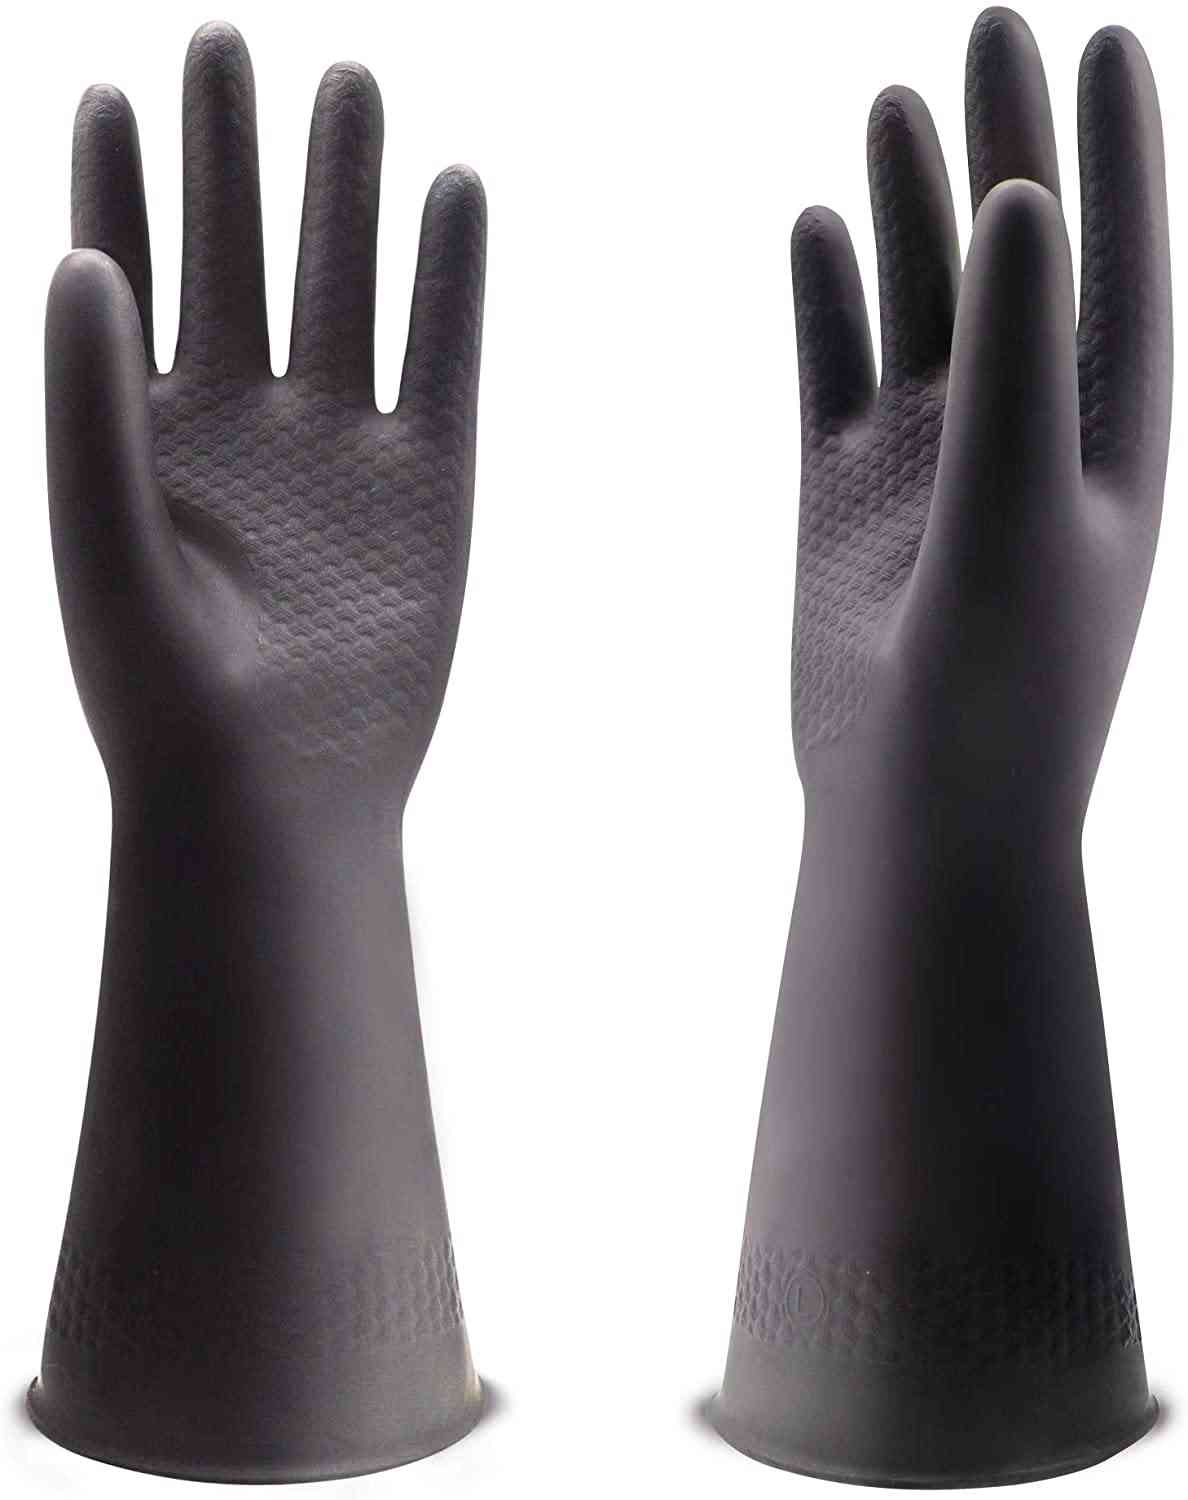
Rubber gloves help to absorb about 75 percent of vibration produced by the machine during sharpening tools and also protect the hand from grazes.
Wheel Dresser
Grinding wheels requires proper dressing, although this can be scheduled occasionally, depending on what you want.
Sharpening Jigs
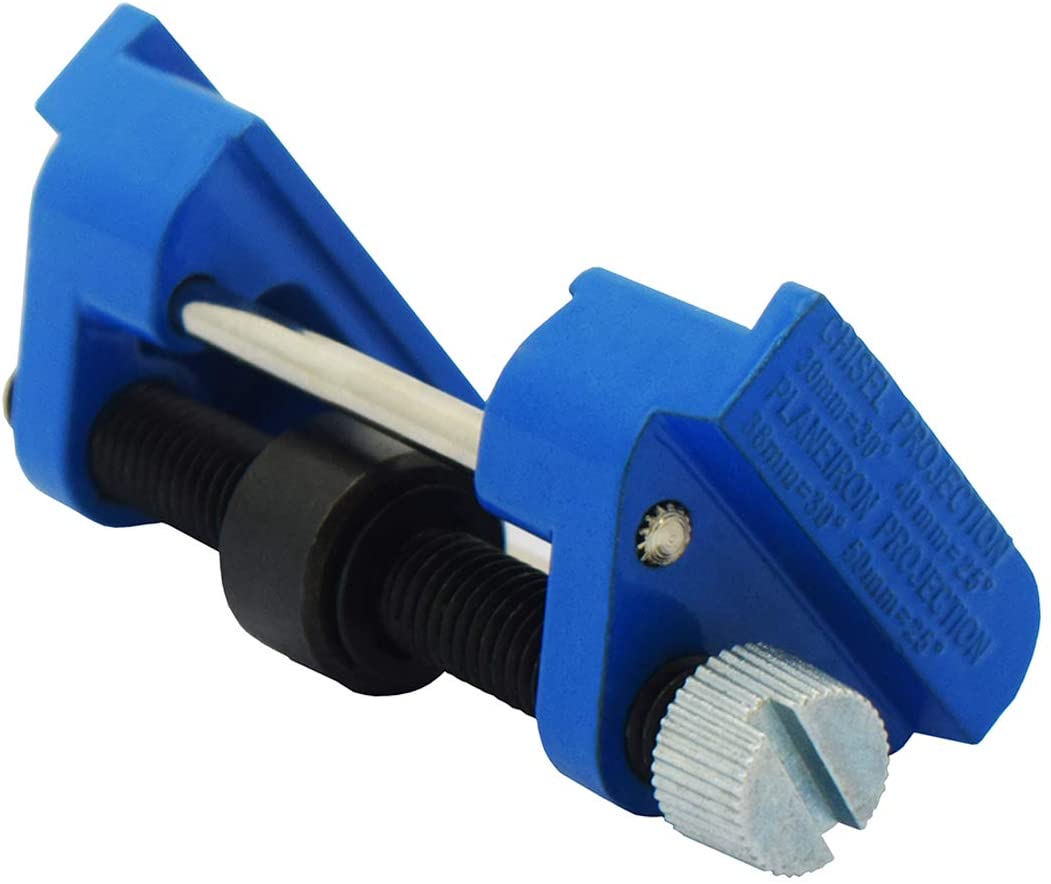
Sharpening jigs will help create a bevel angle that will enhance more sharpening results.
Other Items
Dry cloth, water, Lathe tools, and water.
How to Sharpen Wood Lathe Tools Using a Bench Grinder
Adhering to the following steps will help provide an optimum result while sharpening lathe tools with a bench grinder.
Start with the Fundamental Preparations
The use of protective goggles is highly recommended and should be considered as one of the basic steps to take before sharpening a lathe tool. Eye goggles will help prevent metal fragments from gaining access to the eyes. Use protective gloves to protect your hands.
It is important to ensure a well-secured, firm, and fixed grinder on the bench using the clamps before any sharpening operation is carried out.
You can carry out the following steps as a safety precaution for using a grinder.
- Use protection that allows breathing comfortably.
- Avoid placing the lathe tool beneath the middle of the wheel.
- Do ensure you have the sharpening platform close to avoid the lathe tool from been caught in between the platform and the wheel.
Dress The Grinding Wheel
The grinding wheel is one of the basic tool use in sharpening tools that should be giving the right attention. This can be done by setting the grind ready for the next work session.
About 85 percent of grinding wheel tend to form some amount of build metal fillings, which in the long run can affect the efficiency (working ability) and performance (sharpening ability).
The use of a diamond sharpening tool as a wheel dresser is recommended when using a bench grinder. While using the diamond sharpening tool, it is advisable to clean the edges of the wheels; this will level the surface and at the same time, remove all forms of debris.
Know The Accurate Grinding Angles
Before the actual sharpening, it is very advisable to know and understand the operation of diverse lathe tool with the measure of angles they cut.
One of the most important factors to bear in mind is that the shallower the sharpening angle, the more skills it requires to be guided. If you are comfortable with an angle size that grades 60 degrees, which is opposite to 55 degrees on the bowl gouge, it is okay to decrease the angle size once you gain more control over your tool.
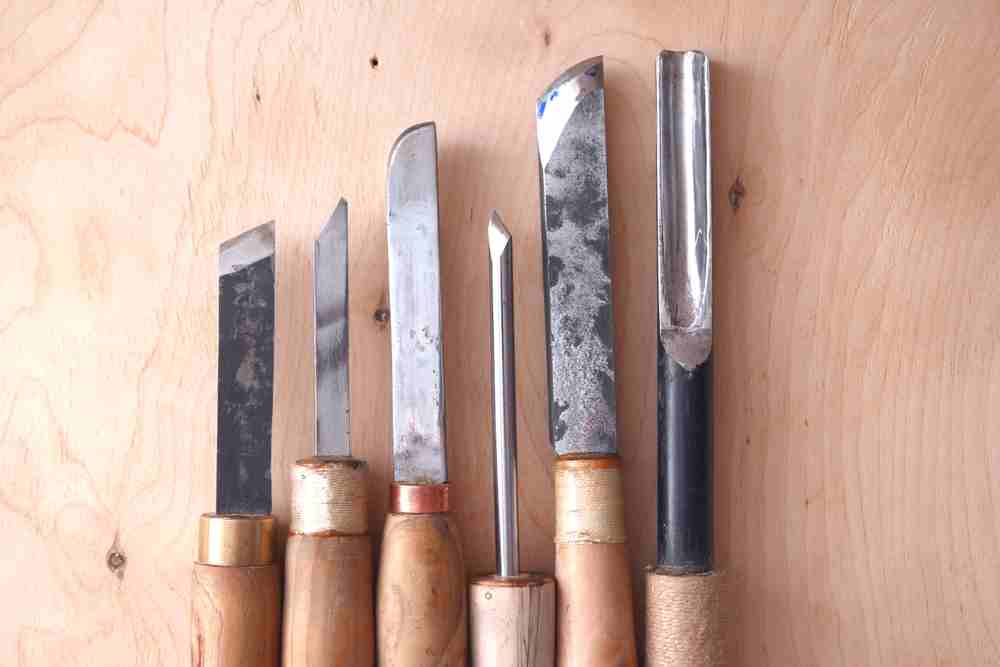
Lathe Tool Grinding Angles
Below is a short list of some tools with each suitable angles:
- The Rouging Gouge: the tools are basically used when roughing spindle stock; it’s not recommended for bowls. It is very suitable for angle 40 to 35 degrees. While using V-pocket, its best to stay focus and caution with the flop of the tool as this will be above the wheel centerline.
- Bowl gouge: although there are series of angular variation but the best ranges from 500 to 600, as your skill level increases, then you can adjust to lesser angles like 450 and 400
- Spindle gouge: aside from turning beads and coves that are on spindle stock, the tool has a series of functions that can be adopted in bowl turning and hollowing little holes.
- Parting tool (flat): Among various operation that is carried out by the parting tool, parting across spindle is one of the well-known function. While sharpening, it is recommended to maintain a 900 positioning to hold the tool in a straight direction to the wheel.
- Diamond parting tool: The tool clears out sawdust while cutting across wood at the same time. Angle 450 is a suitable match for the tool.
Establish a Proper Contact
Producing the right shape is possible once you are acquainted with the angles. It’s recommended placing the lathe tool at rest before making further progress.
Do this until you have direct contact between the wheel and your tool. And ensure the blade has slight contact between the wheels of the grinder.
Position on the wrong angle or pressing a bit harder on the lathe tool will cause the blade to create excessive vibration or bounce back, and this can, in turn, weaken your grip, and lead to loss of control holding the tool.
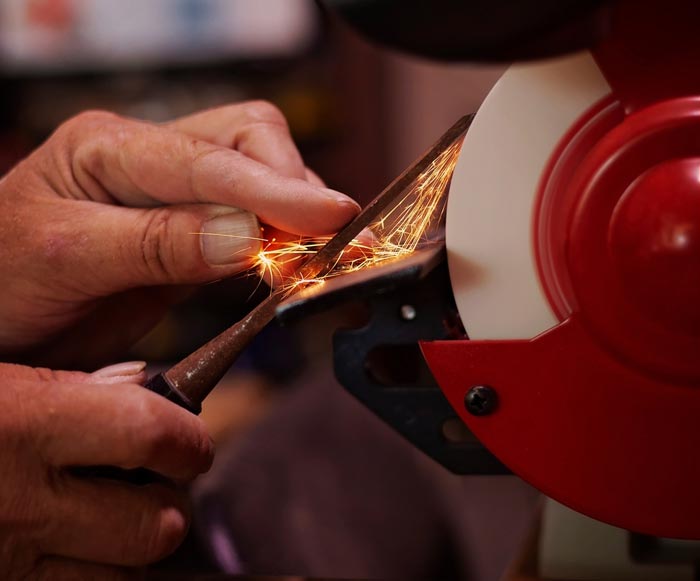
First stage Of Grinding
Once you are ready to sharp the tool, push it slightly to come in contact with the wheel while doing this to ensure that the contact is limited for 10 seconds. If the contact level is rightly positioned, a few sparks will be generated.
While sharpening the tool, move it from one end of the wheel to the other end. If this is rightly done, the sparks will be observable within the edge of the wheel.
The Second Stage of Grinding
Repeat the sharpening process a few times. Once the lathe tool is sharped, then you can cool it off using water. While grinding, the tool can get extremely hot due to friction that occurs between both surfaces.
For an effective result, both surfaces have to be dried before creating any contact. Over grinding a particular phase of the tool can result in weakness and cracking.
A nicely sharped lathe is easy to use. It is the outcome of professional efforts. But the good news is, you can also be a professional with the right amount of practice. You can get an optimum result that is similar to that of a professional by strictly adhering to instructions and using the right tool.


