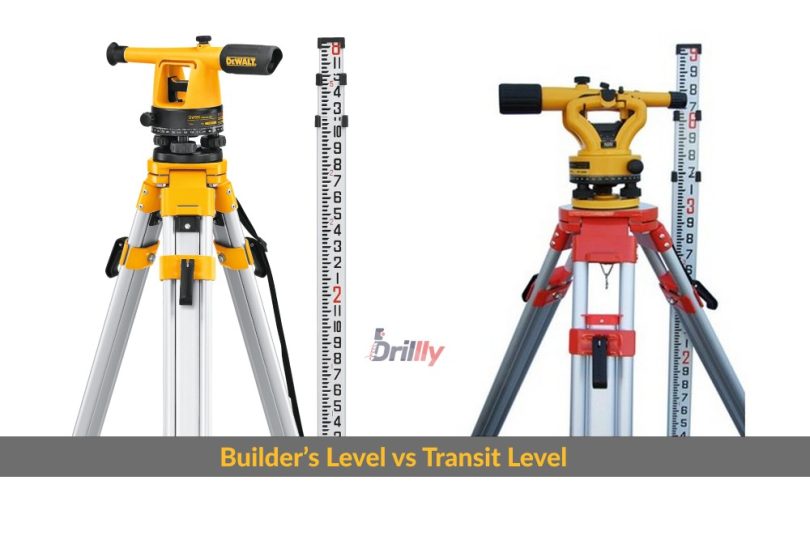
The main difference between a builder’s level and a transit level is that the builder’s level – when locked in place – can horizontally move in a full circle while the transit level tilts only vertically with a limited range of motion.
Let’s dig deeper and see how they differ.
Builder’s level: Pros and cons
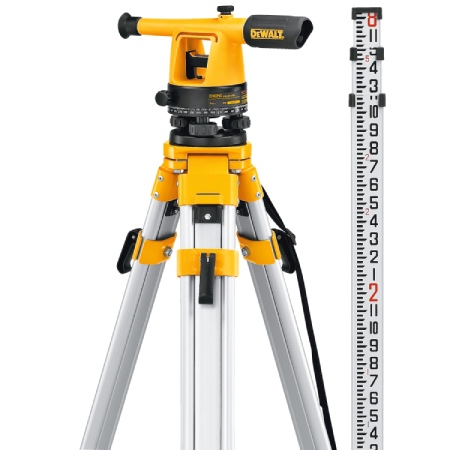
Pros
- Cheaper price
- Lightweight body
- User friendly
- Easy to set up
Cons
- Can’t use to measure angles
- Not precise
Transit level: Pros and cons
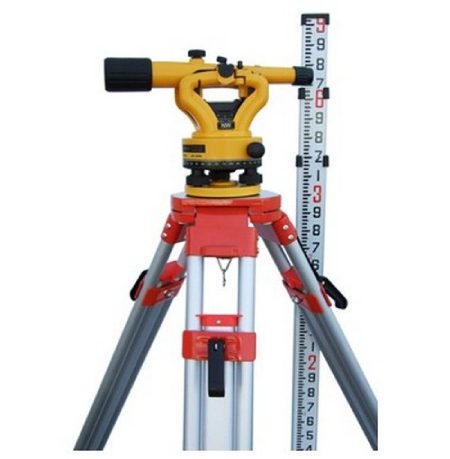
Pros
- Locates both vertical and horizontal angles
- Can do everything a builder’s lever does
- The longer telescope has great magnifying power
- The stadia rod is easier to read
Cons
- More moving parts
- Hard to keep steady
- Difficult to use
- More expensive
- Heavier weight
Builder’s Level vs Transit: How Do They Differ?
Measurement precision
Builder’s level
A builder’s level is a great device to check level points and elevation but the precision isn’t that good.
Transit level
A transit level measures both vertical and horizontal angles and provides the position of an object.
The device has a tripod and spirit level that help stability to get precise results.
Winner
Transit is the better choice when you want precise measurement.
Opportunity to use
Builder’s level
The device is used to measure the high and low points for leveling and grading.
Transit level
Framers and excavators use the tool for surveying and building.
Winner
Transit level wins the round for helping in more critical tasks.
Component complexity
Builder’s level
A builder’s level only has a telescope and level vial so it’s a less complex device.
Transit level
There’s a telescope, alidade, level vial, and vernier scale inside a transit level.
Winner
Fewer components mean a builder’s level has less complexity, which makes the device the winner of this segment.
User-friendliness
Builder’s level
The simpler assembly makes the device easier to use.
Transit level
The complex design isn’t very user-friendly.
Winner
Builder’s level is a better choice when you want to avoid complexity.
Pocket friendliness
Builder’s level
The lower price means there won’t be a big hole in your pocket when you get a builder’’s level for limited purposes.
Transit level
You have to spend a little extra to enjoy the improved functions of a transit level.
Winner
Builder’s level is the winner here with a pocket-friendly price range.
Lightweight
Builder’s level
The lightweight body means the device is easy to set up and move around to find measurements.
Transit level
A transit level isn’t that heavy but it weighs more than the builder’s level.
Winner
The lesser-weight body makes builder’s level the winner of the round.
Builder’s Level vs Transit: Are There Any Similarities?
The basics
Both of them are basic tools that construction workers, home-based DIYers, and small business owners use at work.
Need two-person to find results
You always need two people to manage both tools. One should hold the measuring rod on the other end for the job.
There are high-end transit rods that use lasers to measure the distance or height. But you still need something out there to measure elevation against.
Availability
Levels and transits are available for buy so you don’t have to sweat to get one.
Complexity with instrument realignment
Both types are made to withstand the conditions of a dusty construction site but they are prone to impacts.
The screws used for leveling the device on the tripod can be knocked out of the adjutment. The same may happen with the optical lens.
You have to take help from professional service centers to realign the instrument.
When to use a builder’s level?
A builder’s level is an ideal tool when you have to see the high and low points in an area for leveling, grading, surveying, and building.
The cheap and less complicated device is easy to operate that you want to use in construction sites.
When to use a transit level?
Use a transit level to measure elevations for surveying.
The device measures vertical angles so you can measure any inclination in degrees or check how level a vertical surface is.
The tool is your ideal choice if you are an excavator, framer, or landscaper.
Quick tips to use builder’s level and transit level
-
Check for errors
An effective way to find errors is to locate a 1/2 or 1/4 acre pond when there’s no wind.
Set up the equipment and ask your grade pole holder to go to the other side of the pond and set the pole bottom right where the water hits the shore.
The water in the pond is even, so all your readings should be the same.
-
Level change
Setting a builder’s or a transit level on a sloped surface is tricky. Unstable or muddy soil is a challenge for the job.
A trick is to set the level at the end of the line rather than in the middle when you need to take measurements for several points in a straight line.
You only need to focus the lens when the grade pole moves so you don’t have to rotate the level on the tripod. This prevents the chances of the level making small errors.

