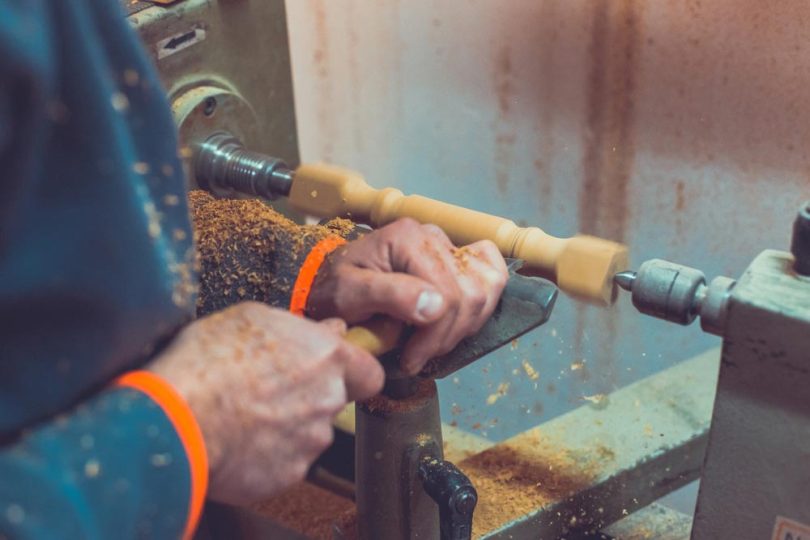
Creating your chess pieces, pens, ornaments, or home-made bowls is usually accompanied by a deep feeling of achievement and satisfaction. But the major challenge regarding this is that most entry-level lathes are very expensive, and may likely cost much if you are on a tight budget.
If you feel you are competent enough in handling some elementary technicalities, and loves to explore DIY challenges, then you can construct a personal homemade wood lathe. Here are steps to home-made wood lathes you can adopt to get started:
Home Made Wood Lathes Plans You Can DIY Easily

History of Lathes
Egypt is the first country that started the art of turning in 1300 BCE. History recorded that archaeologists had found turned pieces all made from stone.
The first lathe that was developed in Egypt was designed to be operated by individuals. The first person tried to spin the piece with the aid of a short rope while the other, carve out the cup, bowl, tool or weapon.
The discovery made by the Archaeologists showed that hundreds of bowls that were crafted accurately were crafted from a lathe.
In 1200 BCE, Romans took a step further in modifying all the designs made by the Egyptians; by introducing string and a bow to help with the turning process. This contribution made it possible for an individual to operate the lathe without stress.
In recent times, pole and paddles that are similar to that of a manual sawing machine are used to replace the bows. This introduction made spinning the piece much easier and create room for individuals to also work with both hands.
Necessary Parts
As stated earlier, making a lathe can be exciting indeed as it is accompanied with a feeling of accomplishment. Here is a list of some items you will need for successful completion of the entire process.
- You will need a poplar wood, approximately 10 feet.
- 4-inch pine. 1″ x 8″ x 4′.
- Miscellaneous scrap wood.
- 5/8th rod that has wing nuts, washers, tee nuts, nuts, and washers.
- A washer, match wing nut, and long bolts with an approximate length of 6 inches.
- Different screw sizes, including 2 and 1 inches.
- A 40 inches long “V” belt.
- Pulleys: a large pulley to fit the spindle and a smaller pulley that fit into the motor.
- Bearing blocks
- An AC motor with a plug and a switch.
Making the Base
With all of the above listed in place, the next phase is to build your lathe. We recommend starting from the base. Saw across the board into 2, 10 inches, afterwards, cut out 2, 24 inches of poplar wood.
Cut out angles on the pine board from a straight line to form a diagonal. Now fasten the poplar within the pine; this will create two sides and two rails.
Tool Rest and Tail Stock
To create the tailstock by sawing the poplar into two pieces, each should be 6½ inches. Arrange the pieces in a “C” shape. Then, cut 10 inches and 7 inches of poplar wood, with an additional 2inches X 4 inches.
Once that is rightly done, saw out the slot in the center of the 10 inches piece to allow a free movement with the tool rest, you can do this using a jigsaw and drill.
Now the next phase is to link 2 inches X 4 inches at the end of 10 inches piece; this will form an “L” shape. Once this is done, then you can take 7 inches piece and link it together to the 2 inches X 4 inches.
To ensure that the bottom is firmly fixed, saw out some piece of poplar wood with an approximate size of 2 inches. Then saw out notches along the sides; this will make the surfaces to glide perfectly among the rails.
Making the Head
The next phase is to create the lathe head. Create a different pine board that has a similar size to that of the legs of each lathe.
Saw out two additional 7 ½” x 4 ¾ inches that can be used to extend the height of the legs. Now fix one of the lathe legs and then sandwich with scrap wood. The scrap wood will be the braces.
Now repeat the same process to the previous leg you sawed out. Make a small box by sawing out more pieces of wood to perfectly lap between the legs.
Mounting the Motor
Use a book to elevate the motor while mounting it. After that, mark out where you can drill the holes required to mount the pulley.
You may likely drill a hole to serve as a Chanel, allowing you the privilege for adjustment. Drill up every single hole needed and then mount bottom pulley where it needed.
The Bearing Blocks
Now you are set to fix each bearing block. You can set up the blocks on the head of the lathe and on the tail of the stock. Once that is ready, you can use a rod to lining up.
Spot out the position where they need to be and drill the direction it will take. After that is done, cut out the rod to get the right length. You might consider 1 – 2 inches sticking out both sides.
You could use 3 inches on the tail side; this will make working on a wide size project pretty easy. Now, screw the pulley to get it attached on the head, then slot it along the blocks.
Finally, adjust the motor and fix the belt within the groove of the pulley. The motor adjustment can be made by removing or adding paper beneath it.
Finishing It and Mounting Wood
You can finish loose ends by fastening it rightly and running a check by turning it to ensure lathe is ready enough. If you observe a weak joint that might require any adjustment, then it’s time to fix it.
The possible question that might come to mind at this phase will be, “How do I mount wood on the lathe?” doing this is pretty simple; use tee nuts to mount it at the end of the piece you intend to turn. Drill holes that will suit the tee nut and tag it to the wood using a hammer. Afterward, use screws to fasten it rightly to get support using the tailstock
Once the lathe is ready and you intend to use the lathe to turn the wood, you can do so with an additional hose clamp around the tee nut; this will help support it firmly
In summary, building a home-made wood lathe can be an adventure that is satisfying indeed, or a step toward frustration and time waste, as a mistake in measurement can have an effect and other parts of the lathe.
So the fast and most cost-effective way to build a homemade lathe is to stick closely to the above instruction and units of measurement you choose to work with.
If you have the expertise and the equipment to do the work, the above instruction will provide you with a quality, easy to use DIY Home-made wood lathe.


