Drilling pilot holes is always necessary to make sure that wood screws go where you want them to go. The size of a pilot hole must be the same diameter as the root diameter of the screw.
But the most common mistake is to make the holes too small thinking that only a snug screw can make the joint stronger. But that’s not the case.
Here’s a guide on what size drill bit you should use for pilot holes.
Why Pre-drill a Pilot Hole
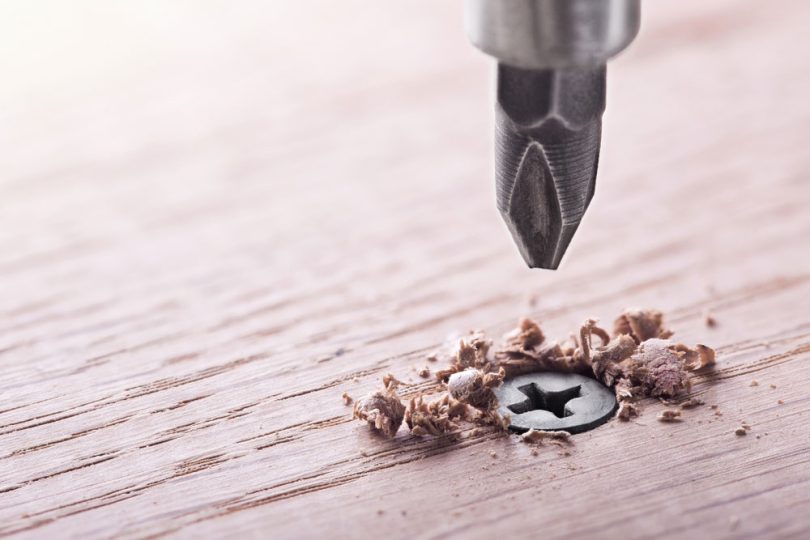
When you’re trying to drive a screw into the wood without a pilot hole, you are actually pushing the wood which creates pressure on the surrounding.
Not all types of wood can bear this pressure, especially hardwoods like oak. So, you should pre-drill a pilot hole if you want to save the wood from splitting, cracking and weakening that might happen eventually.
Besides, pilot holes also stop screws from bending or breaking that mostly happens with low quality screws and you can drive them with a screwdriver or a power drill easily. If you try to install directly then they will require a lot of force.
However, inexpensive wood like pine can expand better than oak but we will recommend that you still drill pilot holes for a professional look.
What Size Drill Bit for Pilot Holes?
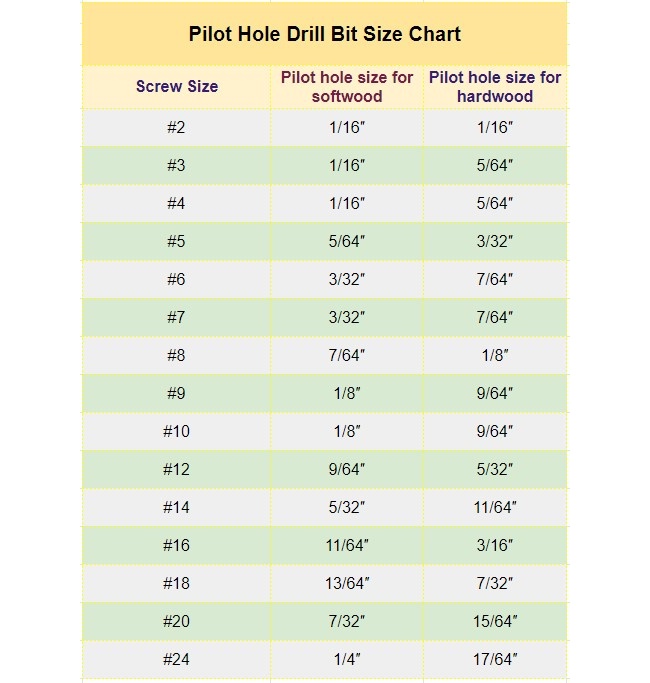
Pilot hole drill bit size chart
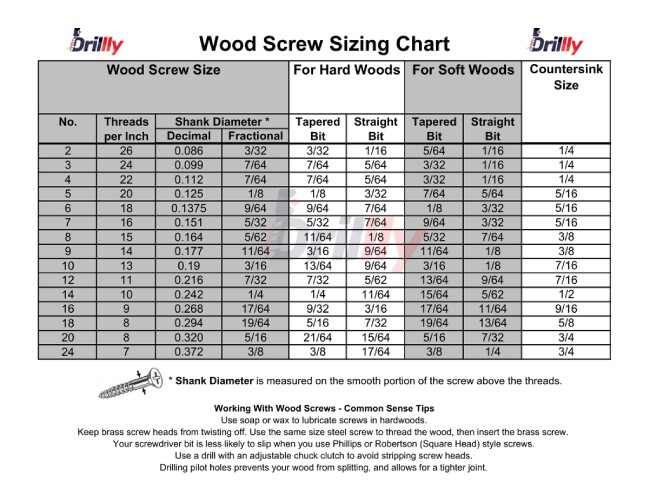
The wood screw size has a number (on the left of the chart). Match the screw number with the bit.
Suppose you’ve #10 size wood screws and you are going to install them on a soft wood with a straight bit.
Let me show you how this chart is going to work for you.
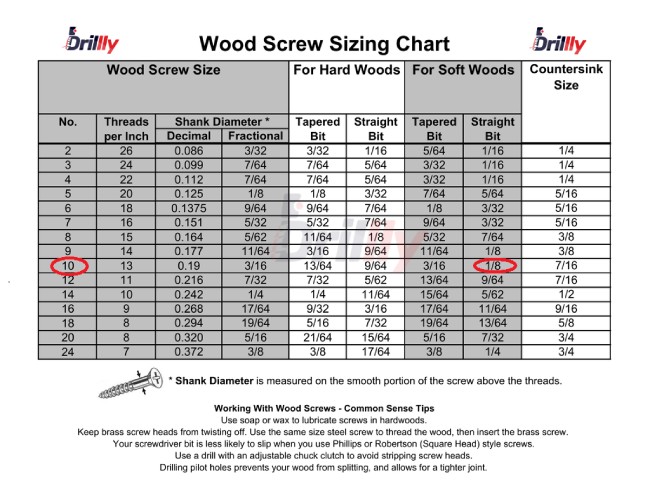
So, the bit size will be ?.
How to compare the shank size with the bit size
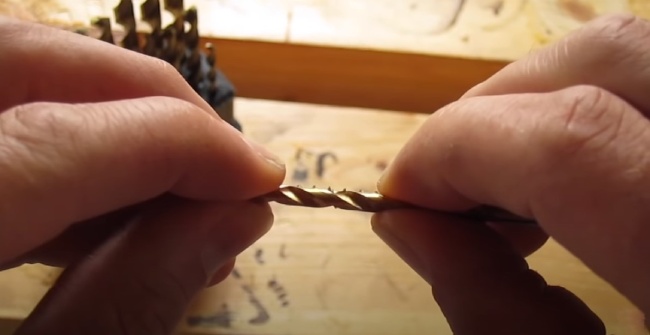
Step 1: Put the bit and shank parallel.
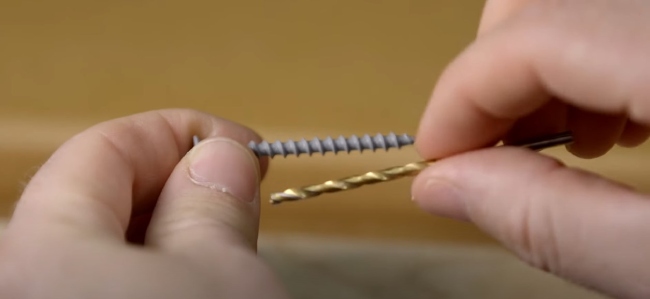
Step 2: See if the bit only covers the shank’s diameter. The threads of the shank should be visible that might be your best fit.
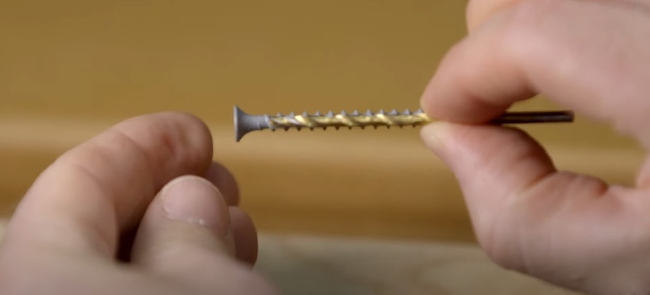
Step 3: However, the thread should not be too visible or the bit shouldn’t cover the entire screw. If they do, you don’t need them for that screw.
Step 4: Now as mentioned earlier, determine the depth of the hole and start drilling.
Tapered or straight bit?
We recommend that you use straight bits on softwood and metals. Drill with a tapered bit when you’ve hardwood but there are no golden rules.
You can use any of them to drill a pilot hole but if you want to compare we will suggest a tapered bit.
Note that modern screws are designed to cut a hole when you install them.

Tapered Bit
Holes created by tapered bits become narrow at the tip. They cut faster and require less pressure from the drill machine to start.
The screw creates a strong grip into the wood and the top of the hole leaves a smooth clear surface. However, if you have short screws then a tapered bit won’t be good because the unfilled holes will collect dust eventually.
Straight bit
They keep the same width throughout the entire hole.
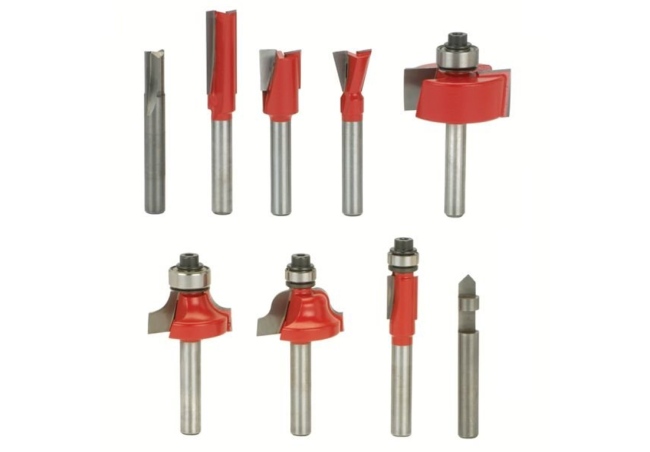
Types of Drill Bits for Pilot Holes
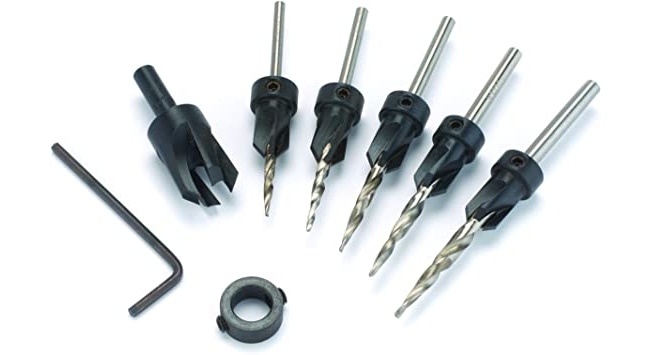
Countersink bits
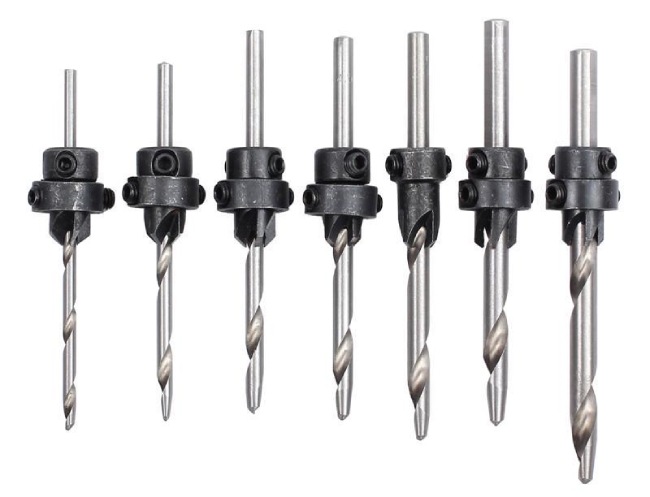
They always give a more professional look to the end result. The heads of the countersunk screws sink into the surface because they have a flat head.
Hole saw
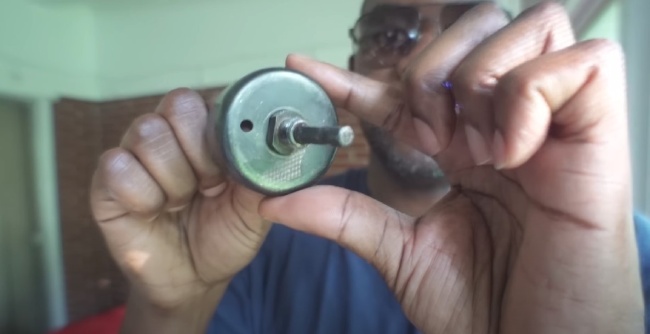
You can use a hole saw to install door locks for wood or metal doors. They have different sizes. You just need to attach a bit to the center of the saw and use them.
Pilot Hole Drill Bit Size Chart
Problems You May Face Driving Screws
1. Overdriven screw
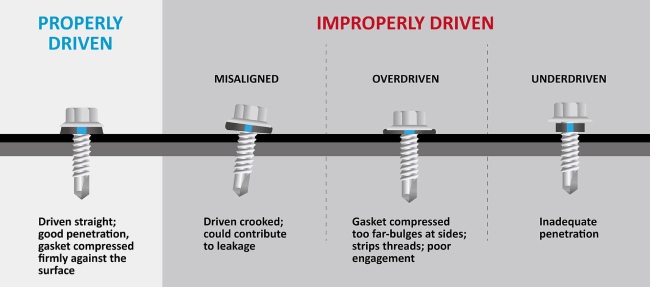
Solution
a) Drill a pilot hole and follow all the steps stated above to create the desired depth. There will be no place to overdrive the screw.
b) Set the driver’s slip clutch accordingly. Softwood usually requires little torque while hardwood like oak and maple needs a higher clutch setting.
c) Practice is key here. We recommend you do some practice before directly hitting your workpiece.
2) Stuck screw
Screw can get stuck for many reasons, including corrosion. There are several ways to uninstall them, try another if one doesn’t work.
Solution
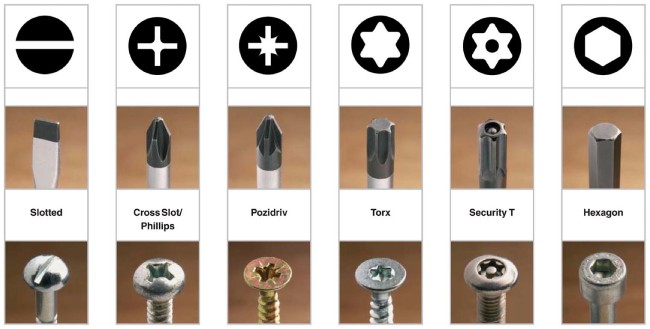
a) Find the best fit screwdriver to uninstall
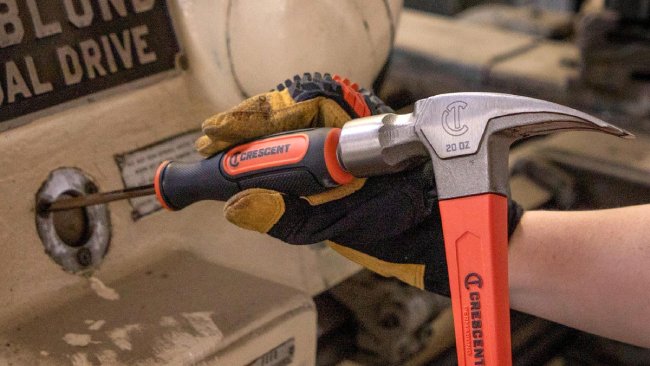
b) Hit the screw driver with a hammer
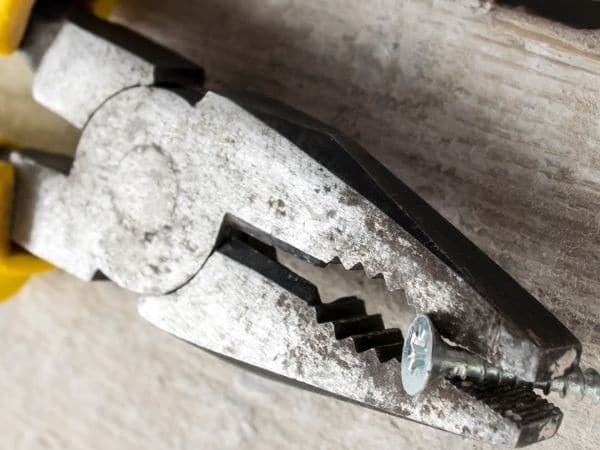
c) Pliers may help you to remove
d) Take an electric drill and make a small hole into the head of the screw
e) Use a rust remover if the screw is rusty
f) Use your drill machine in reverse to get them out of the board
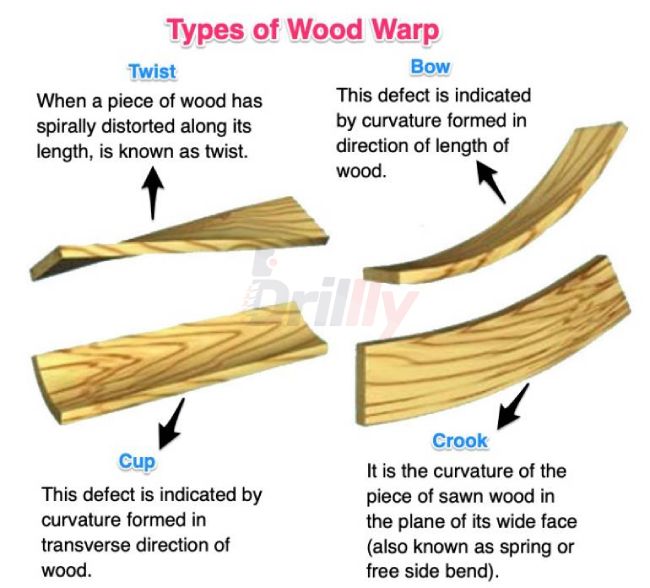
3) Bridging warped wood pieces
Warped pieces of wood are tough to work with and they eventually fall apart because the screws can’t hold them together.
Solution
1) Avoid using warped woods, especially if they are not in a good condition
2) Put the logs under a thicker board on your working surface and clip them down. First trim and then join them with the glue. Take a wood clamp and leave the wood pieces there.
How to create perfect pilot holes?
Step 1: Mark the place first where you want to create the hole
Step 2: Follow all the steps we described in the section “How to choose the right size drill bit” to find out the right bit for your shank.
Step 3: Now, if you need a specific depth then create a mark on the bit with a painters tape
Step 4: Drill the hole. If your wood is soft then the pilot hole should be a little smaller than the screw. On the other hand, if you are working with hardwood then the pilot hole and the screw will be of the same size.
FAQs
1. What is a countersink drill bit for?
Ans. They are used for drilling pilot holes. They are also used in countersinking screws and deburring because they have conical shape.


