First, you need to know how to make biscuit joints. They are used to join pieces of wood because they are powerful adhesive. With the aid of a top-class biscuit joiner, making a biscuit joint is as simple as ABC. It is not rocket science. All that is required is mastering the tool and cutting all of the slots with precision.
The biscuit joint is one method to glue boards together along the edges to create a more extensive slab. Biscuit joints are used in making tabletops and furniture. Even though specialized tools are required, they are easily accessible and common.
How To Make Wood Biscuits – Step-by-Step
Step 1: Gather the essentials
The essentials for this job are;
- An adequate workbench
- A biscuit jointer
- A measuring tape
- A saw
- Carpenters glue/wood glue
- A square
- A measuring tape
Step 2: Choose the lumber
To ensure that your job is clean, one thing to consider is selecting lumbers of similar thickness. Another option is to laminate lumbers with different thicknesses when you know only one side of the wood is visible if there is a power plane available. Choosing lumbers with similar thickness is to ensures that your job is clean. So it is ideal to consider the thickness.
Step 3: Size them
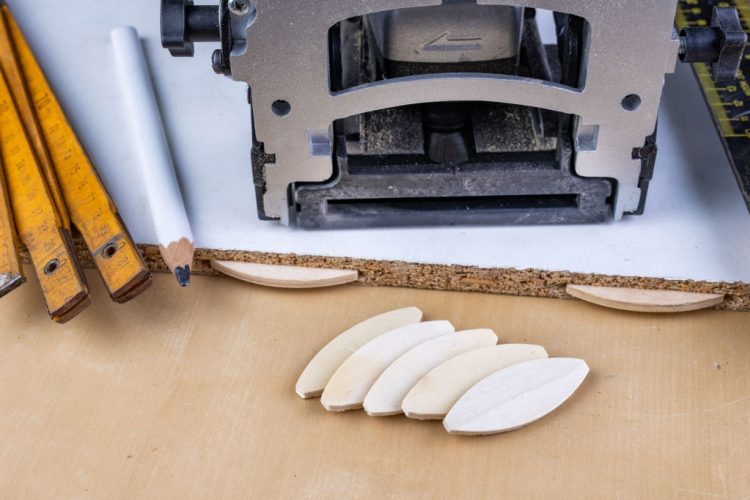
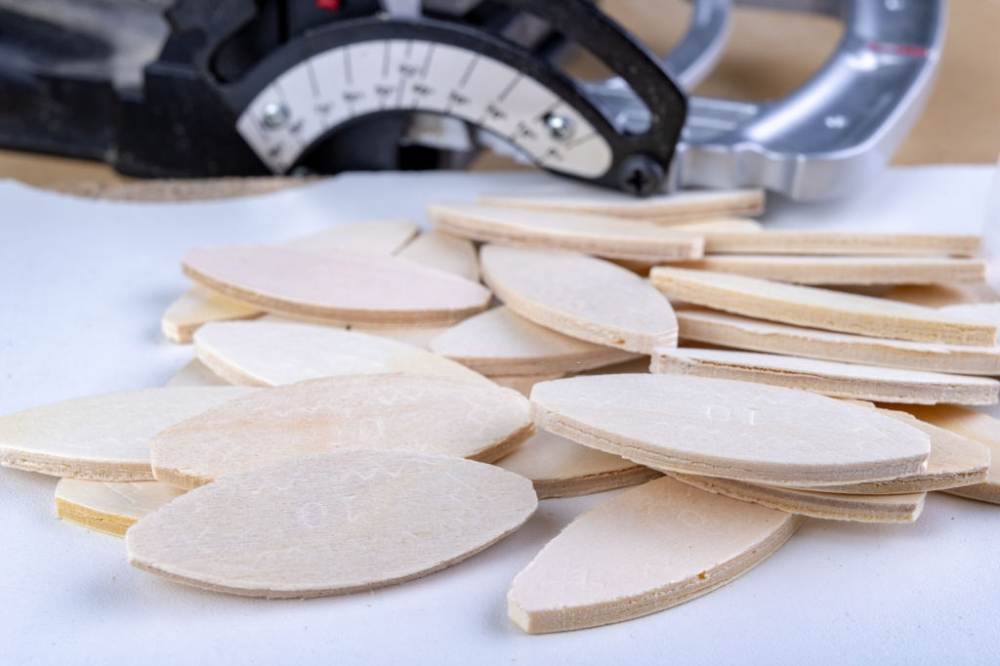
Now, the work begins. Decide the size of the biscuit joint. Commonly, the #20 biscuit is adequate. But it is a different story when the wood you are working with is thin. In such cases, we recommend going for a smaller-sized biscuit.
The biscuit is the chunk of wood that fits in the holes made and joins the two pieces of wood. Edge and size the board so they can fit securely together, especially along the edges. If you are considering a beaded look, rounded edges are common lumber-work.
Step 4: Set the biscuit jointers
The size of the biscuit you have is going to determine the depth adjustment on the biscuit jointer. Also, you are going to make sure that you set the height adjustment so that the biscuit is in the middle of the stock.
It is imperative to know that if you are using double biscuits (two biscuits joints side by side). You will create a gap of 3/16 inches or more along the biscuit joints, and also amid the joint and the helm of any board.
Step 5: Mark the boards
This is simple. Prepare the wood you will be cutting with the biscuit joiner, set them in the position you are going to be using for cutting, using your tape measure and pencil, indicate where you are going to be cutting the slits on each of the boards.
Step 6: Cut them carefully
This stage requires the utmost care. Make sure you are wearing all of your safety gear, like safety glasses, to protect your eyes. Press the biscuit joiner against the board and cut. When you do this, the 4-inch blade will protrude, and when you let go of the pressure, the blade contracts.
You also have to ensure that you are cutting the right place, and that is exactly why the cutting guide has to be completely aligned with the markings you have made on the board. Also, ensure the fencing guide is at 90 degrees to the helm of the wood press the biscuit joiner with as much pressure you can exert until the blade can no longer go further.
Watch the blade reverse. There is a cut. Do similar on the other boards. Ensure that the cuts are clean and complete enough to contain the biscuit fully, and clean the debris out by blowing them. Store the biscuit joiner safely, ensuring that the blade is retracted.
Step 7: Remove the sawdust
This is to make sure that you have done clean work. When the sawdust is cleared, you will be able to see what you have done and access the hole.
Step 8: Use a good quality glue
Choosing the perfect glue is necessary for good work; this is so that the adhesive doesn’t give way later on. There is a lot of quality wood/carpenters glue in the market. All you have to do is take your time to find the perfect one for the job.
Step 9: Align and attach the board together
To properly fix the biscuit joints, take the wood glue and apply little into one of the slots that you have made. Slot the biscuit in and make sure that it goes all the way in. Add glue to the other slot, line the boards up, and thrust the biscuit into the second board.
Clamp the two boards together. One thing to consider is that the clamp doesn’t have to be too tight. If they are too tight, the glue on the joints can escape. There is likely going to be excess glue that leaks, use a soggy cloth to wipe off the excess glue before they dry.
Step 10: Sand your timber if necessary
In some cases, you might need to use sandpaper. If, for some reason, you do not take notice of the excess glue leaking down, use sandpaper if the glue has dried up.
Biscuit Joints: Tips & Guide
- Ensure that the biscuit joiner’s fence is flat so that it fits properly with the joining pieces. If you do not do this, then you might have an uneven surface
- The size of the biscuit has to match the lumber, so choose carefully
- Make sure that the biscuit is dry and can soak up moisture, swelling before use
- Make sure the carpenter’s glue is of good quality
- You can improve on the clamps using wood blocks and wedges
Conclusion
Biscuit joints are pretty simple and easy to make. It can be quite tricky at the beginning, but practice makes it perfect. And don’t forget to have fun making the joints.


