An orbital sander is one of the easiest ways to get indoor or outdoor paint off a surface. If you’re a home-based DIYer that wants to go about the process but not sure how, we’re to guide you.
How to Use an Orbital Sander to Remove Paint
Step 1: Gather tools
- Orbital sander
- Lead tests
- Breathing mask
- Safety goggles
- Vacuum bag/any dust removal unit
- Hand scraper
- Paint residue/stripper
- Wood stain
- Sealing and stain combo product
- Wood oils/wood varnish
Step 2: See if there is lead in the paint
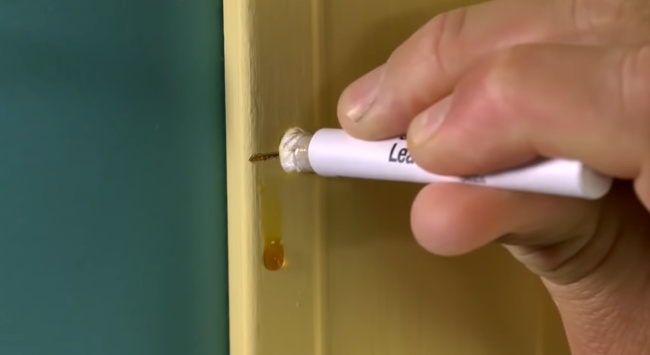
Check for leads in the paint when you want to work on the outer wall of the house.
Lead in paint has been outlawed in the US for decades and you need to test if the house is old. You can either do it with some lead tests or get help from a qualified professional that will cost you more but give you 100% accurate results.
Don’t use an orbital sander to remove paint if you find lead in any layer. Use chemical strippers or a heat gun instead.
Make sure you have worn the right gear and appropriate respirator when you do so. Call a qualified professional if you don’t find confidence doing the job yourself.
Step 3: Check if you’re making the right approach
Consider the number of layers and the state of the paint to decide what route to follow. You also need to think about the type of result you want.
An orbital sander works great when the existing paint is thin and you will paint it over so you don’t need to reach down the bare wood. This is an effective option when you want to remove any loose paint and get a smooth surface that you can paint over again.
Step 4: Take preventive measures to avoid dust
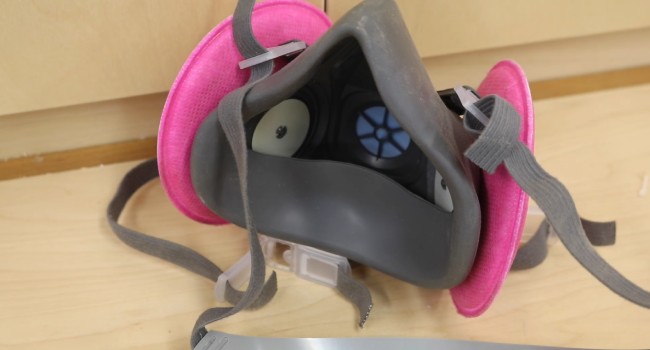
Wear a breathing mask and a pair of safety goggles to protect yourself from dust.
Connect the sander to a vacuum bag or other types of dust removal unit. Seal up your doorways to keep the dust within the room and cover up the furniture to protect from dirt and dust.
Step 5: Hand scrape the old paint
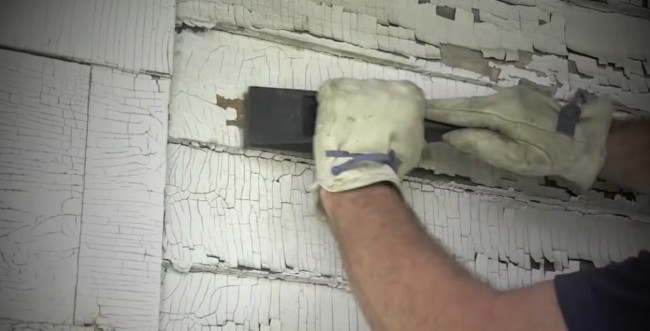
A good idea is to hand scrape the paint as much as possible before you start using an orbital sander. This method makes following the next step quicker.
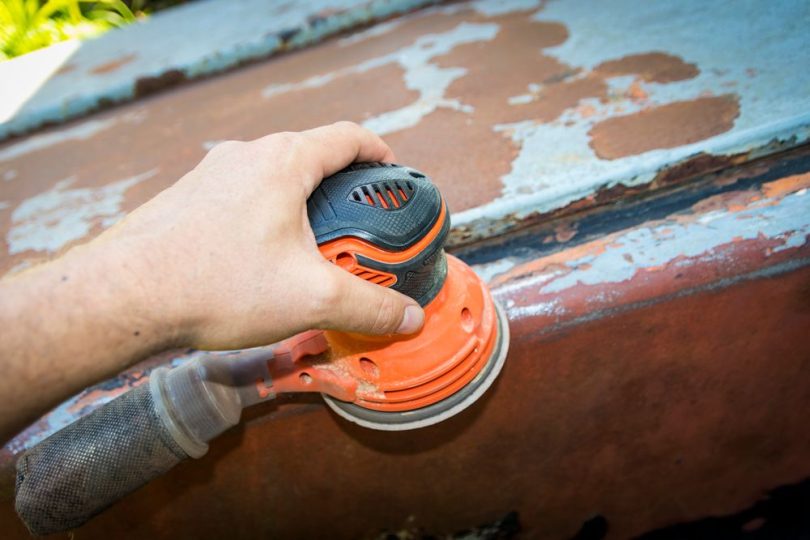
Step 6: Remove paint with an orbital sander
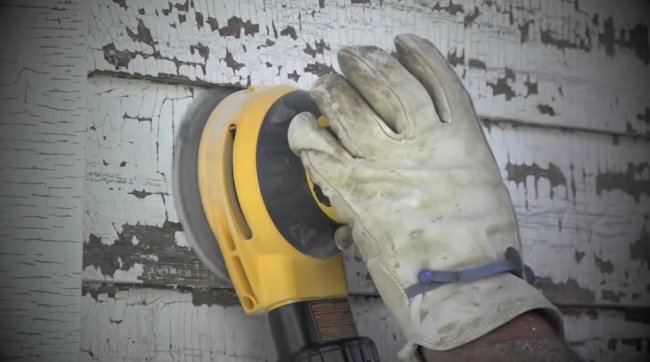
An orbital sander spins in circles when you move it over the paint. Keep the tool on the move so there are no marks left on the surface.
Don’t put too much pressure on the sander or it won’t spin. Use a rag to clean the surface frequently so the dust can’t clog the sandpaper.
A 40 to 80 coarse grit is good to start off with the job. You can move up to 220 grit or stop earlier whenever you get satisfying results.
Step 7: Remove the paint residue
Make sure that up to 95% of the paint is removed before you do sanding. This is necessary because too much remaining paint clogs up the sandpaper, which makes the tool unusable.
Clean up the surface with mineral spirits or a rag to remove any paint residue or stripper. You want to let the wood dry before the sanding process.
Step 8: Sanding the surface
Start sanding with a coarse sandpaper and work your way up to 150 to 220 grit to give the surface a smooth finish. Keep the tool on the move and press it gently so you don’t gouge the wood.
Step 9: Choose your finishing type
Go for a polyurethane wood finish, lacquer, or some common paint if you don’t like the woody appearance. These surface finishes are especially great for outdoor projects.
A penetrating finish allows you to keep the wood exposed and the usual choices are wood oils and wood varnish.
Step 10: Do the finishing
i) Staining is your first step here. Apply a coating of wood stain and allow it to saturate the wood.
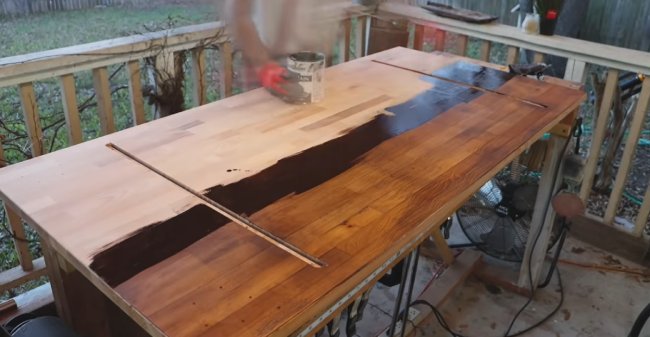
Wipe off surpluses and let the coating dry completely before you move on. You don’t need to follow the step if you don’t want to add a new color to the wood.
ii) The next step is to apply a sealant so the wood remains protected from weathering. You can also use a stain and sealer.
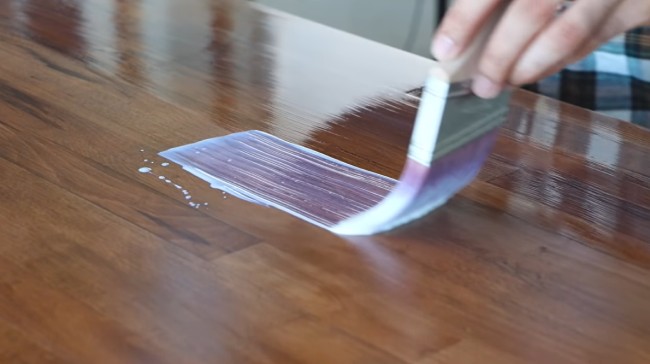
Let the sealing dry and give it a light sanding before you do the finishing.
iii) Pick any finish type that you like but the oil-based wood varnish is a great choice.
What to do if an orbital sander leaves swirl marks?
The chances of an orbital sander leaving faint swirl marks are pretty good. You need to sand down the wood even when you are removing the paint. Sanding down the surface allows you to achieve a long-lasting and smooth finish.
Use a sanding block or go over the swirl marks with sandpaper to buff them out. The marks are light but the alternation of the top surface of the wood makes them often visible through polish and varnish.
Repaint the wood with a quality paint and primer to make the swirls invisible. However, inspecting the wood to find and remove swirls is still a worthy option.
Quick safety tips for orbital sander
- Don’t wear loose gloves or clothes and keep your hair tied up if it’s long
- Always be careful about the feed direction
- Don’t sand any material that you find too small to hold or hard to support
- Never adjust the tool or setup when in motion
- Always sand on the downward turning side of the disc
- Keep your fingers at a safe distance from the sandpaper
- Stop immediately if you see the tool malfunctioning
- Only buy your sander from a reputable dealer and follow the user manual
- Use a socket with the residual current device or RCD protection to plug in the sander. An RCD helps reduce electrical fire risks and protects against electric shock
- Regularly check for burn marks on the plug and socket
- Contact a professional electrician if you face issues like circuit breakers tripping or fuses blowing
- Check if the tool makes arcing sounds or feels hot when you touch
- Register your orbital sander with the manufacturer to easily get recalls or safety notices
Tips for using an orbital sander
- Secure the item well that you want to sand
- Do not turn on the tool or connect to the socket before you attach the sandpaper
- Keep all the ventilation slots of the sander dust-and debris-free
- Make sure you have a firm grip on the sander handle before you turn on the tool
- Always unplug the sander after the use and store in a dry place
- The tool is not recommended for angles and outside curves
- Support large stock when necessary
- Clean the tool and the area after work
FAQs
1. Can I use an orbital sander to remove paint from concrete?
Ans. The uneven surface makes concrete sanding more difficult than sanding wood with the tool. You can still use the tool for the job but the important thing is to work slowly and carefully. Only use a sander after you have tried everything else.


