A hand plane is a woodworking tool that needs to be constantly adjusted to work properly for the task being carried out. This makes knowing how to set up a hand plane very necessary for everyone who owns a hand plane. Asides from knowing how to set a plane, it is also very important to know how to assemble a hand plane, as well as how to adjust a plane. All of these will be stated in this discussion. So, keep reading!
Getting Familiar with the Various Parts
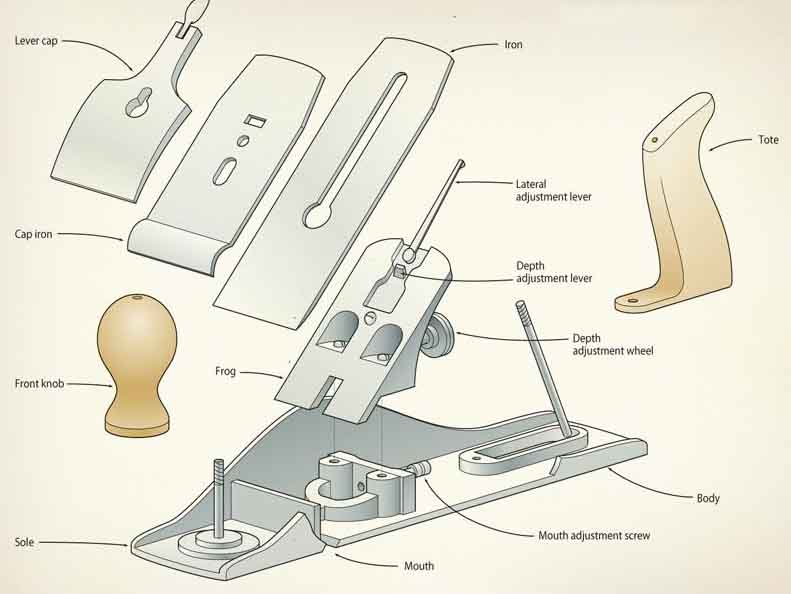
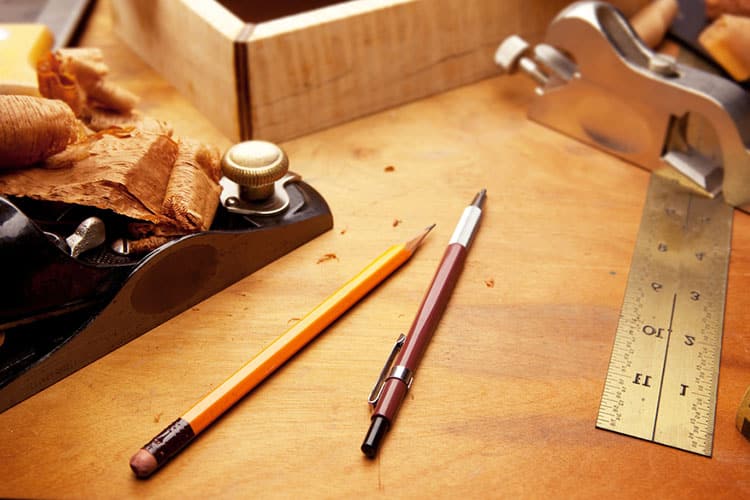
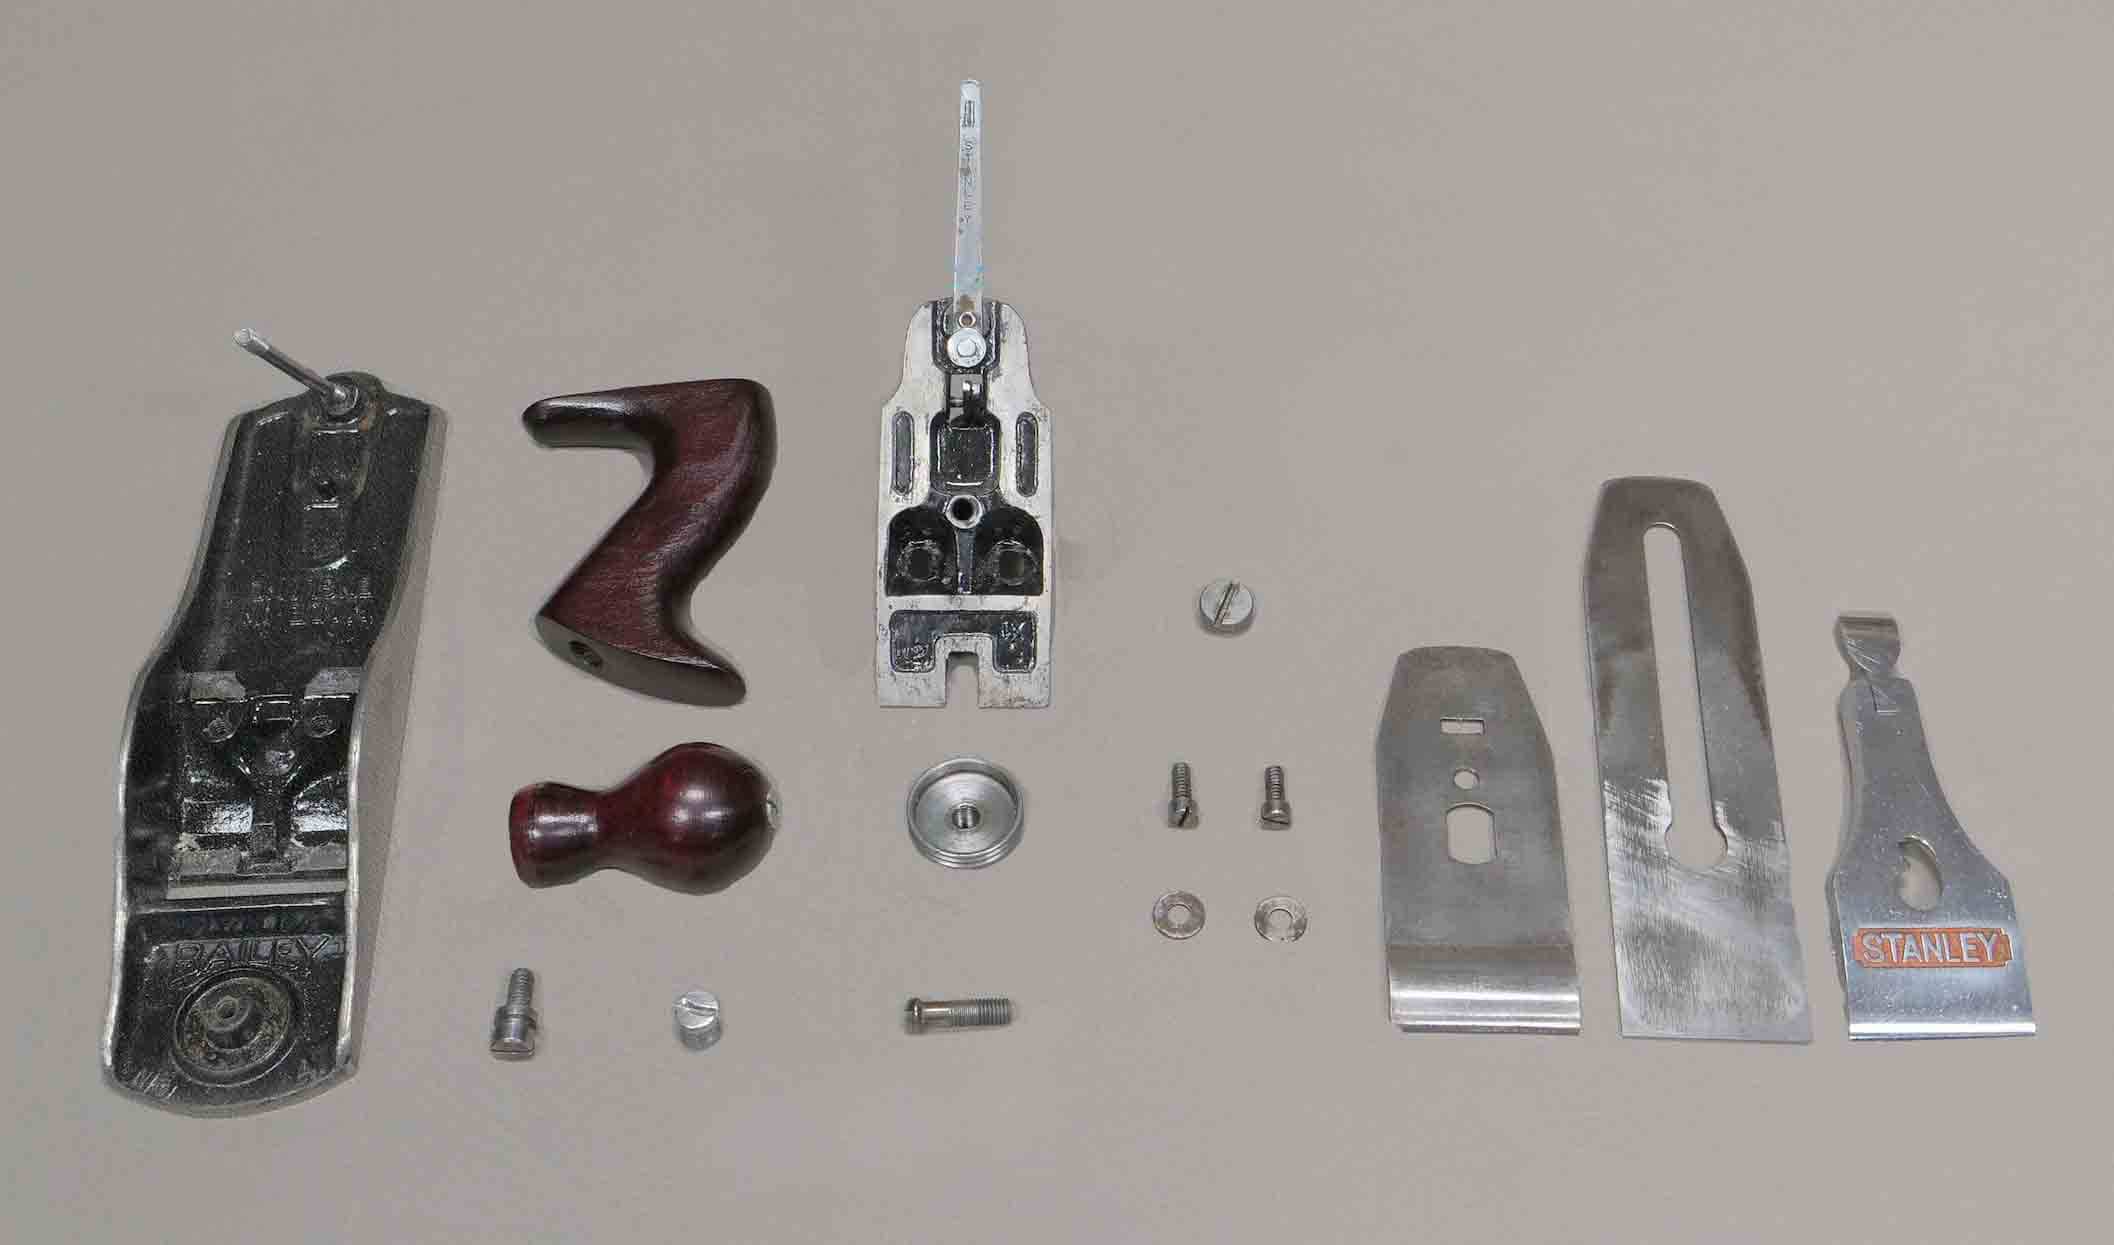
It’s easier to know how to set up a hand plane if you are familiar with all of the parts. It is very easy to how to adjust a plane or how to adjust a Stanley hand plane when you are familiar with all of the parts of a plane. The hand plane consists of major parts which include the blade, the chip breaker which is mounted at the tip of the blade. We also have the mouth opening which creates a passage for shavings. All of these parts all work together to ensure that the hand plane carries out the task at hand effectively.
How to Set up a Hand Plane?
Although there are several types of these tools, all serving different purposes, setting up a hand plane is very straight forward and easy to understand. So, let’s look at how to set a hand plane.
1. Clean the various parts thoroughly
The first step to take when setting up a hand plane is to ensure that all the parts of the hand plane are thoroughly cleaned. From the blade to the outer and innermost parts. This will not only help you prepare the hand plane for the work to be done, but it will also help you detect any fault beforehand.
2. Sharpen and install the blade
The strength of the work to be done with the hand plane depends on how sharp your blade is. So before you start working with the hand plane, it is very important that you sharpen your blade. When and after the blade must have been well sharpened, install the blade and have it properly secured in the hand plane.
3. Install and set the chip breaker
After installing the blade, you have to also install and set the chip breaker. Make sure the chip breaker is installed and we’ll mount on the top of the blade that has been installed. In setting the chip breaker, you have to make sure the leading edge is set from the blade’s front and set parallel to the plane. When you are done, make sure it is well secured making use of the lever cap. Set the blade tension to hold the blade and the chip breaker in its place properly.
4. Set and open the mouth opening
You will also need to set the mouth opening of the hand plane after which you will have to open it. To set the mouth opening, locate screws by the mouth opening so at to be able to adjust it to suit the type of cuts to be made. With this set, as you gradually begin to make use of the hand plane to make cuts, the mouth is the opening in which the piece passes through. So in order to ensure this, you will need to open mouth. For light cuts, you will not need to open the mouth so much, while a large mouth opening will be needed for larger and heavier cuts.
5. Adjust the planer blade
Even though you get yourself the most suitable hand planers that money may buy, you may need to set up and adjust the blade more often than not. In setting up the blade, you will need to adjust the blade to a lateral position. The lateral adjustment of the blade makes it easy to centralize shavings going through the mouth and allows for deeper cuts.
6. Perform retraction and rotation
When you have adjusted the blade, you will need to retract and rotate it. To do this, you will need to retract the blade gradually until it is fully retracted. At this stage, you can start moving the plane across the board. As soon as the blade contacts the board, you should stop retraction and start rotating. Make sure you don’t make heavy cuts so as to avoid excessive strain.
7. Lateral adjustment
This adjustment requires you to position the shaving right to the center. To do so, you have to move the lever to the side of the cut that is heavy. For cuts too heavy, you can rotate the adjustment knob in a counter clock motion, so you can lighten the cuts. Once you have managed to raise the blade, you need to separate the slop/backlash from the adjusting mechanism. Keep rotating the adjustment knob in a clockwise motion as long as it takes to fit snug. The backlash will be removed allowing you to face any change in the cut as you keep planning.
8. Safety works
Safety is very important while you are setting the hand plane. Being a delicate hand tool, any accident is likely to happen while making use of the tool. So to protect yourself, follow some useful tips, and prevent the hand plane from damage, it is very important to abide by some safety rules.
- The hand plane set requires that you put on protective materials that help to secure major parts of your body. Don’t ignore the need for wearing protective glasses to prevent any particle from going into your eyes, use hand gloves because of how sharp the blade is.
- When carrying out hand plane assembly, you should also make sure that every part that is installed is well secured. Tighten every bolt and keep the screws in place after any part of the hand plane is fixed back.
- In adjusting the hand plane, make sure you know how to adjust a hand plane before you start out adjusting one. In assembling, make sure you know how to assemble a hand plane before you start out assembling one.
9. Common mistakes to avoid while adjusting/setting up a planer
Over time, while setting up a planer or adjusting one, there have been a number of common mistakes that have been recorded. It is very necessary for you to avoid these mistakes when setting up yours, so we have decided to point them out briefly.
*Not flattening the sole
When setting up or adjusting the planer, make sure that you do not forget to flatten the sole. Working with the hand plane requires balance and this balance can only be gotten when the sole of the plan is flattened. When the sole is not flattened when setting it up or adjusting it, you are most likely to have an imbalanced plane. Avoid not flattening the sole so as not to have to disassemble the machine and start all over again.
*Having a backlash in the plane’s adjustment system
Remember when talking about lateral adjustments we spoke about the need for removing the backlash. Many users when setting up the plane always have a backlash in the plane’s adjustment system. This is not only bad, but it is also very dangerous and should be avoided at all times. Make sure to take out the backlash and have it eliminated so that the lateral adjustment can be well secured and the plane can function effectively.
*Keeping the gap between the chip breaker and the blade
When setting up the plane or adjusting one, make sure you do not keep any happier between the chip breaker and the blade. This is a very common mistake which is much time due to being absent. When adjusting the blade or setting up the chip breaker, make sure it is well mounted on the blade without having to leave any gap whatsoever. Check this while installing before going on to other parts. This way you can detect the gap if there is any between the chip breaker and the blade.
*Not flattening the frog or clamping down the blade tight enough
When installing or setting up the planer, make sure you have the frog of the hand plane flattened. This is very important to ensure lateral adjustments when making one. Then as much as it is necessary to flatten the frog, it is also important that the blade is well clamped. Remember how sharp it can be and what is likely to happen if it pulls off while in use. Make sure to clamp the blade of the hand plane very well when installing.
*Not having a level blade or having the one extremely square corner
Make sure blades that are installed into the hand plane are level blades and make sure it is one with an extremely square corner.
*Having the chip breaker placed too far back
When installing, setting up or adjusting a hand plane, make sure you don’t make a mistake of placing the chip breaker too far back. Keep it moderate and close to the blade at all times through the process. The chip breaker next to the blade is a very important part of the hand plane.
With this discussion, it is certain that should by now have an idea on how to set up a hand plane. It doesn’t look so much if a difficult task, however, the difficulty lies in you paying attention to the details. From common problems to avoid when setting up a hand plane, adjusting a hand plane or assembling one, paying attention to the process is necessary. If you still have areas you are not clear with on how to set a hand plane, then further study on the basics and advanced matters will be very helpful.


