
Drilling with drill presses has made woodworking convenient and easy. Not only wood, but it can also be used to drill holes on large substances like metal. Drills run through a mechanism that uses a rotating spindle clamped to a vise lying on the worktable. A drill press often gets clasped into a chuck and three tapered jaws which can easily fit in a narrow hole. This is the most competent way of diversifying the speed of the spindle.
There are numerous drill presses available in the market and if you already have one you might have felt the necessity of a good-quality stand for the drill press. A drill stand is important to lock the position and stance of the drill press. It will allow you to work with added safety.
If you are willing to build a stand for a drill press, go through the following discussion about the making process, abilities and usage of the drill press stand.
Guide to How to Make a Drill Press Stand and Use Drill Press Stand
Step 1: Maintaining an Adaptable Guide
You can keep an adaptable guide for your drill press to disassemble it whenever you desire. Block the guide with two carriage bolts in order to tightly secure its position and prevent it from turning while tightening the knob.
Step 2: Use a screw
A screw is used to attach or remove the adjustable guide. You can use four compatible bolts to keep the drill to the base which is made of high-quality MDF. It is very much essential to ensure that drill press stays stable in its place.
Step 3: Using a Trespa
An HPL panel table can be perfect for your stand. It is also called Trespa which is a compact board and strongly built with wood fibers and resins. Plywood can also be considered in this case.
Step 4: Height & weight Adjustment
Then you ought to adjust the depth, weight and height of your drill, ensure that the drill bit touches the piece and consequently it resets the adjustable knob to 0.
Step 5: Securing the depth
Take a definite depth based on your requirement and secure it to work with it afterward.
Step 6: The guide Adjustment
This is close to being one of the most important steps. To make the drill, make adjustments to the guide as necessary, and then create it.
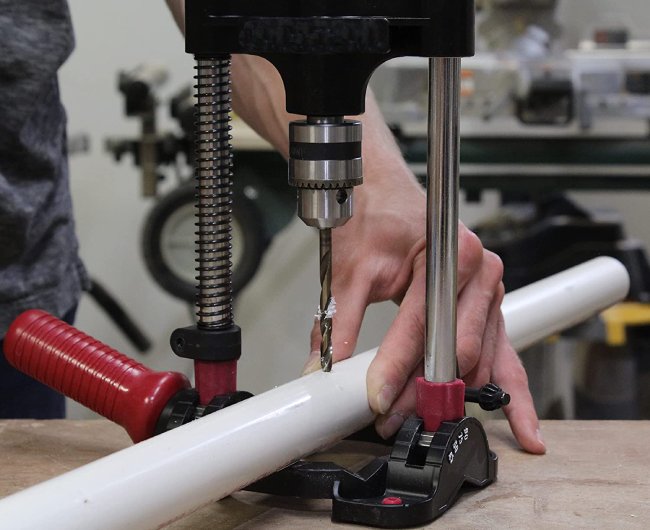
Step 7: Using two strong clamps for deeper drilling operation
When you are willing to make a deeper drill, you have to use two clamps for that. Two clamps are used to secure the piece firmly to the drill guide. This lets you drill mostly and safely.
Step 8: Using the drill press for sanding
You might be glad to know that the drill press can be used for sanding purpose as well. With that regard, you have to use a sanding drum to use it as a sanding station. You can do it with the help of a 3D router. Add dimensions to your woodwork and curve the parts to enhance its beauty.
As you have read the instructions, you might have thought that drill press stands for drill can be very much useful. We hope that we have provided enough information for you to understand the importance of a stand for a drill press and make one for using with the drill press and other accessories and use the drill press for various purposes.


