Sanders are handy tools for professional woodworkers and DIY experts. These tools enable the woodworkers to create a smooth textured surface from a rough cut out wooden board. High-quality sanders are often quite expensive, which is why many people can’t afford to buy such a tool. Many people may even prefer traditional sanding methods such as using a sanding paper or a sanding sponge, but these methods require a lot of time and effort. This is the reason why people look for other alternative solutions for sanding their wooden lumber.
One of the best and cheapest way of sanding is undoubtedly by using a sanding drum for the drill. Drill presses are one of the most needed and used tools in woodworking, and almost all woodworkers have a drill press in their workshop. We can make use of the drill press by creating our mini sanding drum for the drill.
To create a sanding drum, we must follow the simple steps:
How To Make a Sanding Drum
Step 1: Things That You’ll Need
To create a DIY drill press sanding drum, you will need the following items –
- Hole Saws
- Drill Press
- Threaded Rod
- Two nuts which match the threaded rod
- Scrap plywood

Step 2: Creating the Drum
At first, you must use the hole saws to cut out holes through the scrap plywood. Sand the edges of each cutout pieces and make sure that these are of the same diameter. The cutout pieces should be put on top of each other to create a mini tower-like structure. Apply glue between each piece and clamp them all up. Leave the ‘drum’ for an hour or so until the glue dries up. After an hour, you are left with a strong drum for the drill press.
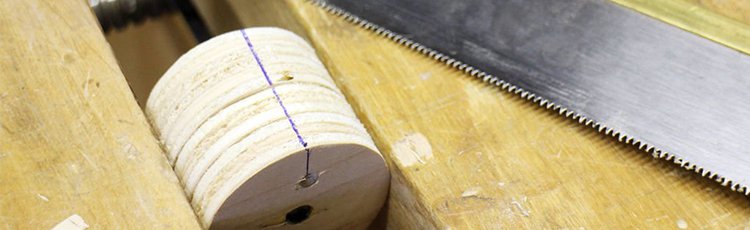
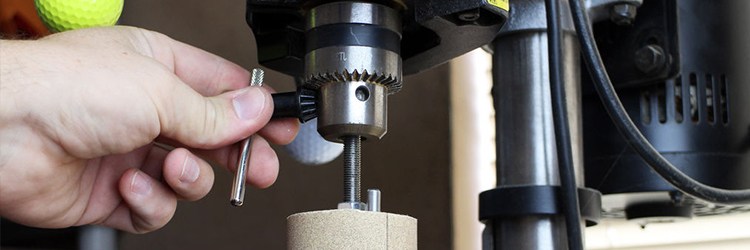
Step 3: Drill Holes in the Drum
You’ll have to drill two holes in the drum – one for the rotary motion and the other for holding the sandpaper in place. The result will look just as shown in the image.
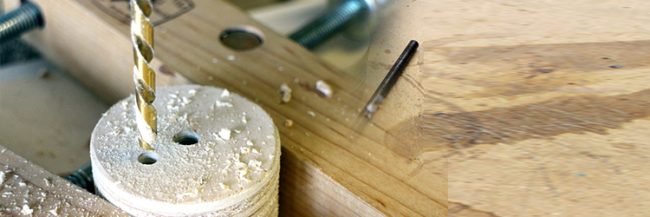
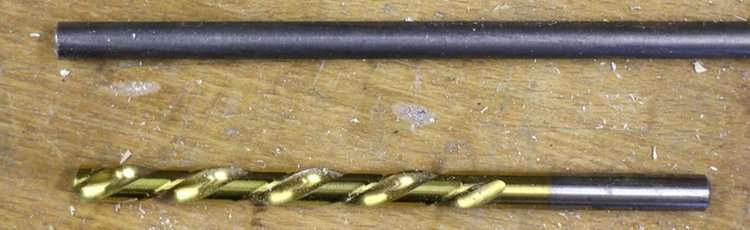
Step 4: Cut out the Rods
Cut the two rods according to the size making sure that they fit through the hole perfectly. The spiral rod must be greater in length compared to the normal rod because it will be inserted into the feed of the drill press.
Step 5: Cut the Sandpaper Slot
You’ll have to cut out a slot to put in the sandpaper. This small opening will hold the sandpaper in place.
Step 6: Assembling the Drill Press Sanding Drum
To assemble the drill press sanding drum, you will have to insert the threaded rod first into the hand drill and tighten it. Afterward, press the trigger to thread the drum onto a nut which will be inserted halfway up to the rod. You must use a washer so that you can prevent the threaded rod from moving. Use your wrench and secure the nuts and drums. When you’re done with the steps, add sandpaper with the grit level of your choice.

The End Product
After the assembling, we will get a sanding drum for the drill press. It is a cost-efficient way of making a drum sander without actually purchasing a disc sander. The sanding drum for drill enables the woodworkers to sand through wood easily. Additionally, it’s rounded shape is very helpful when the woodworker needs to sand through rounded edges.
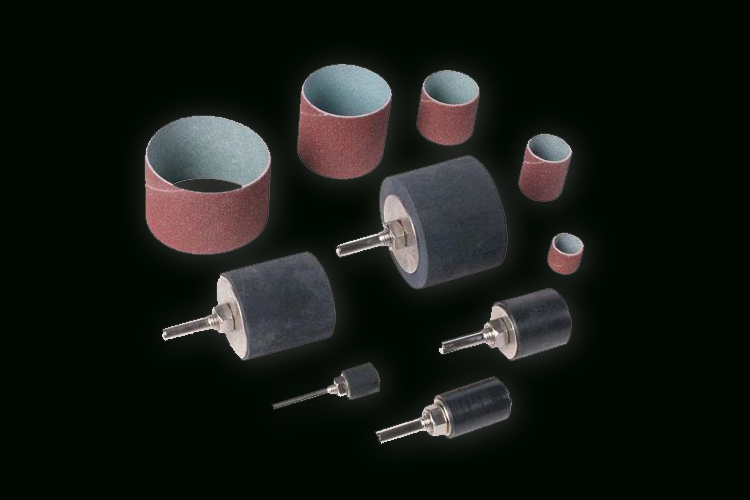
Some Better Options
Some people may not prefer the hassle of making something without proper guidelines. This is why they might want some easy, effective and ready-made solutions. These people can find a sanding drum kit set from any hardware or online store. These sanding drum kit sets can be easily installed in most drill presses and can be used of great value to the ones who can’t afford who buy a sander. Dremel sanding drum and Pneumatic sanding drums are one of the few best sanding drums that you may use. These powerful and highly versatile sanding drums will help you get the most out of the power drill without even having to buy an expensive disc sander.
Conclusion
Sanders may be very important tool that can easily smoothen rough surfaces. Being somewhat expensive, beginner woodworkers often look for a cheaper solution to sanding. This is when they can use the drill press in their workshops to create a DIY drill press drum sander. Making such a drum sander requires you to follow six easy steps and would save you some money not buying a full-fledged disc sander. People also can buy ready-made drill press disc sanders like the Dremel sanding drum or the Pneumatic sanding drums.
Although it might seem that you can always use your power drill and save yourself a thousand dollars, it would not be a wise decision. This is because using the drill press for a long period of time may damage the drill press. Additionally, the drill press drum sander may not be ideal for sanding huge amounts of lumber.
This is why it’s always recommended that you use the drill press drum sander for a temporary moment until you purchase a full-fledged disc sander.


