
A good craftsman knows that no piece of craft is ever done even when it’s done. Its finishing touches are what hammers the final nail and deems it complete. Nor can a project start without processing the materials. Whether it’s a metal joint requiring a filing or a plank requiring its initial scraping, both metal and woodworking require their own share of processing.
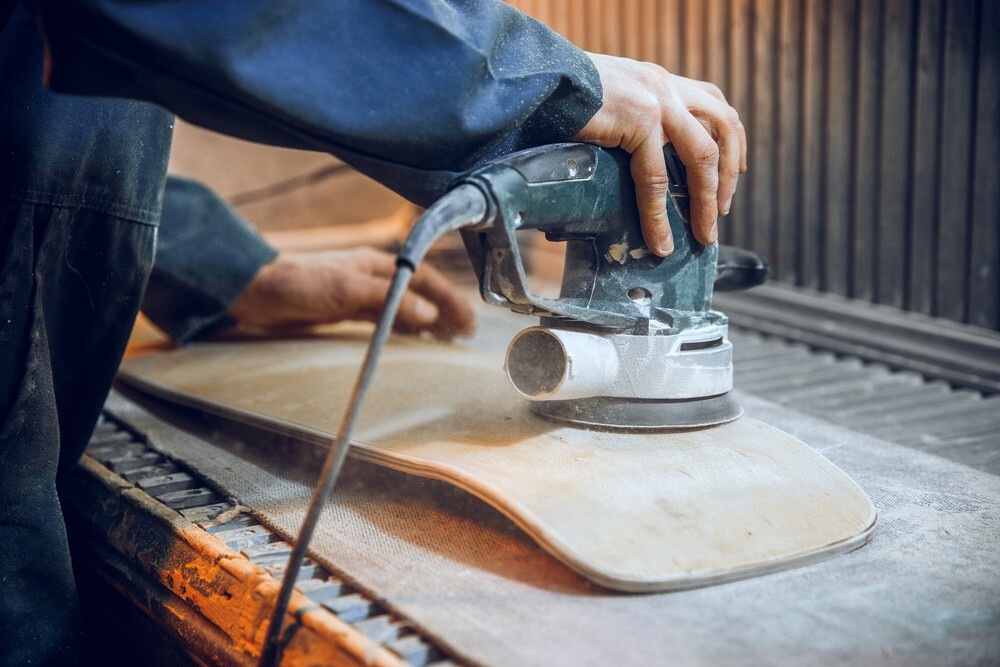
Metal Files, Wood Scrapers and Whetstones are all connected to a craftsman’s need to processing their materials and providing finishing touches. However, one tool stands above them all: The Sandpaper. These tools are so simple, yet so versatile, that, with enough elbow grease, can substitute all of the tools mentioned above. And in modern times, coupled with some motorized sanders (i.e. random orbital sanders), they are enough to replace the aforementioned tools altogether.
Understanding Sandpapers
Sandpapers are not only useful but a quintessential tool for all craftsmen. But how do they really work? The answer is simple: with friction. Sandpapers are just thick pieces of semi-waterproof papers with a layer of sand glued onto it. Modern sandpapers have more than just regular sand glued onto them though. Nowadays, they include Aluminum Oxides, Almandine, Corundum and a lot of other materials, depending on the brand and type.
This layer of sand and minerals provide an extremely rough surface, that, when rubbed against another surface, abrades them off. When done in succession, it can even be used to chip away layers of surfaces, bit by bit, and even shape materials in a way the craftsmen want to.
Why Use Sandpapers?
Most of the budding craftsmen start off by underestimating the uses of a sandpaper. Just so you don’t end up making the same mistake, here are some strong reasons for getting yourself a sandpaper:
- Sandpapers are inexpensive.
- They do not require much skill to be used.
- Compared to the other tools out there, sandpapers are relatively safer.
- Sandpapers can help you scrape off excess wood from an edge if you’ve messed up the measurements by a few millimeters.
- Sandpapers can help you file down the bubbling at the joints of welded metal sheets.
- Sandpapers, when used with different types of sander, can completely replace your file, wood scraper and whetstones.
- These handy tools can help you sharpen, not only your crafted blades, but also your chisel, screwdriver head and other tool edges.
- Smoother sandpapers are a must before a metal polishing session.
- They can help you clean off rust as well as clean your floors (when you’re not busy crafting something).
As you can see, it’s not something to be taken lightly. But whether or not, the sandpaper will take the surface off lightly depends on how much friction the sandpaper can provide. And that is determined by its grit.
The Gritty Details
Grit, in its native English definition, is a small, loose particle of sand or stone. Since Sandpapers have “grits” glued onto them to provide a rough surface for a higher friction, grit, here, refers to how rough a surface is. This term is used for both sandpapers and whetstones alike to determine how effective they would be at wearing out materials that are rubbed against it.
Usually, a higher grit means less abrasive capabilities and a smoother/finer finish, while a lower grit provides a rougher surface stripping off layers. Sandpaper in the market comes with a lot of different grit sizes, ranging from 25 to 2000. For example, 2000 grit sandpapers are used with random orbital sanders in order to give the floors a final polish.
If you understand the grits, you can apply your knowledge in the same way to whetstones and know which ones to use for which purposes. If you’re looking to shape wood or metal using sandpapers and grinders, you should use a low grit sand paper, but if you’re just looking to put finishing touches and a polish, use a higher grit one.
Sandpaper Tips
Usually, artisans don’t want to jump from grit to grit with gaps in the middle. By this, I mean, you shouldn’t shape your woodcraft with a 40 grit sandpaper and then jump right up to 400 grit to give it a final polish. If you do, you’d not only be burning through a lot of sandpapers, but also through a majority of your crafting time.
So, you can start off by doing your shaping with 40 to 60 grit sandpapers and eventually move on to 80 to 100 grit sand papers for a smoothing session. Once done, increase the grit gradually up to 120, 150 and 200 before you are satisfied with the feel of the surface. Use your fingers to feel the surface, they are the best tools for telling you how much more sanding it needs. If you want even smoother results, use 300 and 400 grit afterwards as well. Or you may simply stop even at the 100 grit mark if you’re satisfied with your work. It all rests on the craftsman’s discretion.
If you’re using sandpaper with your hands, it is recommended to create a mountain crease that you can hold on to, before starting to rub it on the surface. This will give you the ease of use similar to that of a cleaning brush. However, this method would not be much suitable for heavy sanding, since you’re going to require both hands in order to apply adequate pressure to the sandpaper.
For heavier sanding, hold the sandpaper flat onto your palm of your dominant hand and place it onto the surface that you’re looking to sand. Now, place the other hand onto the dominant hand and press down with both hands. Remember to keep your fingers extended outwards – you don’t want to touch the surface while it’s being sanded; you might end up getting splinters.
Finally, ensure that while you’re sanding, your fingers do not fall on the wrong side of the sand paper under any circumstances. Although, you won’t be able to injure yourself critically with a sandpaper ever, we prefer not to get abrasions on our fingers while working. They would be inconvenient, to say the least.
So, Get Sanding
So, get the essential woodworking tools, choose the right type of sandpaper grit and enjoy completing different DIY projects. You’d be thanking us later when it saves you hours of grinding with a wood scraper or a metal file. Use this guide to help you choose the right grit for your project.
An experienced craftsman would always know which grit to choose for which project. As a beginner, you might need to experience a bit, but honestly, it’s not rocket science. A few sessions of sanding is all you need to get in the hang of it. I wonder why I even blabbered on about such a simple topic for this long.
Regardless, I believe it’s something that we needed to inform our readers about and felt the need to describe them in the tiniest detail, hoping that we didn’t miss anything out. Feel free to leave a comment below if we missed something and we’d incorporate it in this article. Or if you have a question about sanding, sandpapers, whetstone or grits, feel free to ask. And if you’ve found this article to be helpful, your sunny smile would be thanks enough.


