
When you have bumps on a rough surface, applying coats on that material will make a mess of your wood project. Learning about how to use a sander might be beneficial for DIY enthusiasts, and craftspeople. Generally, electric sanders are handheld devices with sandpapers for smoothening wood surfaces. However, a manual sander works well but it takes more time to complete surface preparation tasks than a mechanized version.
Let’s share some sanding tips that it’s used in every metal, craft, or woodwork preparation.
How to Properly Sand Wood – Choose Right Sandpaper
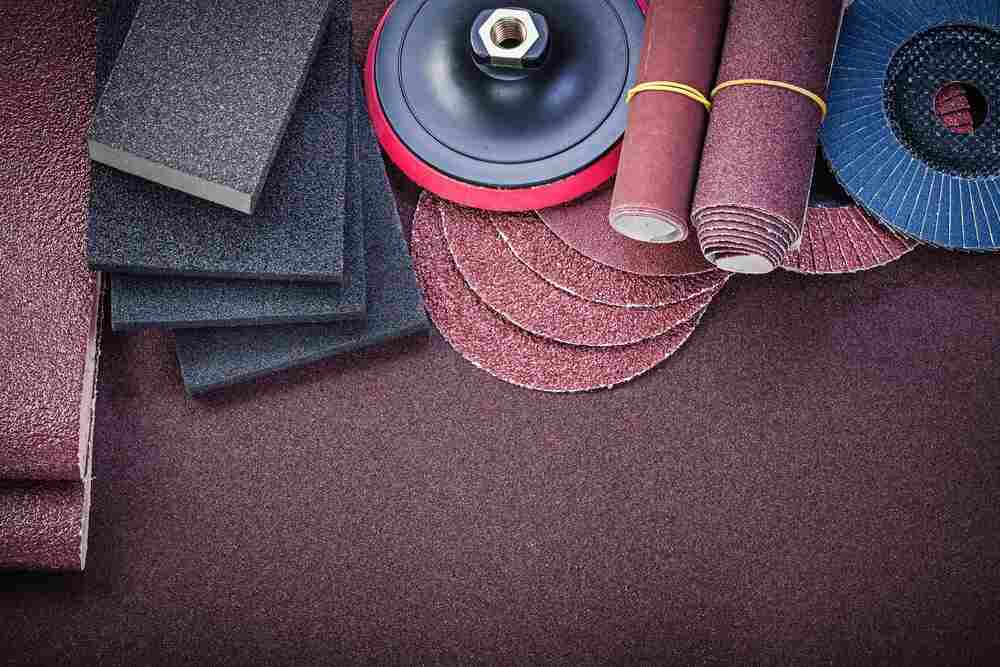
You might not get a very smooth finish with low-quality sandpapers. For beginners to know the type of sandpaper to use, they must understand the benefits of proper sanding. Usually, the level of roughness of your sandpaper is called the grit size. There are sandpapers for different sanding techniques and they are composed of special materials. Regardless of the difference, every sandpaper helps to remove imperfections like mill marks from wood, and the surface of other materials.
Garnet: The Garnet sandpaper contains natural abrasive, and has wide applications. It has higher dulling strength than other sandpapers and is ideal for sanding any wood surface.
Alumina Zirconia: This type of sandpaper is compatible with disc or belt-driven sanding machines, and the durability of its abrasive material is impressive.
Silicon Carbide: A sandpaper with silicon carbide abrasive is ideal for sanding down drywall plasters, and trapped particles on your wood finish.
Aluminum Oxide: Aluminum oxide sandpapers have greater tendencies of becoming duller than silicon carbide sandpapers. However, the Aluminum oxide sandpaper’s abrasive is more durable. Also, silicon carbide sandpapers have wider sanding applications that include metal, wood, and paint.
Ceramic: Sandpapers that are made from ceramic are used in power sanding tools. This type of sandpaper might have an expensive abrasive, but it’s very durable.
Usually, coarse-grade sandpapers have rough grits and are rated as 60-grit or 80-grit. The rough grit sandpaper is used for paint stripping and rust removal process from metals. Also, you can use the 80-grit paper for sanding the contour edges of planed wood.
The medium-grade sandpapers have 100-grit or 150-grit ratings, and they help to eliminate scratches that were caused by coarse-grit papers. These types of sandpapers are ideal for smoothening wood edges and prepping furniture surfaces before applying paints. Also, medium-grit sandpapers can sand door edges to ensure they lock properly.
Generally, finer-grit papers have 180-grit or 220-grit ratings and are specialties for removing less-visible scratches after using medium-grade sandpapers. However, you can still see sandpapers for a smoother finish like the 220-grit type.
Using an Electric Sander

An electric sander is a machine with sandpaper that’s used for scratch management. The type of electric sander with a random orbital spinner should be your preferred choice for making perfect surfaces. It’s every woodworker’s delight to sand materials with random-orbit sanders. However, this spinning unit moves the circular sheet of sandpaper over your material’s surface randomly. Here is how to use an electric sander.
- Unplug the cord of your electric sander to ensure zero risks of electrical shocks.
- Operators must understand how to cut and attach sheets of sandpaper to electric sanders. Generally, the bottom of electric sanders has different shapes. So, coarse, medium or fine-grade sandpaper is cut to fit the bottom pad accordingly.
- Remove the old sheet before you stick a new sheet of sandpaper at the bottom of the sander. Then, peel off the Velcro strap from the new sheet of sandpaper. Unlock the sander’s clamps, stick the new sheet of sandpaper to the pad at the base. Then, lock the sandpaper with the clamps of your electric sander.
- Plug the cord of the sanding unit, and power the device. Also, ensure that you have a stable tabletop to sand any material properly.
When using random orbital spinners, there’s no guarantee that your fingers will not come with the sandpaper. However, an electric sander doesn’t cause any bodily harm to operators when their fingers touch the moving unit.
Using a Hand Sander

The hand sander requires operators to support the sheet of sandpaper manually. Normally, the sanding block can hollow out uneven surfaces, or smoothen the rough edges of the wood. While spreading sanding pressure across the material’s surface, you’ll see fine grains of wood that leaves smoother textures. Also, it’s convenient to press harder with a cut-size foam on the hand sander.
To prevent fatigue while sanding, ensure to choose a sanding block that has well-designed clamps, and comfortable (non-slip) grips. Ensure the right size of sandpaper, attach on the base of the hand sander, and lock the clamps firmly.
While using the hand-backed sanding technique, you’ll enjoy much ease of control when the sheet of sandpaper is folded in thirds crossways and lengthways respectively. Also, this technique helps to flip the unused surface of folded sheets of sandpapers with ease, minimize waste, and downtime during work.
Don’t apply undue pressure on a sanding block because it can affect the sandpaper’s grit quality, and make deeper-than-necessary cuts n the surface of your material. Instead, the operator should use a technique of sanding with the wood’s grain to enjoy an efficient process and avoid early replacements of sandpapers.
During the first sanding, the operator can angle across the grain with an inclination of 45 degrees. This technique ensures the sheet of sandpaper clears stains and deep scratches.
Don’t apply pressure on the sandpaper when sanding on flat surfaces. It might leave some hollowing signs on the flat surface after polishing the material with paint.
Sanding Tips
Use a stable tabletop when you want to sand flat surfaces. Sandpapers helps to remove flaws from the surface of wood or metals. Before you move to the next finer grit of sandpaper, ensure to clear sanding dust from the surface.
It could be tricky for novices to know when any surface has been prepped with sandpapers properly. You could align the surface of the material to the reflection of a low-angle light, or wet the surface (with paint thinner), and before aligning it at the same angle.
You’ll need a contour sanding pad to sand molding profiles and router marks on wood or metals. Simply wrap the adhesive-backed sandpaper over your contour sanding pad, and apply pressure. This special sanding pad allows for convenient grips when sanding coved edges. However, special profiles require the use of extruded polystyrene (foam) blocks.
You can form the shape of the profile on the polystyrene block by rubbing it against the coarse surface of the sandpaper that’s attached to the profile already. After forming the shape of the profile on the foam block, clear the polystyrene’s dust. Reverse the coarse surface of the sandpaper’s sheet to face the profile, adhere it to the polystyrene block, and sand the surface properly.
A putty knife and adhesive-backed sandpapers can sand hard-to-reach corners of flat surfaces. Also, this technique prevents operators from scratching the edges of adjacent wood around the flat surface. Simply trim and stick the adhesive-backed sandpaper disc on the flat edge of your putty knife.
The ‘clog-resistant’ (Aluminum Oxide) sandpaper is ideal for sanding coated surfaces. This type of sandpaper is special because it contains stearate, and it’s used with sanding blocks. Also, it’s suitable for sanding coated metals with rust deposits because this clog-resistant sandpaper doesn’t wear off easily.
Safety Tips
- Wear both face masks and goggles to protect your respiratory tracks and eyes from excess sanding dust
- Sandpapers can’t cause bodily harm, but they can scrape your fingernails when you are not wearing a pair of gloves
- Use contour sanding pads to save your fingers while sanding coved edges with router marks
- Rough surfaces can tear your skin. So, sand with the grain (not against the grain) while working on metal and wooden surface
- Don’t push too hard when you plan to use an electric sander. Instead, allow the handheld electric sander to carry out the task, and prevent hand cramps. Also, ensure to take a break after sanding for a long time, and relax your hand
The goal of using hand or electric sanders (belt and orbital sander) is to leave a neat finish, but you must choose the right grit of sandpapers. Usually, sandpapers ensure the leveling of rusty metal surfaces, and smoothing rough wood surfaces. Generally, the process starts with initial sanding, before finer-grits of sandpapers are used. It’s proper to sand with the grain when you know how to use an electric or a hand sander. However, you must resist the urge to press harder on any surface when using electric sanding machines.


