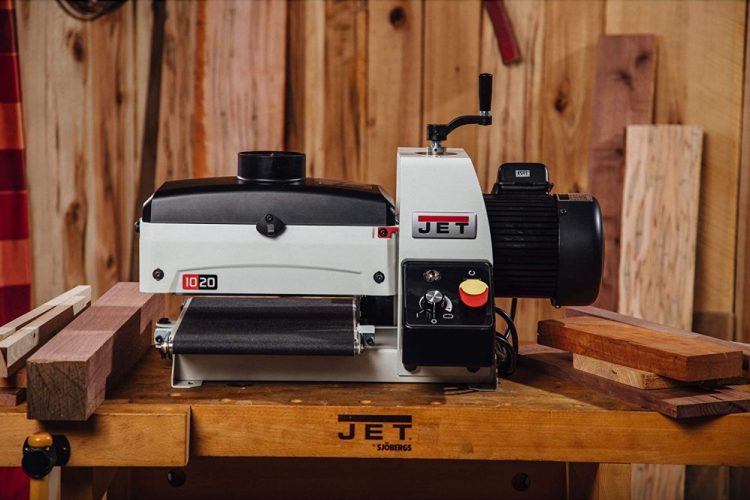
Using a drum sander can be a tricky affair especially if you are not well acquainted with sanding in general. So how do you use a drum sander? What precautions should you take? We are about to find out with this simple guide on sanding with your drum sander.
Sanding Pattern for the Drum Sander
Drum sanders can leave behind a nice smooth floor if they are in continuous motion. Stopping at any point, even for a few seconds, can leave behind a ‘stop mark’. This is a depression left behind on your floor surface because of continuous sanding of one spot.
This means that sanding can not be done while spinning around or taking 90 degree turns. Using this machine correctly means sanding in a straight line whether you are walking forwards or backwards.
To reduce the risk of ‘stop marks’, sand half of the floor first. Once you have done that you can proceed to turn once and sand the other half of the floor.
Be sure that your sander is in motion before lowering the drum to meet the floor. Just before you reach the wall, lift the drum, and lower it again once you begin walking in reverse. Make sure that you are only reversing in the same path you just passed over.
How to Use a Drum Sander Properly
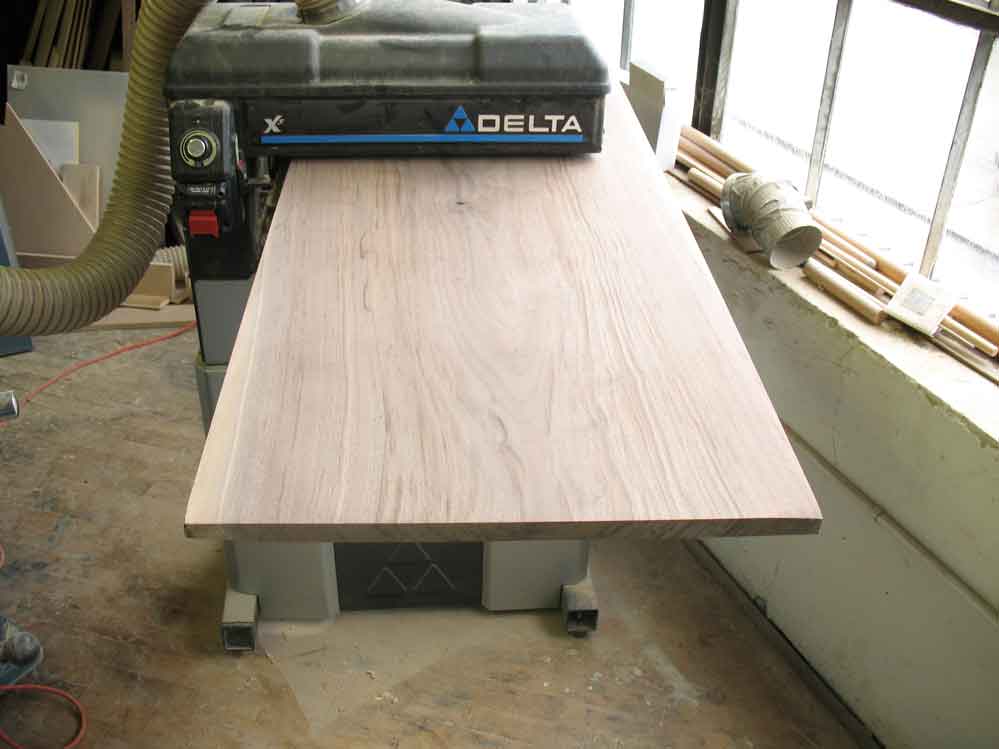
1. Attaching the Sandpaper
- Select the preferred sandpaper grade for the job and attach it to the drum. The front or side of your sander needs to be opened for you to load the sandpaper. This should be demonstrated to you by the company you rent your sander from.
- Certain drum sanders require that the belt be slot onto the drum. This is because no tensioner is present on these types. Always make sure that the belt is facing the right way.
- Most sanders use a system involving sheets. To attach these, a metal strip needs to be unscrewed and the sandpaper sheet wrapped around the drum of the sander. The sandpaper should double over in the are that the metal strip is placed. The strip should then be screwed back on.
- The sheet of sandpaper should be tightly secured to avoid chatter marks on the floor.
- Some rental companies can attach the sandpaper for you but pay attention because you might need to change sandpaper at some point during your work.
2. Sanding
- Use personal protective equipment such as hearing protection, a dust mask and safety glasses. A mask should be worn regardless of having a dust bag, because not all the dust is collected but only the majority.
- Slowly push the sander to get it into motion and then the drum can be lowered onto the floor.
- The sander will pull you once the drum makes first contact with the floor so do not be alarmed.
- Remember to sand in the direction opposite to that of the drum motion. Sand with the grain and in a straight line.
- Never put extra pressure on your sander. The sander’s own weight is enough to sand your floors properly.
- Before you stop, you can either raise the sander or tilt the sander backwards to avoid ‘stop marks’.
- Avoid getting too close anything that you do not want damaged. Drum sanders can easily damage doors and walls if it gets too close to them. Reduce the risk of this by keeping a good distance from the edge of your floor.
- Rest at regular intervals and empty the dust bag. This also allows time for any suspended dust to settle.
Tips
- Keep air grilles and plug holes covered to avoid accumulation of dust inside them.
- Take down window coverings and doors.
- Any loose floorboards can be nailed down with finish nails.
- Make sure to countersink any nails by about 1/8 inches to avoid damaging the sanding drum. If you want to find any raised nails, pull a metal shovel softly across the floor while it is upside down. You will immediately know if you hit a nail.
- Removing the base shoe before sanding will remove the risk of it being elevated compared to the rest of the floor. You can always reinstall it later but sanding small areas under the base shoe after making that mistake is much harder.
- Vacuum your floor between different sandpaper grades to reduce the risk of damaging your floor.
Warnings
- Sanders are a dangerous type of equipment and should be used only with care. Respect the machine and the power it wields, and you will avoid negligent accidents.
- Never lower or lift the drum while you are standing still. This will leave a ‘stop mark’ behind.
- Cover your eyes! We do not need you getting dust and granules in your eyes. Always wear the appropriate personal protective equipment when sanding.
- Do not sand loose floorboards unless you want flying projectiles stuck in your walls.
- Drum sanders will struggle to remove any stains caused by pet urine. Do not over sand a pet stain because it will not come out and you will leave a stained depression in its place.
- Make sure the room is well ventilated. Breathing in dust can cause respiratory problems so the room you are sanding in should have enough ventilation to allow dust particles to leave the room.
Conclusion
Drum sanders may require some practice to use properly, but they are worth the hassle if used properly. Acquaint yourself with the steps on how to use a drum sander and you can prevent yourself from making avoidable mistakes. Always wear protective gear and keep someone close by in case of emergencies. No not in the room with you, just in the general area. Listen to the instructions given to you by the person lending or renting you the equipment because they know their machines better than you do.
FAQs
1. Can you use a drum sander against the grain?
Ans. Average drum sanders will leave behind distinct marks if used against the grain. To get a smooth finish, a rotary sander is needed. These are sometimes rented out with a drum sander and will require a lot of hard work to use in this situation.
2. How long does it take to sand a floor with a drum sander?
Ans. A professional sander could easily finish sanding a floor in about 2 to 3 hours. Amateur sanders, however, can take longer than a day to finish sanding about 40m2. This is simple because amateur sanders are not trained and may take longer to choose and change sandpaper grades.
3. How much does a drum sander remove?
Ans. A typical drum sander will remove between 0.005 to 0.007 inches with each pass. This makes it ideal for any fine surfacing or wood sanding. Unfortunately, it is not recommended for removal of large amounts of wood. In this case, a planer would be better.
4. Should I use a drum or an orbital sander?
Ans. Although drum sanders are more expensive than orbital sanders, they are a better tool to use when you want to remove thicker wood layers. Drum sanders can remove finishes that an orbital sander cannot. Drum sanders can leave dents in flooring if they are not used with the utmost care.

