
Although it’s insignificant at first glance, sandpaper is an extraordinary invention. In the past, woodworkers used crushed stones and other abrasive materials to sand hardwood. Sandpaper made things easier by removing the extra weight in the woodworker’s hands and leaving a more uniform finish on the wooden piece.
However, when the area to be sanded is too large, manual sanding can be an exhausting work. After finishing, you may end up with pain in your arms, neck, and back. Fortunately, orbital sanders are now available to save us that problem.
Orbital sanders are very practical tools and transform the tedious job of sanding a big wooden piece into a breeze. If you’re thinking of buying one but don’t know how to use it, don’t worry. Today we’ll show you how to use your random orbital sander like a pro.
How to Use A Random Orbital Sander?
1. Secure the wooden piece

First of all, secure the wooden piece to a flat and stable surface with clamps. This way it won’t move as you slide your orbital sander all over its surface. Before getting started, turn on the ventilation system in your workshop to suck small sawdust particles spread in the air.
2. Choose the right sandpaper
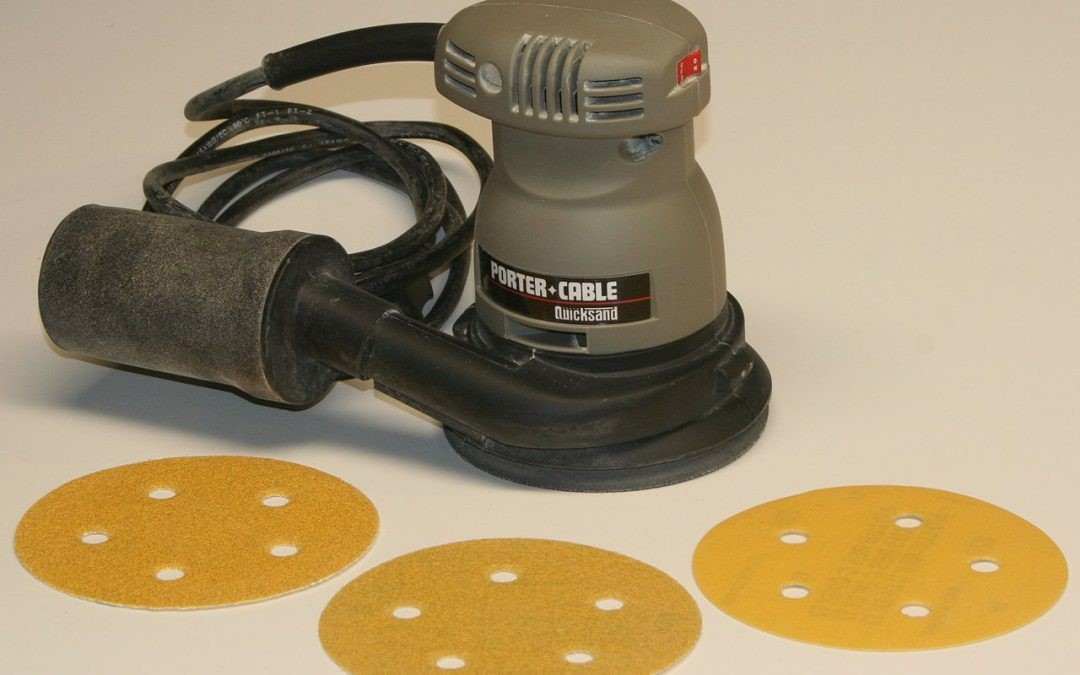
There are many sandpaper types on the market with different grits to provide different finishes. For example, coarse grit sandpapers (40-60) sand the surface much faster and are ideal for removing obvious imperfections.
On the other hand, fine grit sandpapers (180-220) are ideal for removing small imperfections on smooth surfaces. However, they need a lot more passes to properly sand hardwood.
Once you have chosen the most appropriate type of sandpaper for you, just stick it to the sander. Sandpaper discs for orbital sanders come in the form of stickers that adhere to the sanding pad.
After installing the sandpaper, put on your protective equipment to start sanding.
3. Sand the surface
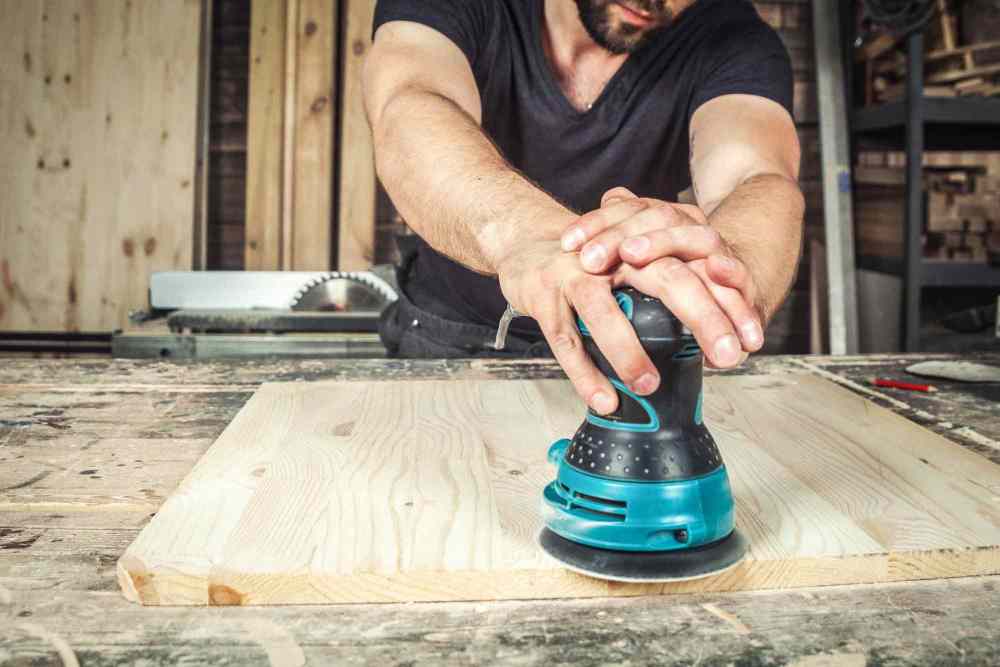
Turn on your orbital sander and set it to full speed. Then gently slide the sanding pad all over the hardwood surface without applying excessive pressure. If you’re using fine grit sandpaper, sand the surface with quick and repetitive strokes. Don’t put the sanding pad on a certain point for long time periods to avoid ruining the surface.
4. Sand the edges
To sand the edges, only use a third part of the sanding pad. Make as many passes as necessary to remove those dangerous sharp edges. When all the edges are smooth and perfect, turn off your orbital sander.
Random Orbital Sander – Pro Tips
Understand how it works
You need to understand how an orbital sander works to learn how to use it properly. These devices wiggle and rotate at the same time. This effect leaves a pattern of random scratches on the surface that overlaps several times until it becomes imperceptible.
However, if you move in the wrong direction while you’re using your tool, this pattern will manifest on the wood in the form of spiral swirls.
Move slowly
To guarantee an even sanding, you should move slowly over the entire surface. If you move too fast, the sandpaper won’t properly scratch the material leaving spiral marks on its path.
Don’t push too much
You don’t need to apply too much pressure. Doing so could affect engine performance and cause excessive wear on certain parts of the wood piece.
Set it down
Every time you start sanding a wooden piece, your orbital sander should be turned off. If you start sanding while the motor is running, there are high chances of leaving deep scratches on the surface.
Pass and overlap
For a smoother and even finish, it’s convenient to overlap each pass of your orbital sander several times.
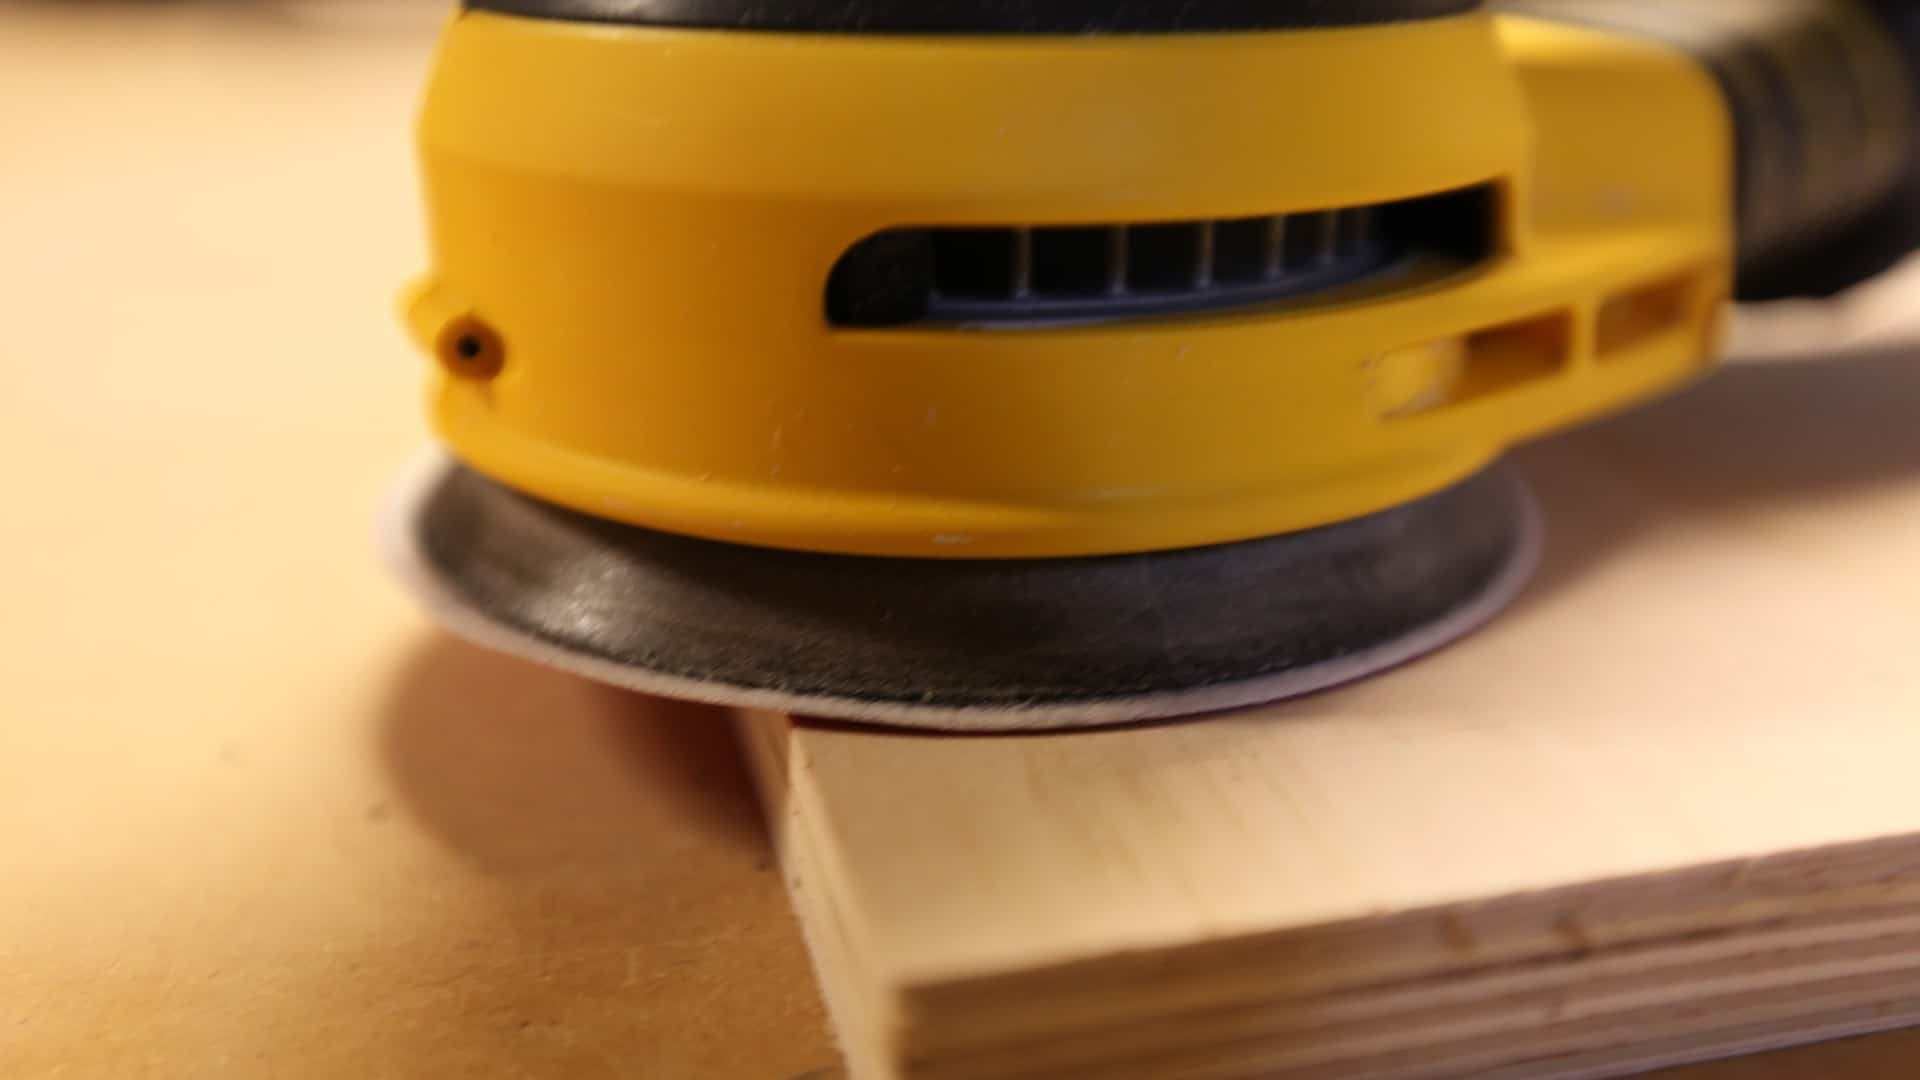
Don’t tilt the sanding pad
Every time you use an orbital sander, keep the sanding pad parallel to the surface. The slightest tilt could generate grooves and other imperfections.
Use your hands
After sanding a wooden piece with an orbital sander, use your hands and a piece of sandpaper on a final sanding. This will help you correct those small defects that require special attention.
Use a vacuum hose adapter
Vacuums are ideal for sucking up all the sawdust generated by your sander. With less sawdust on the surface, the sandpaper will stay clean and sand more efficiently. However, not all orbital sanders are compatible with vacuums.
If that’s your case, you can buy a vacuum hose adapter in any hardware store to solve this problem.
Sand with both hands
If you have multiple orbital sanders in your workshop, you can use one in each hand to work twice as fast. When doing this, be sure to move both hands in the rotation direction of the sanding pad.
If you move both hands in different directions, the sanding won’t be uniform and the surface will end up full of marks and imperfections.
Choose the best sandpaper discs
Usually the best sandpaper discs are also the most expensive. Cheaper products don’t guarantee a uniform grain size, leaving deep scratches the wooden piece. High quality discs provide a uniform sanding and have a longer lifespan.
Use protecting gloves
The vibration of orbital sanders can leave you with tired arms after several hours of work. To prevent this uncomfortable effect, it’s recommended to wear protective gloves at each work session. Best gloves include a special coating that dampens vibration and high impacts.
Things to Avoid
- Don’t push the orbital sander against the surface
- Don’t tilt the sanding pad
- Don’t move in opposite direction to the rotation of the sander
- Don’t ‘move too fast over the surface
- Don’t use cheap sandpaper discs
- Don’t work without protective equipment
- Don’t start sanding while the motor is running
Conclusion
Certainly, there are more random orbital sander uses than you can imagine. You can use these tools to remove paint and imperfections and polish surfaces. In addition, they reduce the stress and exhaustion generated by manual sanding.
As you can see, orbital sanders are very easy to use. However, you should consider the tips on this guide to avoid damaging the wooden piece and get a smooth sanding. If you carefully follow our suggestions, you’ll learn to control your orbital sander as a pro.
FAQs
Q. 1: Which are the differences between orbital sanders and palm sanders?
Ans: There are certain differences. An orbital sander has a circular sanding pad that rotates and wiggles at the same time to create a random scratching pattern. On the other hand, a palm sander has a rectangular sanding pad that moves a quart of a sandpaper sheet on a single direction to scratch the surface.
Also, orbital sanders are more powerful than palm sanders. Therefore, they’re more appropriate for heavy duties, while palm sanders are better for more delicate jobs.
Q. 2: Can you use an orbital sander on furniture?
Ans: Yes. You can use an orbital sander on furniture to remove imperfections on the surface. However, if the furniture is too delicate or too old, it’s better to use a less powerful tool, like a palm sander.


