There are many kinds of welding machines out there to choose from. Each has its own specific uses and are designed for specific welding needs or circumstances. Some are for very heavy welding, others for more versatile use, and others still for very light welding.
Many things divide these welders and it can be tough to understand the different MIG welding uses of each and how to effectively master using the different types. One who is great with one kind of welder can often not be very skilled with another. One of these welder choices is the MIG welder. Many people are asking the question “what is MIG welding used for?” and “do I MIG weld properly?” I aim to answer these questions as best I can!
How to Use a MIG Welder – 7 Steps
MIG welders are a branch off from the normal rod-type welders we know. They operate on the same basic principle of using electricity to melt metal and spread the molten metal to create joints, but the specific way it’s done with a MIG welder is a bit different. While most other types of welders use a stiff rod, quality MIG welders have a roll of metal wire fed from a spool through the welding gun to its tip where the electrical current heats and melts the wire on to the work surface.
While this is happening, shielding gas is deposited from a canister, through the gun, on to the work area directly around the weld in order to create a clean atmosphere free of particles that can bind with the metal and make the weld joint weaker. This serves to make smoother, stronger, purer welds. So how do we use it?
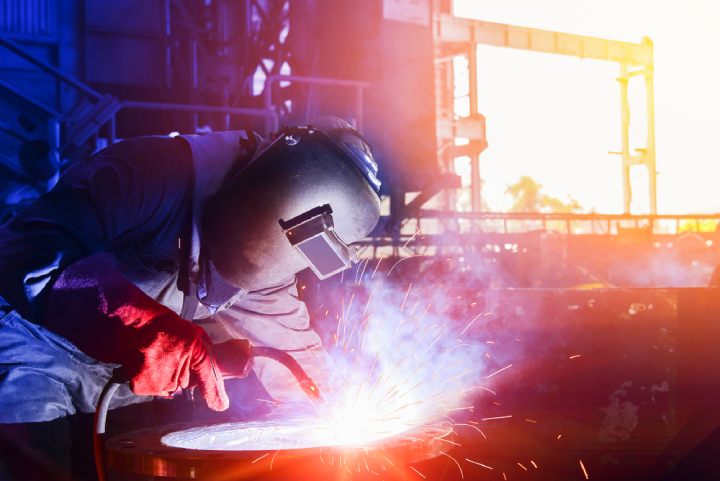
Step 1 – Safety Is Paramount
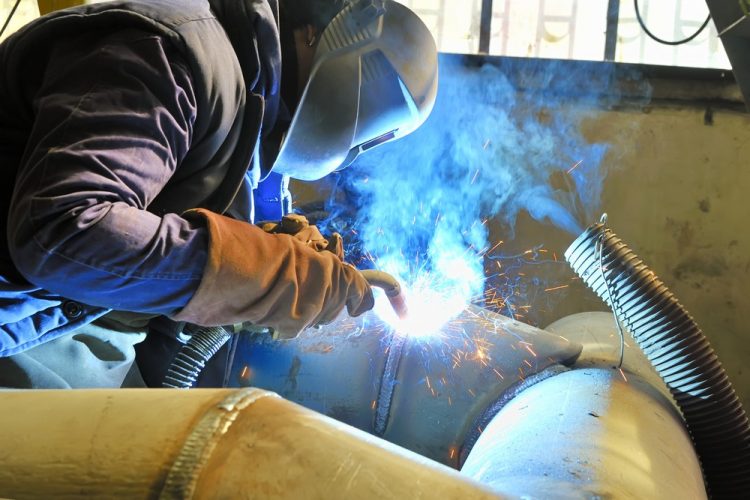
Welding literally melts metal and as such you can imagine it’s extremely hot. Welding also generates an extremely bright light and UV rays. Because of these things welding requires some safety equipment to ensure you don’t severely hurt yourself while welding. It is non-negotiable that you have a welding helmet when you weld.
The arc generates extremely harsh light and UV that is damaging to the naked eye. Failing to use a helmet will at least give you arc-eyes, and at worst blind you. So be sure you have a helmet with a dim setting of at least #8.
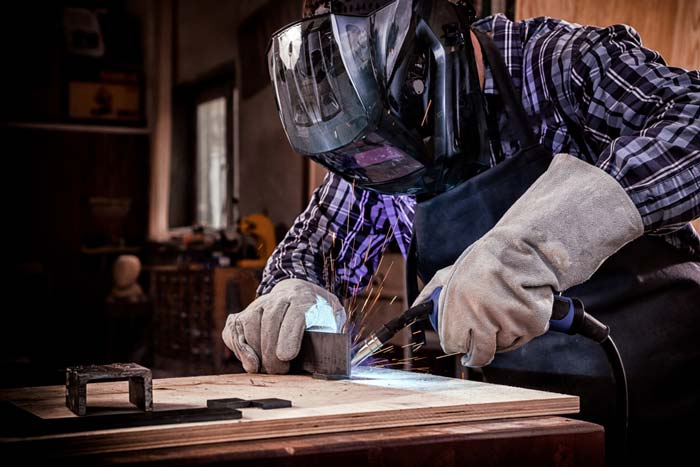
While welding your hands and forearms will be very close to the surface of your work and will be exposed to the heat and UV rays. You need to wear some welding gloves so that the sparks, general heat, and UV rays don’t burn you. I suggest you also wear a welding apron to protect your clothes and chest area from sparks as you weld. You essentially want all skin to be hidden and protected.
Step 2 – Prep Your Metal
For welding to be effective, the metal that is bound needs to be clean to prevent porous joints that become very weak, or dirty mixes that cause the metal not to bind well. It’s extremely important that you clean your metal to be welded. Ensure that it is as free of dust, rust, grime, paint, and such, as possible. If this is not possible, there are specific welding wires designed to bind to dirty metals, but it’s best to give your weld the best chance it has at being solid. Some steel wool or a grinder are effective tools to help with prepping metal to weld.
Step 3 – Gas, Voltage, and Amperage
MIG welders use shielding gas in the weld process. It’s important that you ensure you have enough gas, that it’s connected properly to your welding gun, and that it’s the right kind of gas for the job. The common gasses are argon and carbon dioxide. The most common is to mix these two in a ¼ ratio. What metal you are welding, how thick it is, what wire you’re using, and what heat you’re welding at, will be the determining factors on what gas or gas mix you use. Most MIG machines come with a tip chart inside to help you on how to use a MIG welder with gas, and what gas is best for what project.
You also need to set your voltage, amperage, and wire feed speed. Many machines have built in pre-sets that you can select. You need to try to find a balance between the heat you set it to and the speed the line is fed to you. If the speed is too slow and the heat too high, you’ll burn your rod to the tip and damage the welding gun’s contact tip. The most effective way to fully master the settings is by good old trial and error.
Step 4 – Set Your Wire
Now that you have your safety gear on, have prepped your metal, and have set your welder and gas for the task, it’s time to set the wire into the gun so you can get to work. Feed the wire off the spool, out the box, into the back of your gun, through the gun, and out the front. Feed it so there is about a pliers head thickness in length sticking out the front. If too much or too little sticks out you will either burn it to the contact tip or make a bad weld. Listen out for weird sounds when welding. If the wire is not out at a good distance the welding burn will sound really strange.
Step 5 – Clamp Down
In order for the arc to be created, you need to ground the welder using the ground clamp. Do this either directly to your workpiece or to some clean metal nearby. Be sure it is near to you as if it is too far away the arc will be weak and thus the weld too.
Step 6 – Get Comfy
Often, the biggest culprit for bad welds is a dead arm, a shaky hand, or a sore back. When you are going to be welding it’s important you keep yourself comfortable and in a position that gives you the most control and freedom of movement. A good technique to try is to cross your weak arm in front of you, and lean the arch if the welding gun over that wrist. Your strong hand holds the gun and can flick and move it how you need while your other arm stabilizes it and you. This also gives you something to lean on as you go.
Step 7 – Weld!
Now that everything is set up, it’s time to give it a go. Make sure your helmet is down. Get into that comfortable position, and pull the trigger. Make little c’s as you go along, curving back on your work as you complete a c to fill up any holes. There are two common techniques for welding. The push technique, and the pull technique.
You can either pull the molten weld bead away from the pool or push it. You need to find which is more effective for you as the difference rests on preference in most cases. Be sure to keep clear of surfaces you have just welded as they will, of course, be extremely hot. Keep your ears open for strange sounds while welding these sounds will often let you know that your weld will be sub-grade because of a gas leak, distance from the surface when welding, too little heat, etc.
That right there is the basics for using a MIG welder!
Most Common MIG Welding Uses
1. Automotive Industry
MIG welding is probably the most adaptable kind of welding there is. It can weld a broad range of metal types and thicknesses and is sometimes more cost-effective than other welding options. It also gives the welder more freedom to move around, weld overhead, get into small, hard-to-reach spaces, and make quick tack welds were needed. This makes it a winner in the automotive industries. Most body shops and individual enthusiasts use MIG welding over other types on the bodies of their different vehicle types.
2. Construction Industry
MIG welding has also found its way into the construction sector. It was not always the chosen option in the past but companies are starting to use MIG welding over other options more and more as time moves on. Steel is a metal used in almost every kind of construction and the welding of it is of course very often needed. As MIG welding gains notoriety among metal workers, its demand on construction sites grows too.
3. High production Manufacturing
MIG welding finds its broadest use in this industry. It is cheaper and faster than other welding options and as such is a perfect fit for mass production-type uses. Studies show that more than half of the currently occupied MIG welding jobs come out of this industry, and that figure is bound to grow with time.
4. Other Uses
MIG welding is also fast becoming a favourite of the metal-work hobbyists and in-the-garage welders at home. Its price, ease of use, shallow learning curve, and adaptability make it perfect for those at home working on a DIY project or making a quick fix to their favourite hobby bike. The question floating around “what can you weld with a MIG welder?’ has a simple answer. Almost anything! This versatility is what makes it a favourite in many garages and personal workspaces.
MIG Welding Safety Tips
MIG welding without gas and with gas both have a plethora of upsides but as mentioned before, using a MIG welder can prove dangerous and may result in injury if not done correctly and with the correct protection. Keep the following in mind when MIG welding.
- Always wear your helmet, gloves, and apron while welding.
- Never ever touch the metal you just welded with any part of your body.
- If welding for a long time, take breaks to give your eyes a rest. Even with a shaded helmet, looking at the arc for long periods can still give you arc-eye.
- Always keep the area around your welding workspace free and clear of anything unnecessary. This especially goes for flammable materials. At times, sparks fly off of your workpiece.
- Always check your gas canister feed and ensure the piping is connected properly and there’s no leaks anywhere. This poses a serious danger as well as it will affect the quality of your welds.
- Always check the quality of your welds. If there is a bad weld somewhere that could prove weak, grind it back down and do it over. You don’t want whatever you are working on to fall apart whilst in use later.
To conclude, MIG welding is broad, various, versatile, cheap, and efficient. It can offer you a lot without demanding too much and is working its way into more and more workshops, garages, construction sites, assembly lines, and more. Done correctly with the right protection and a bit of practice, a MIG welding machine will certainly serve you well.


